
Draw an area
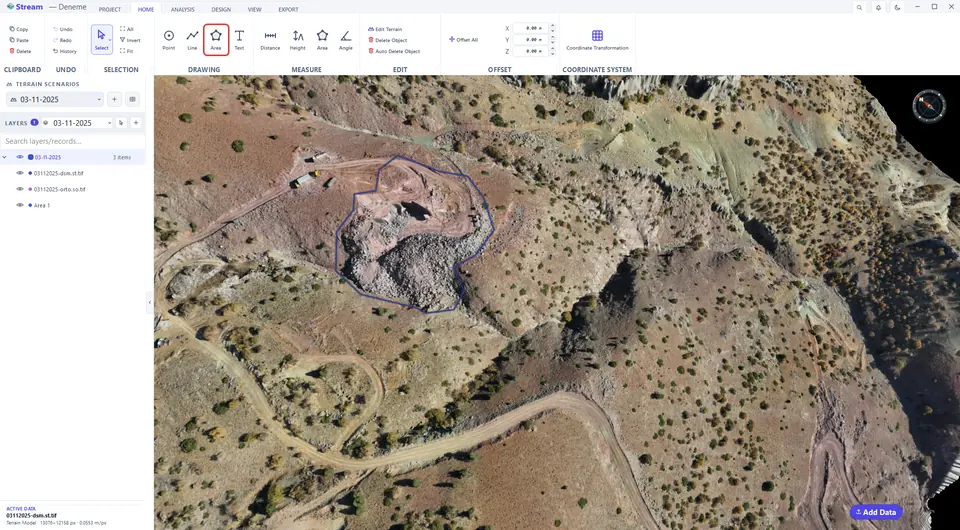
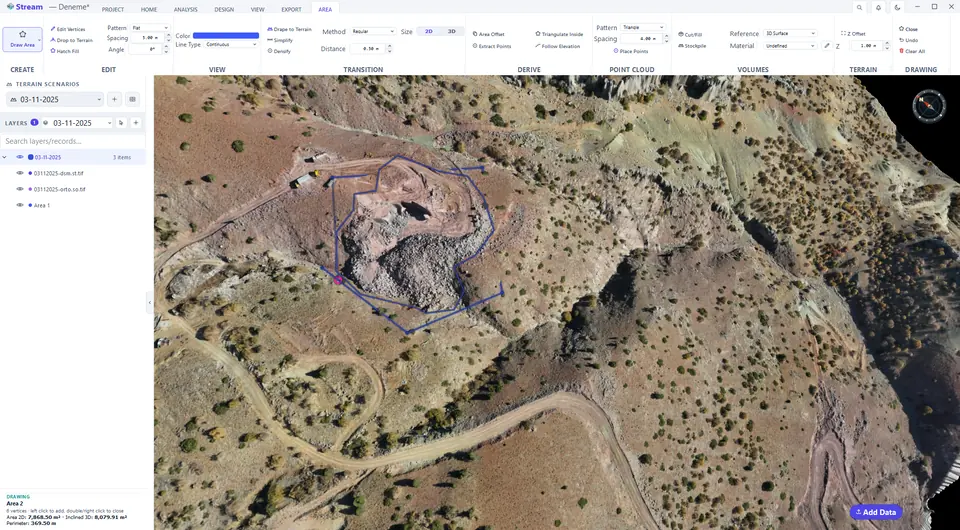
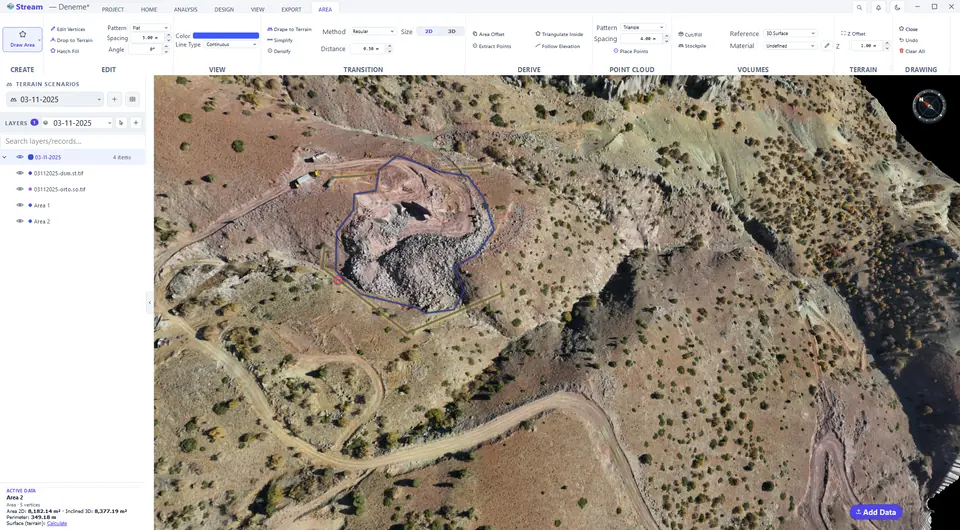
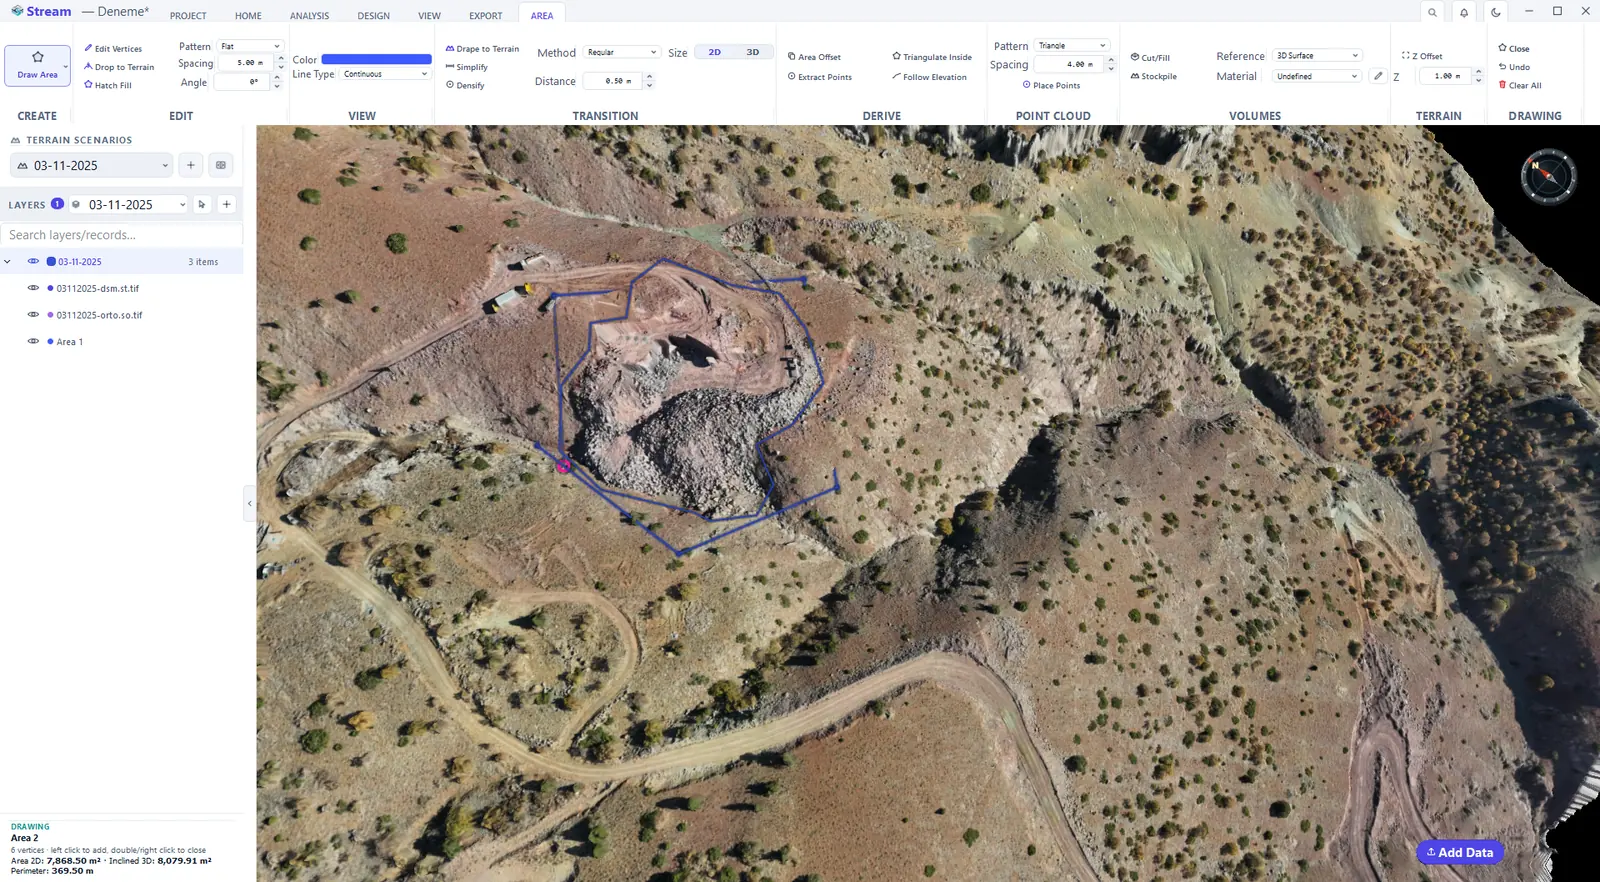
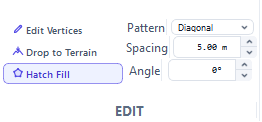
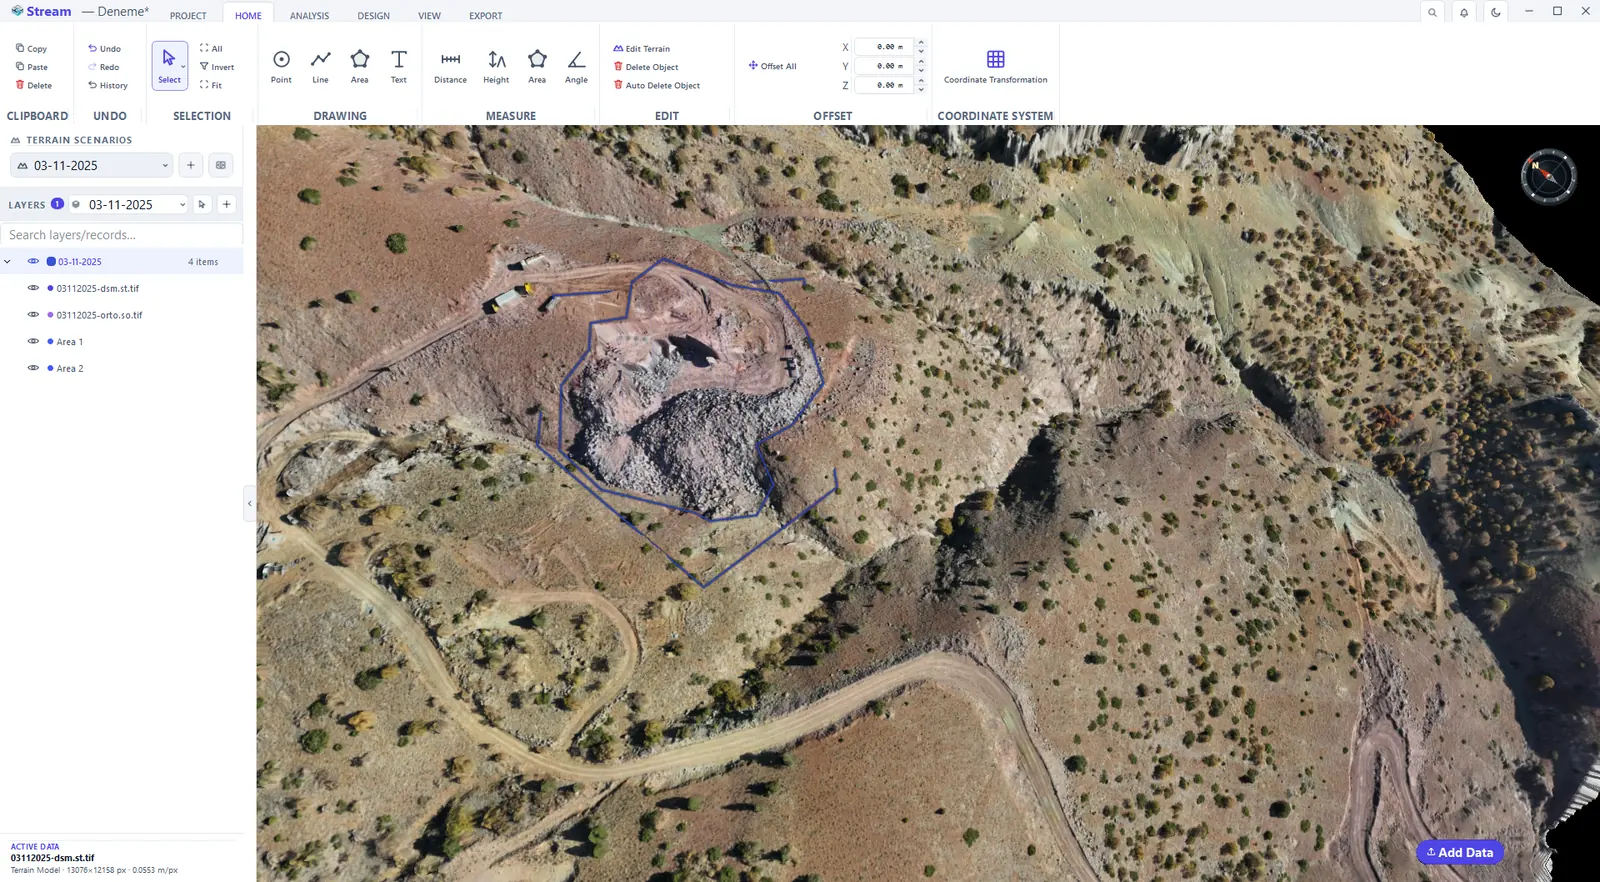
Click HOME ▸ DRAWING ▸ Area and click the corners. While you draw, the card at the bottom-left shows the vertex count, the area and the perimeter so far. Right-click to close the area: it is selected and the AREA tab opens. ACTIVE DATA shows Area 2D, Inclined 3D (the area of the plane through the corners) and the perimeter; click Calculate next to Surface (terrain) for the true draped surface area.
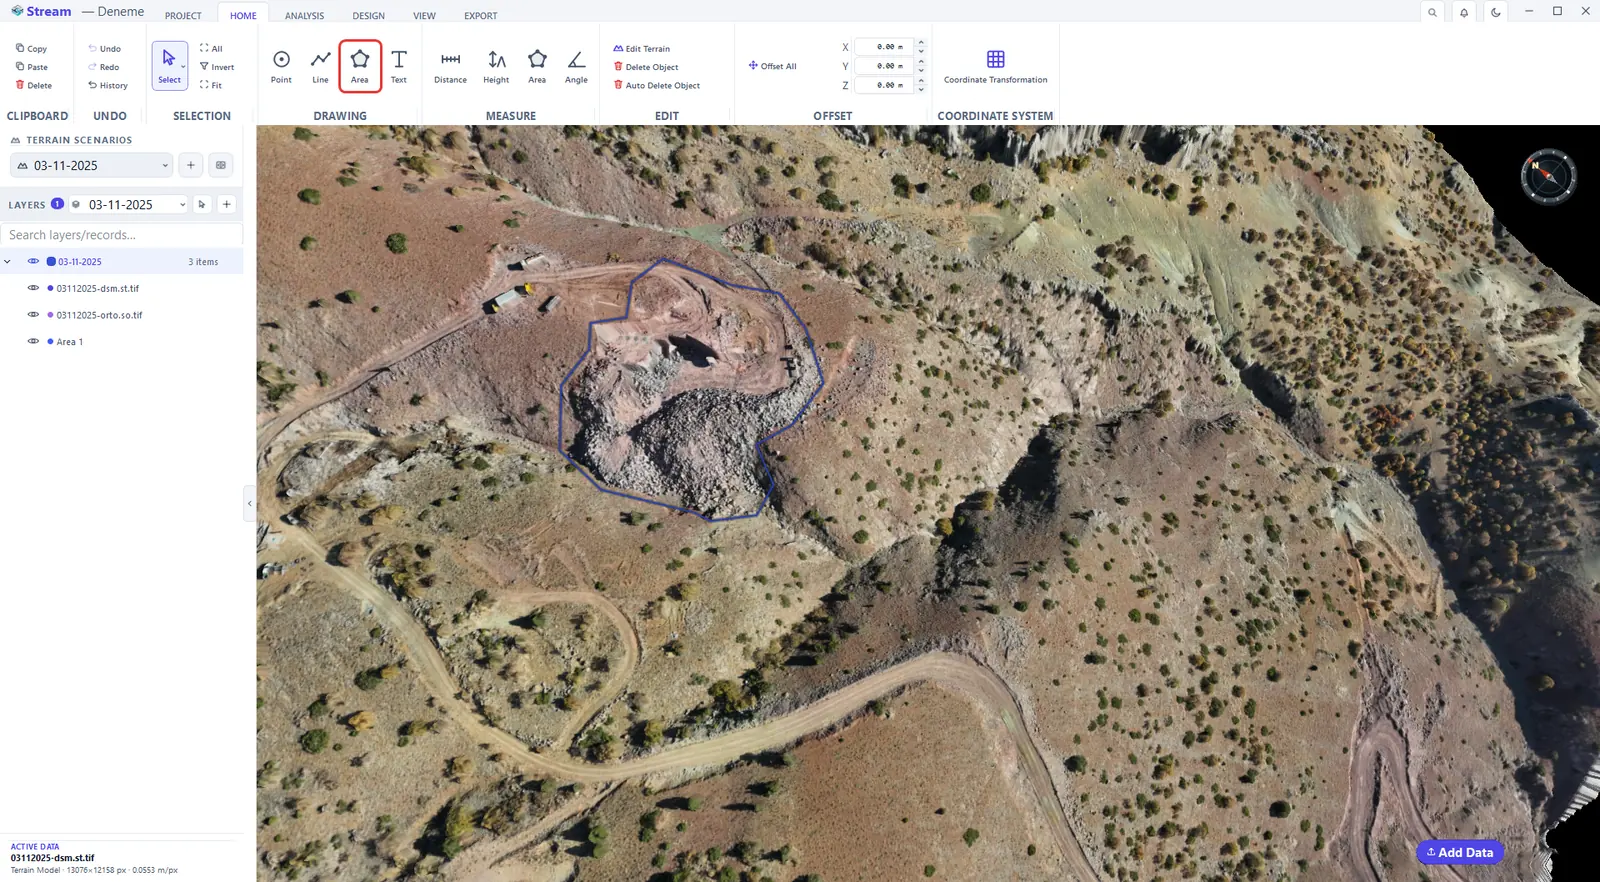
Pick the Area tool on the Home tab.
Click the corners of the area.
Right-click to close it, the Area tab opens.
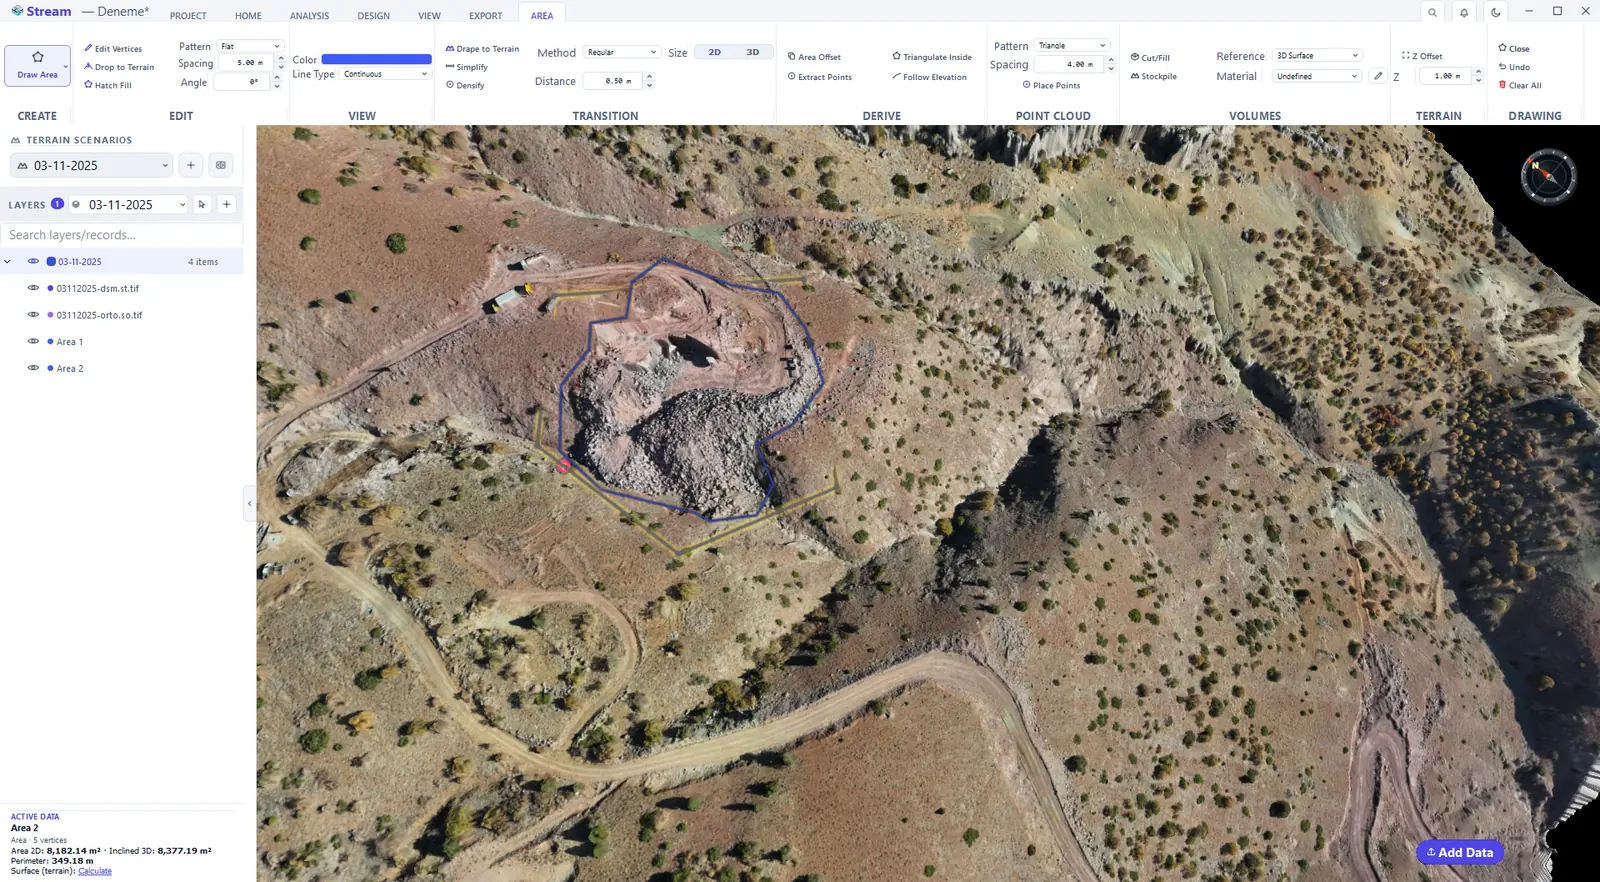
Edit vertices
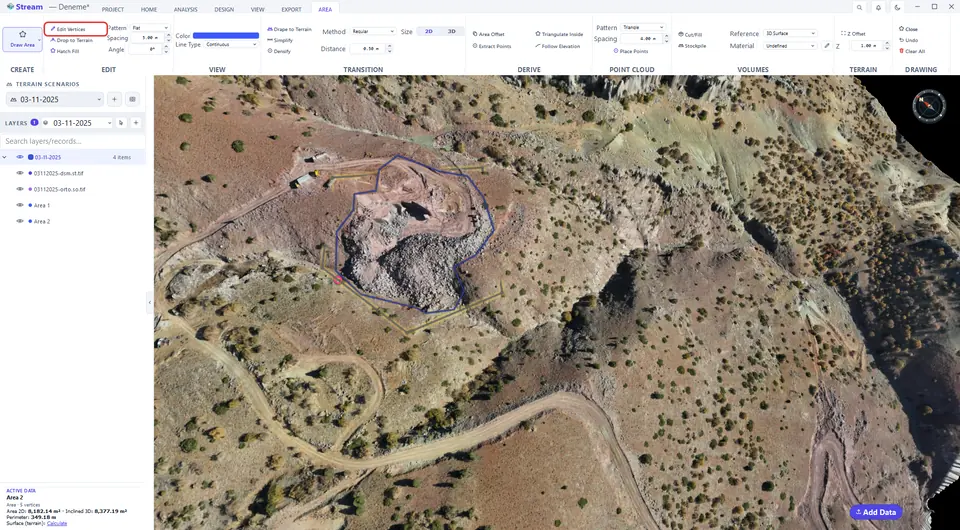
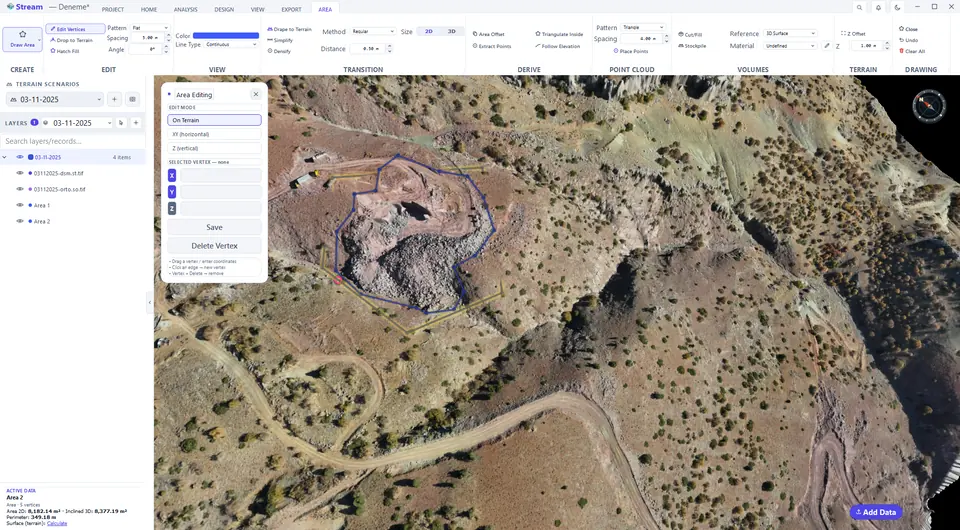
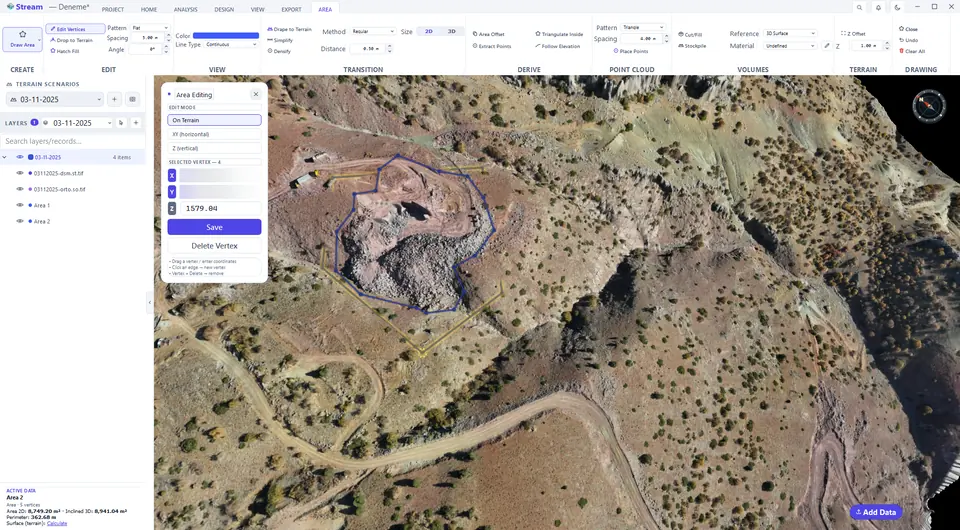
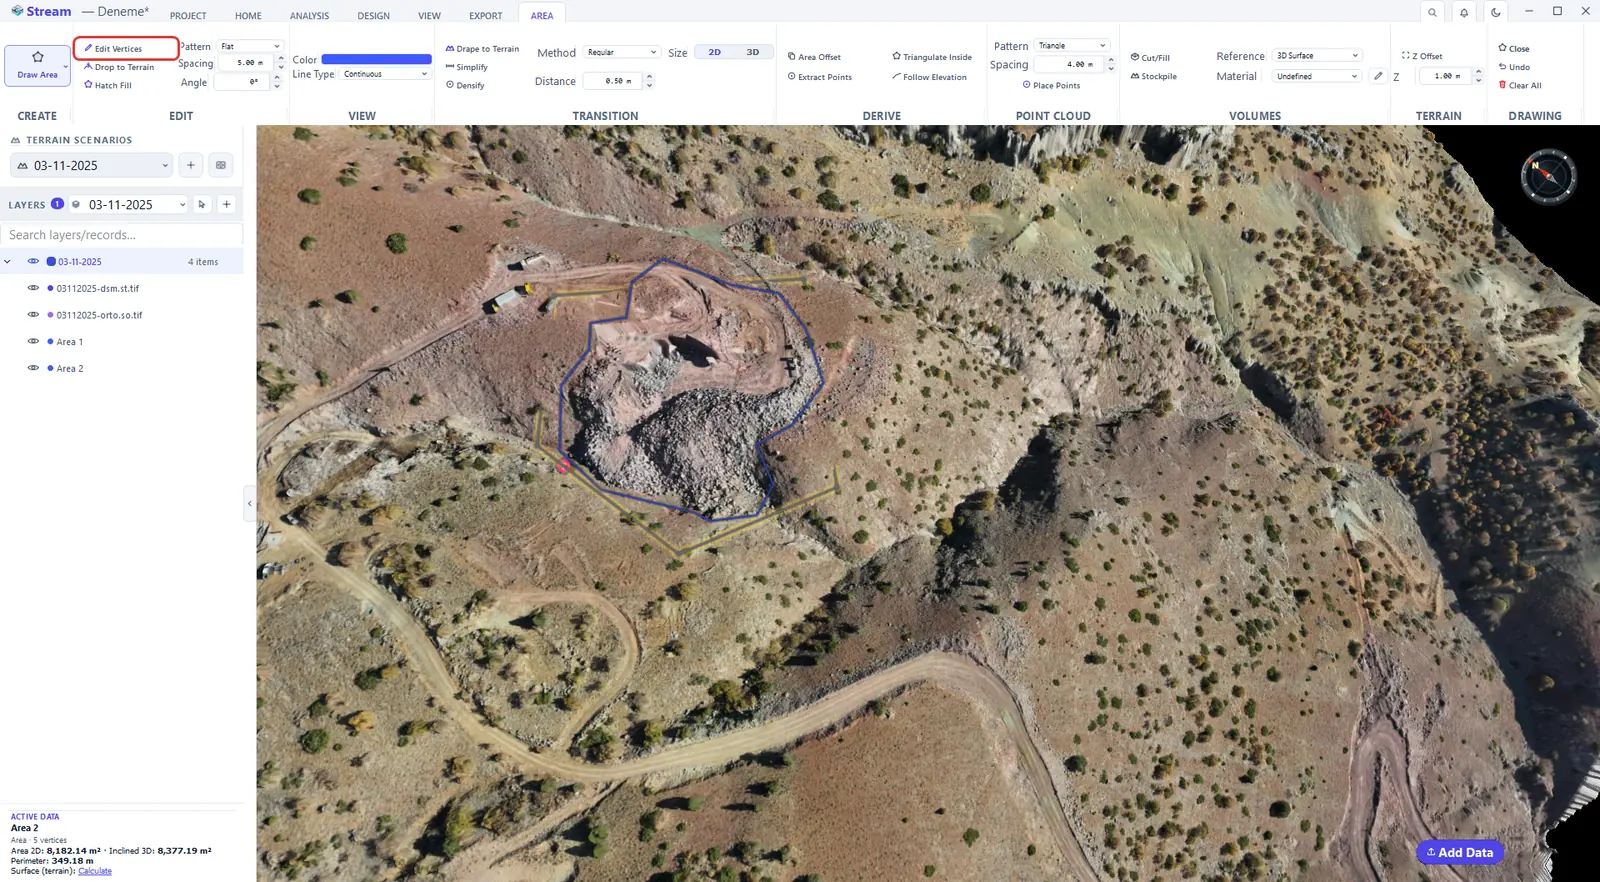
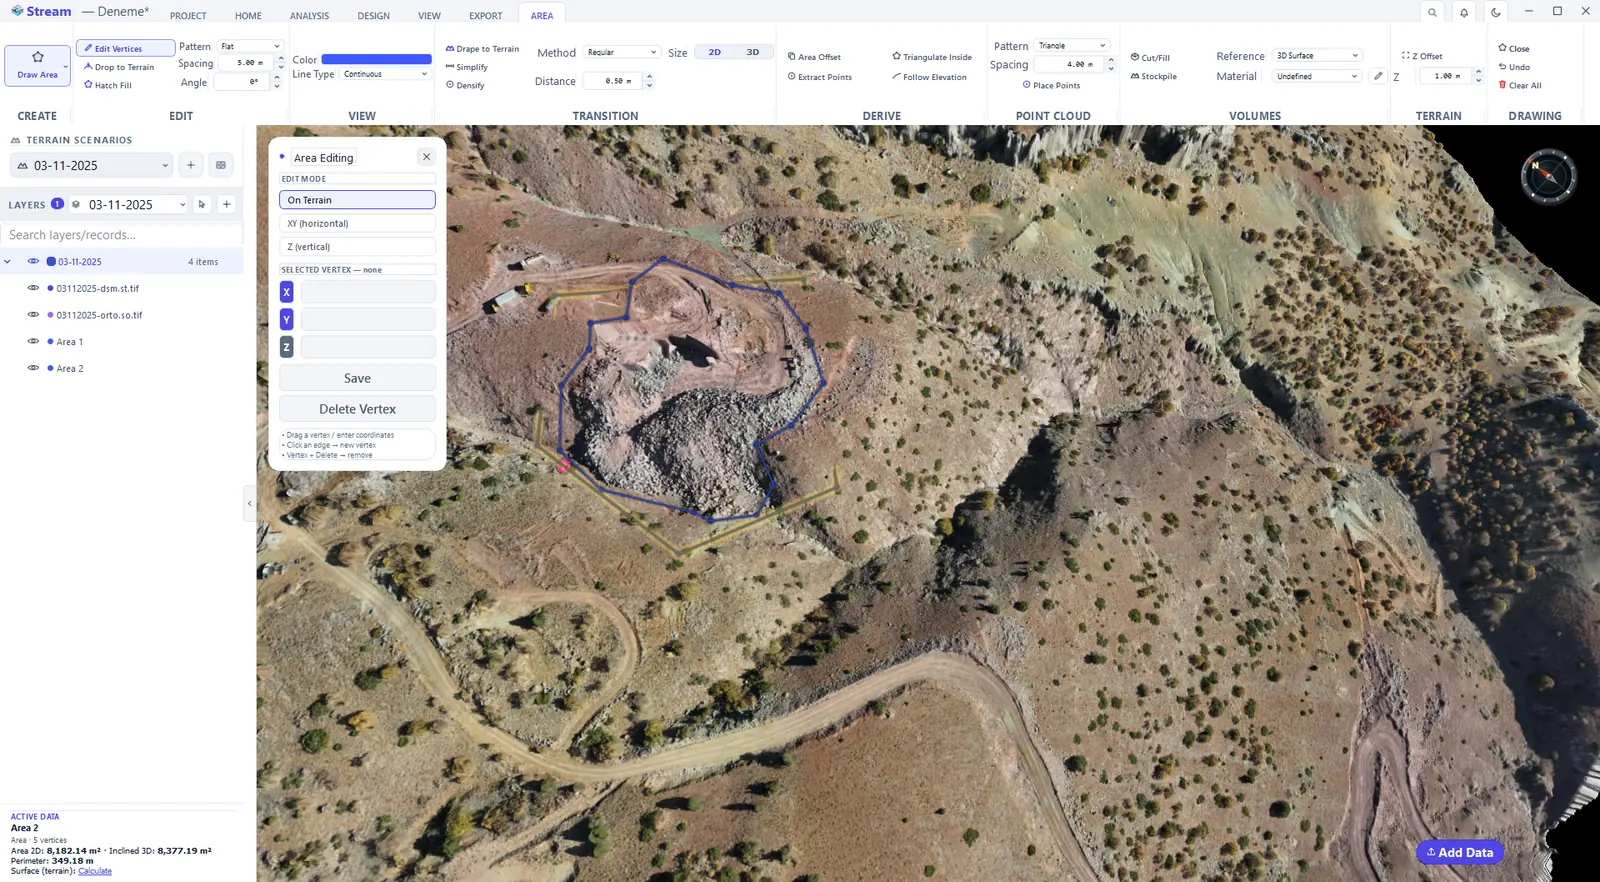
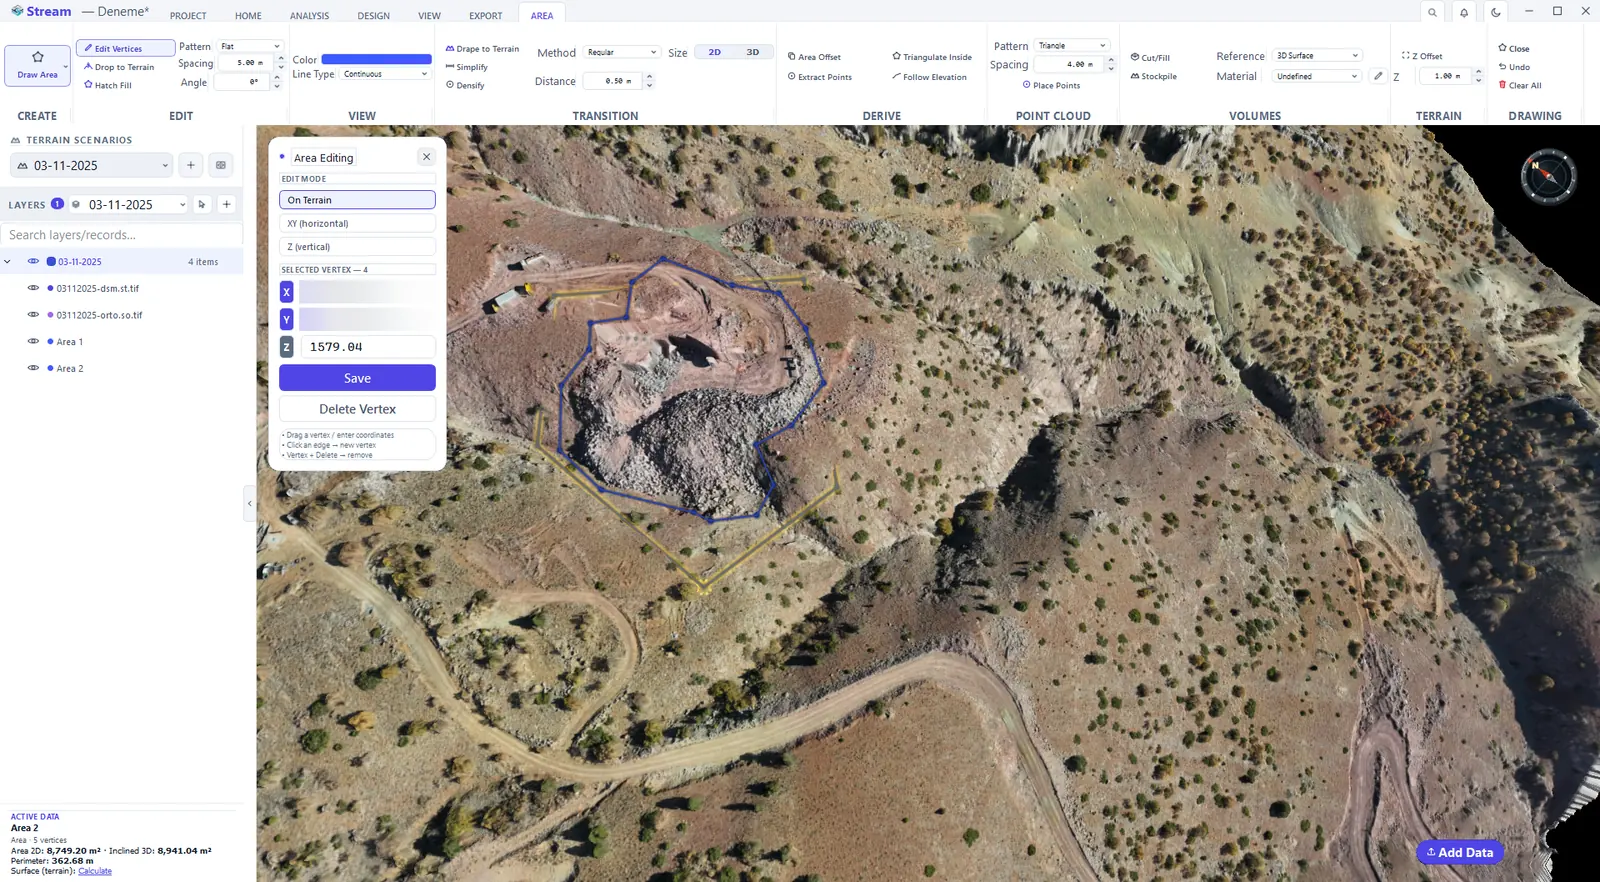
Edit Vertices shows the corners as handles. Drag a corner and the area, its perimeter and the numbers on the card update at once; the Area Editing window lets you type exact X, Y and Z values for the selected corner.
Press Edit Vertices.
Corners show as handles.
Drag a corner, the area updates.
Hatch fill
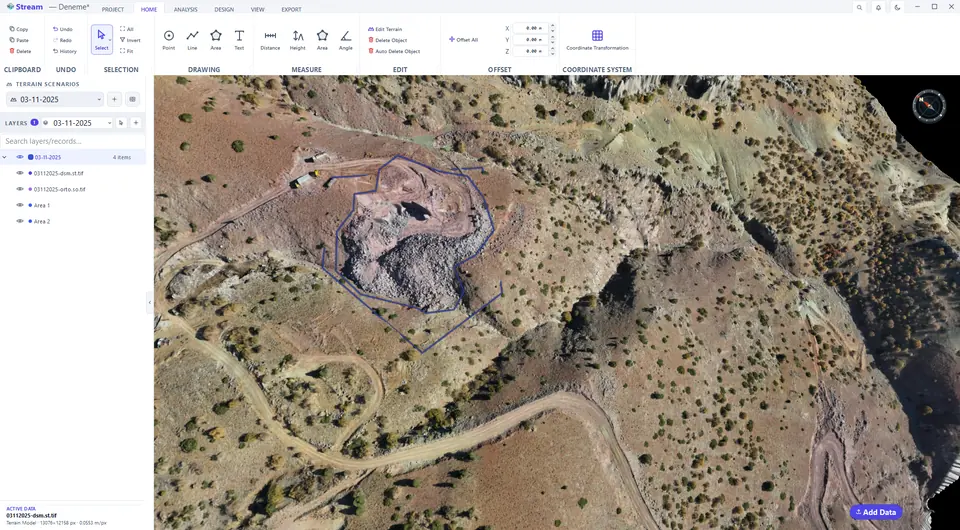
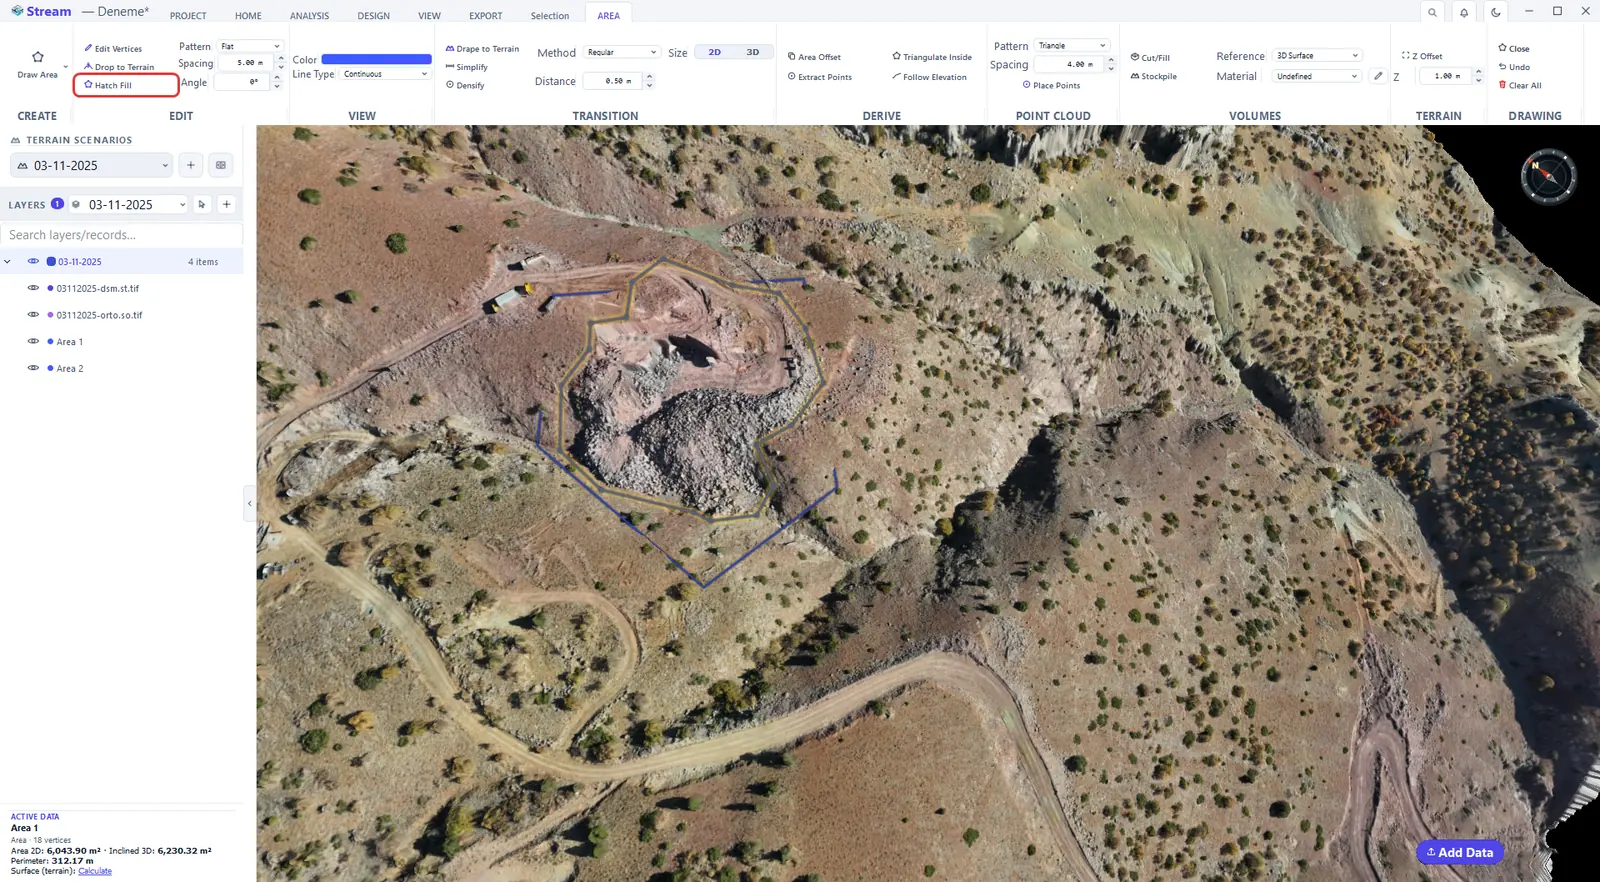
Hatch Fill draws the area with a hatch pattern instead of a solid fill — handy for plans that are printed in black and white. Choose the Pattern, the Spacing and the Angle on the AREA tab.
Turn on Hatch Fill.
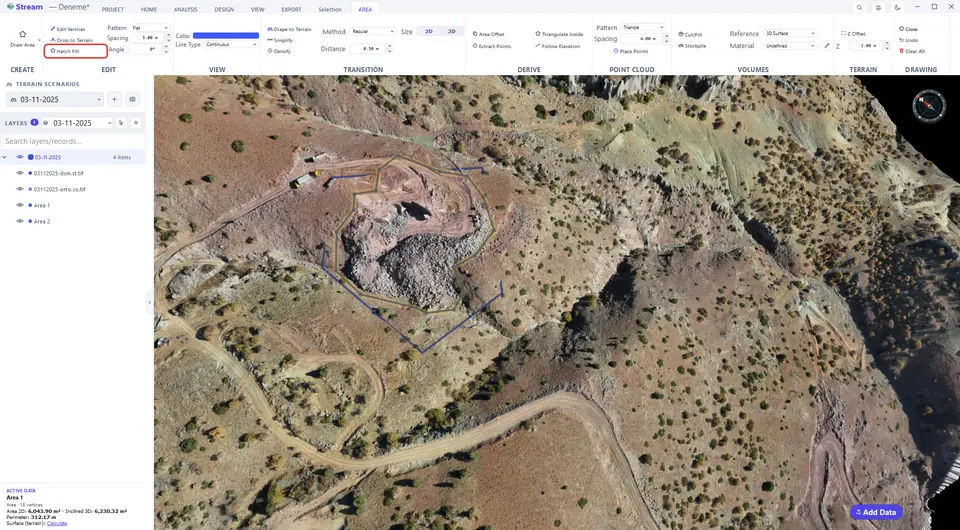
Pattern, spacing and angle on the Area tab.
The hatched area.
Offset an area
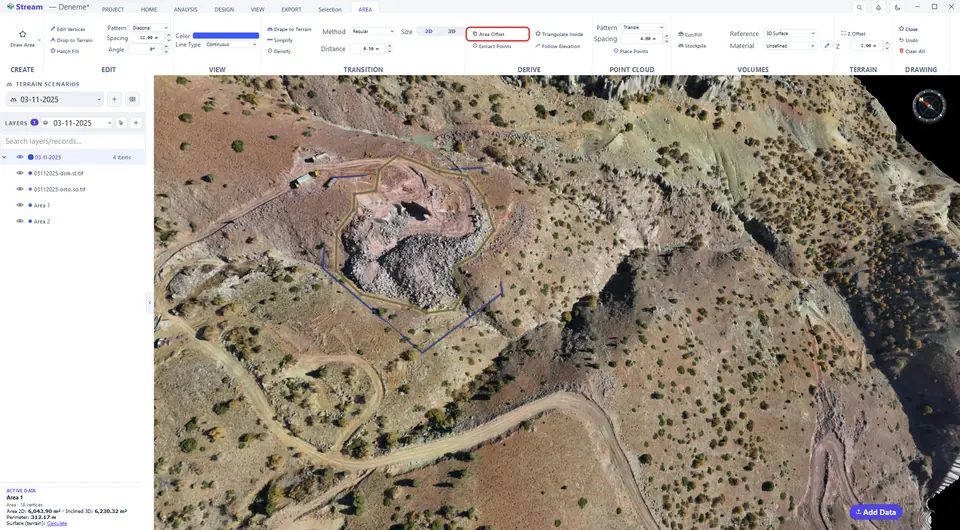
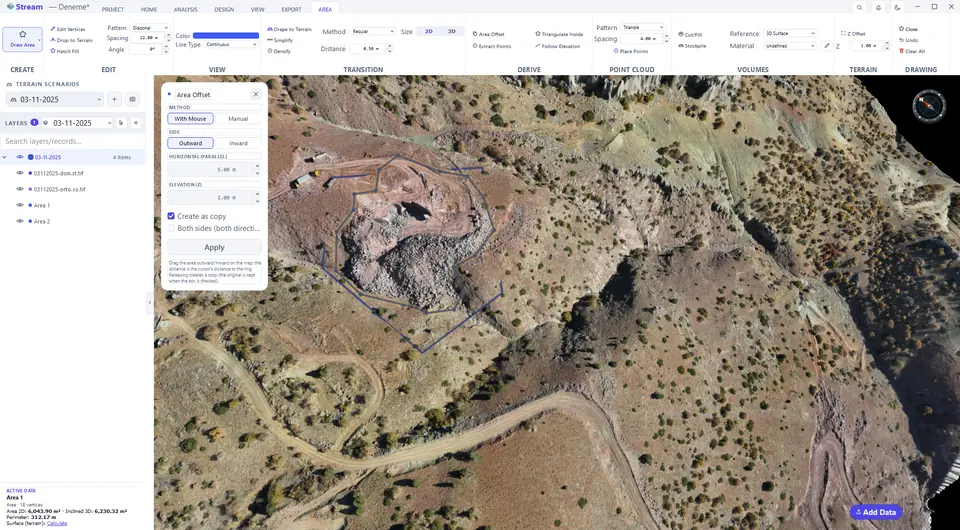
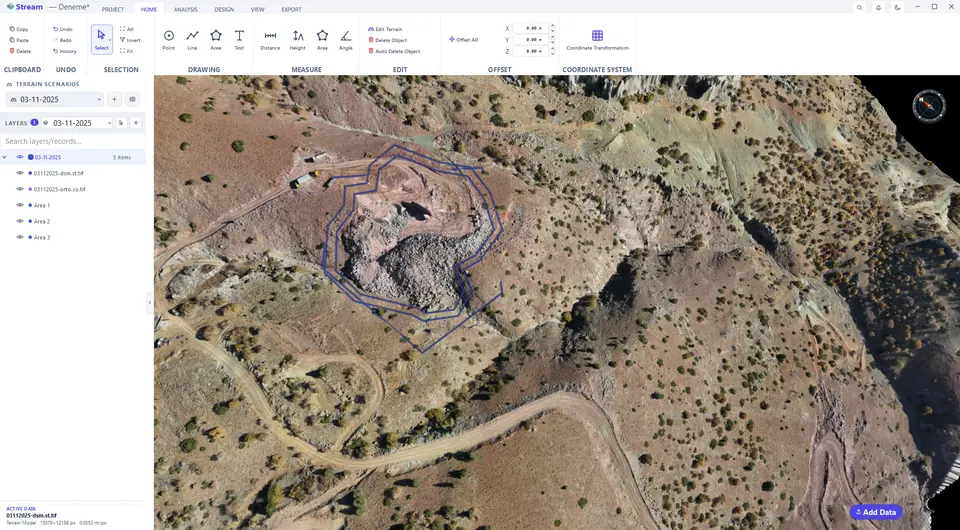
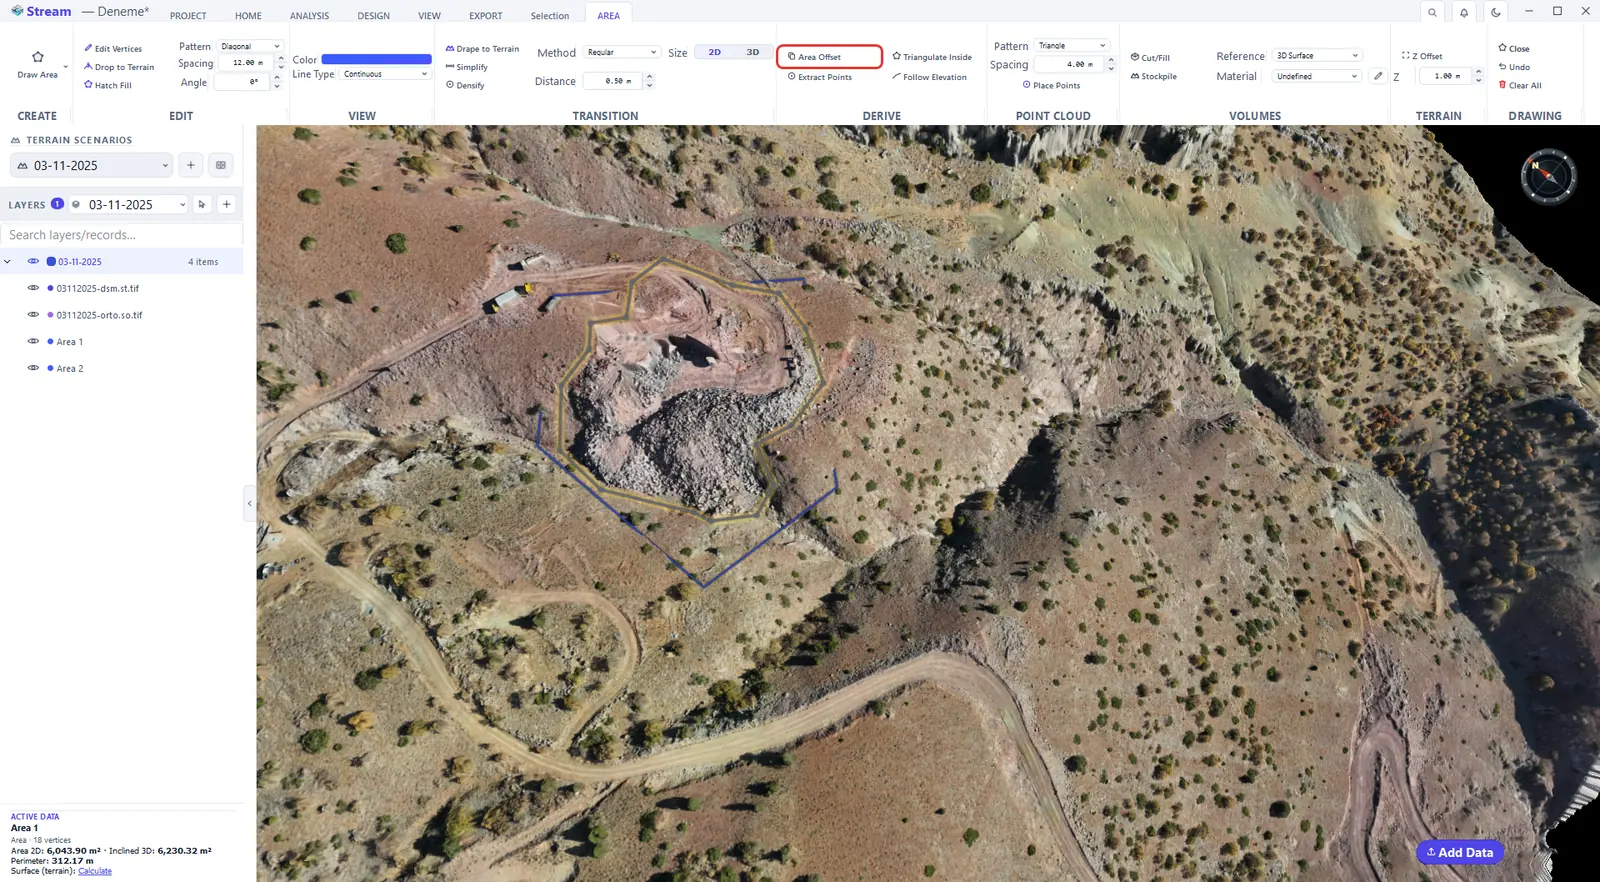
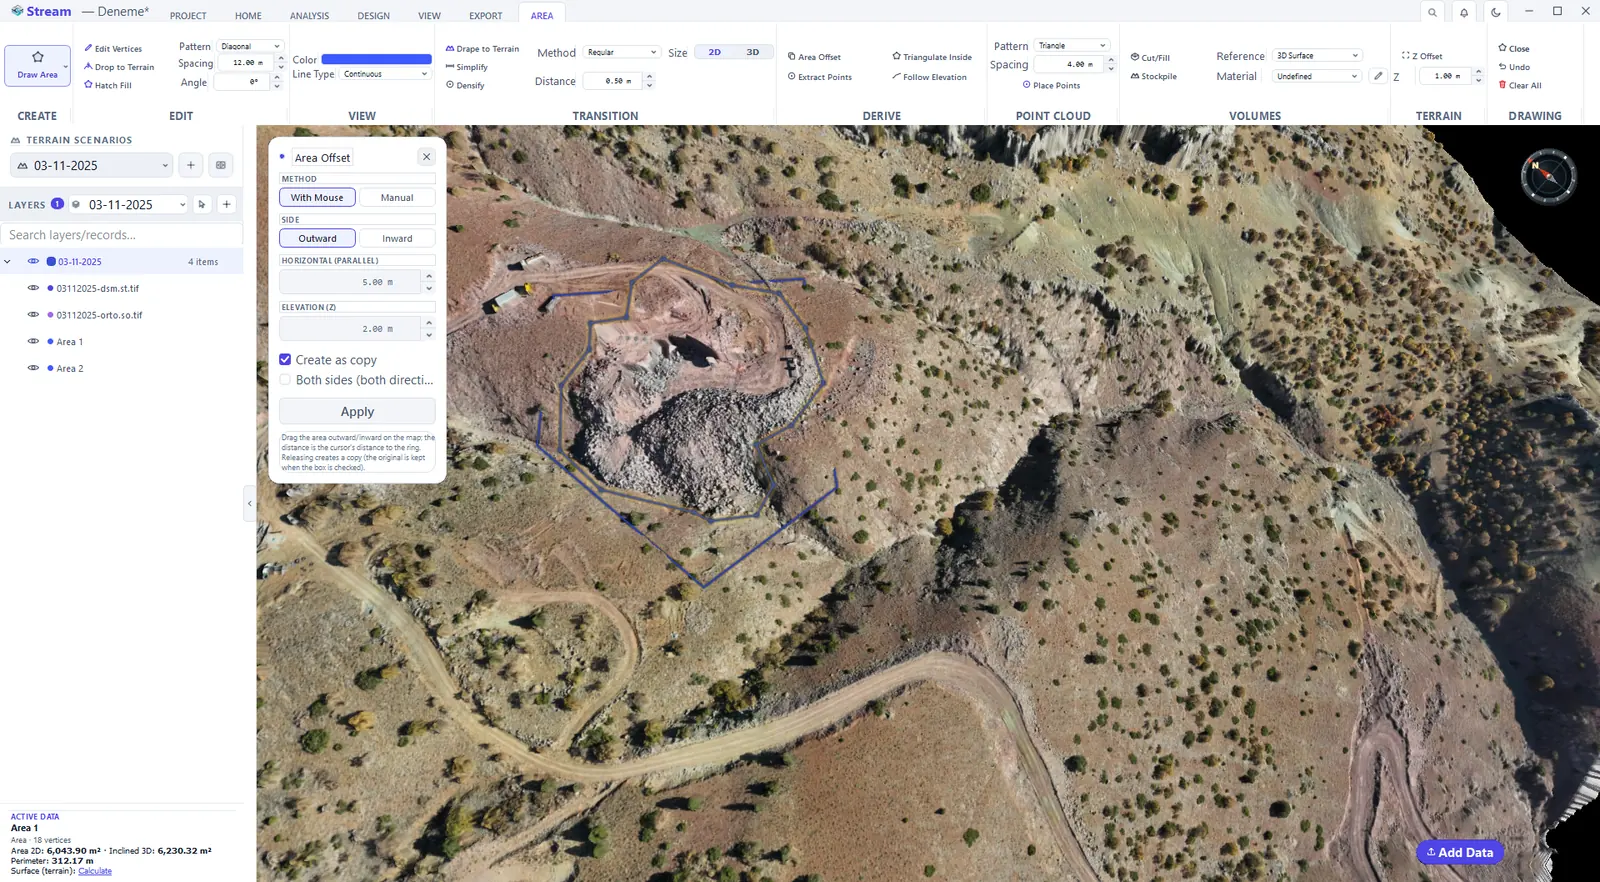
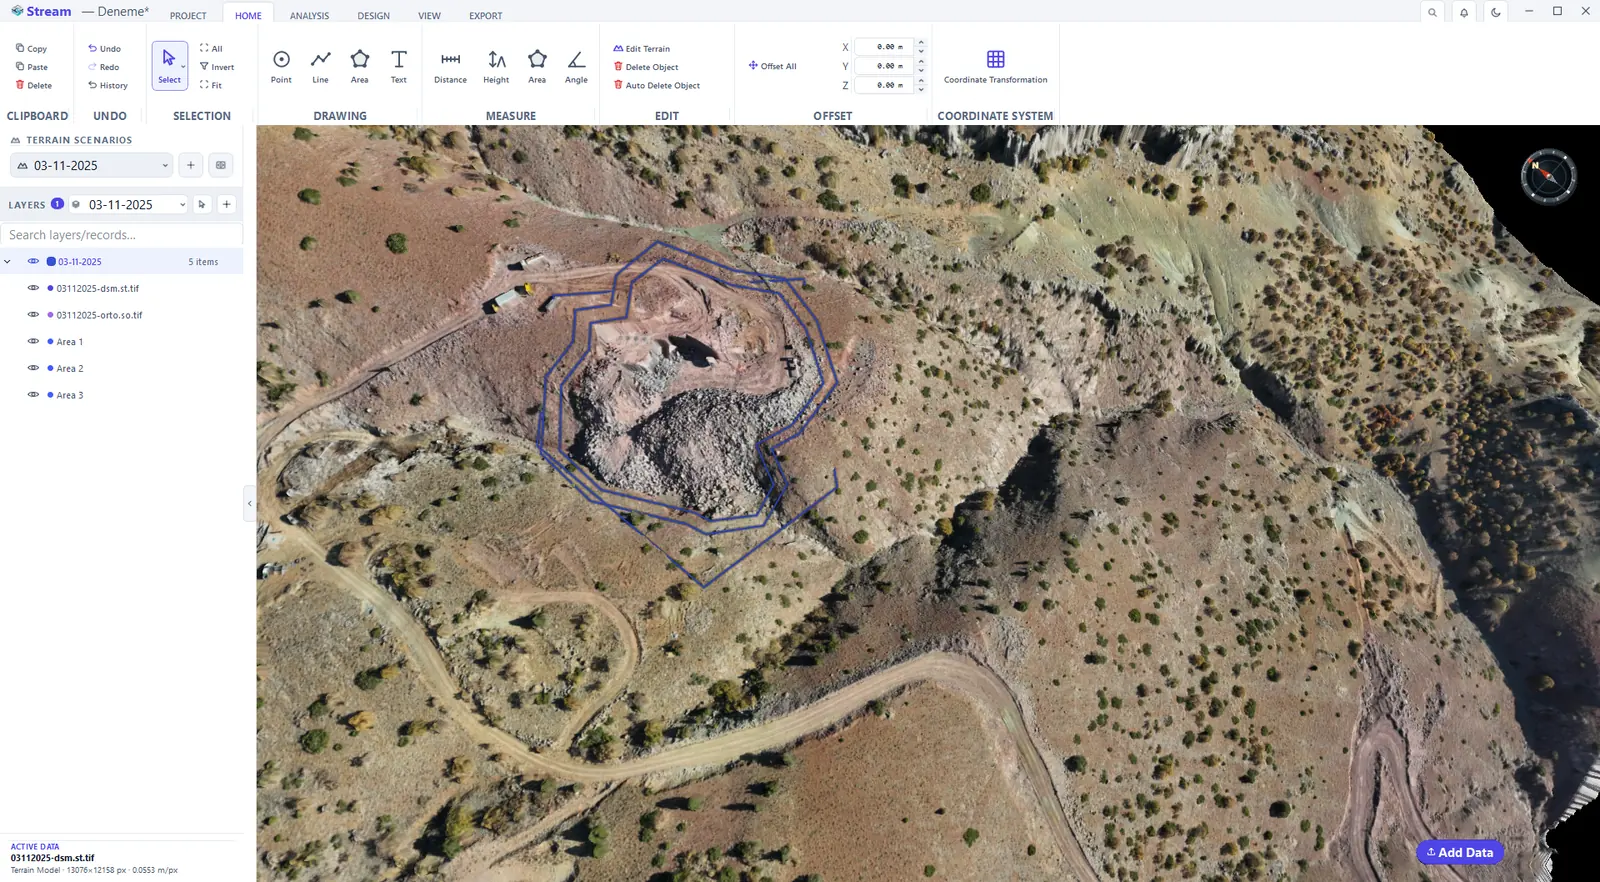
Area Offset grows the area outward or shrinks it inward by a distance, producing a copy. Choose With Mouse to drag it, or Manual to type the side (outward or inward) and the distance, then press Apply.
Press Area Offset.
Choose outward or inward and the distance.
The offset boundary around the area.
Extract points from an area
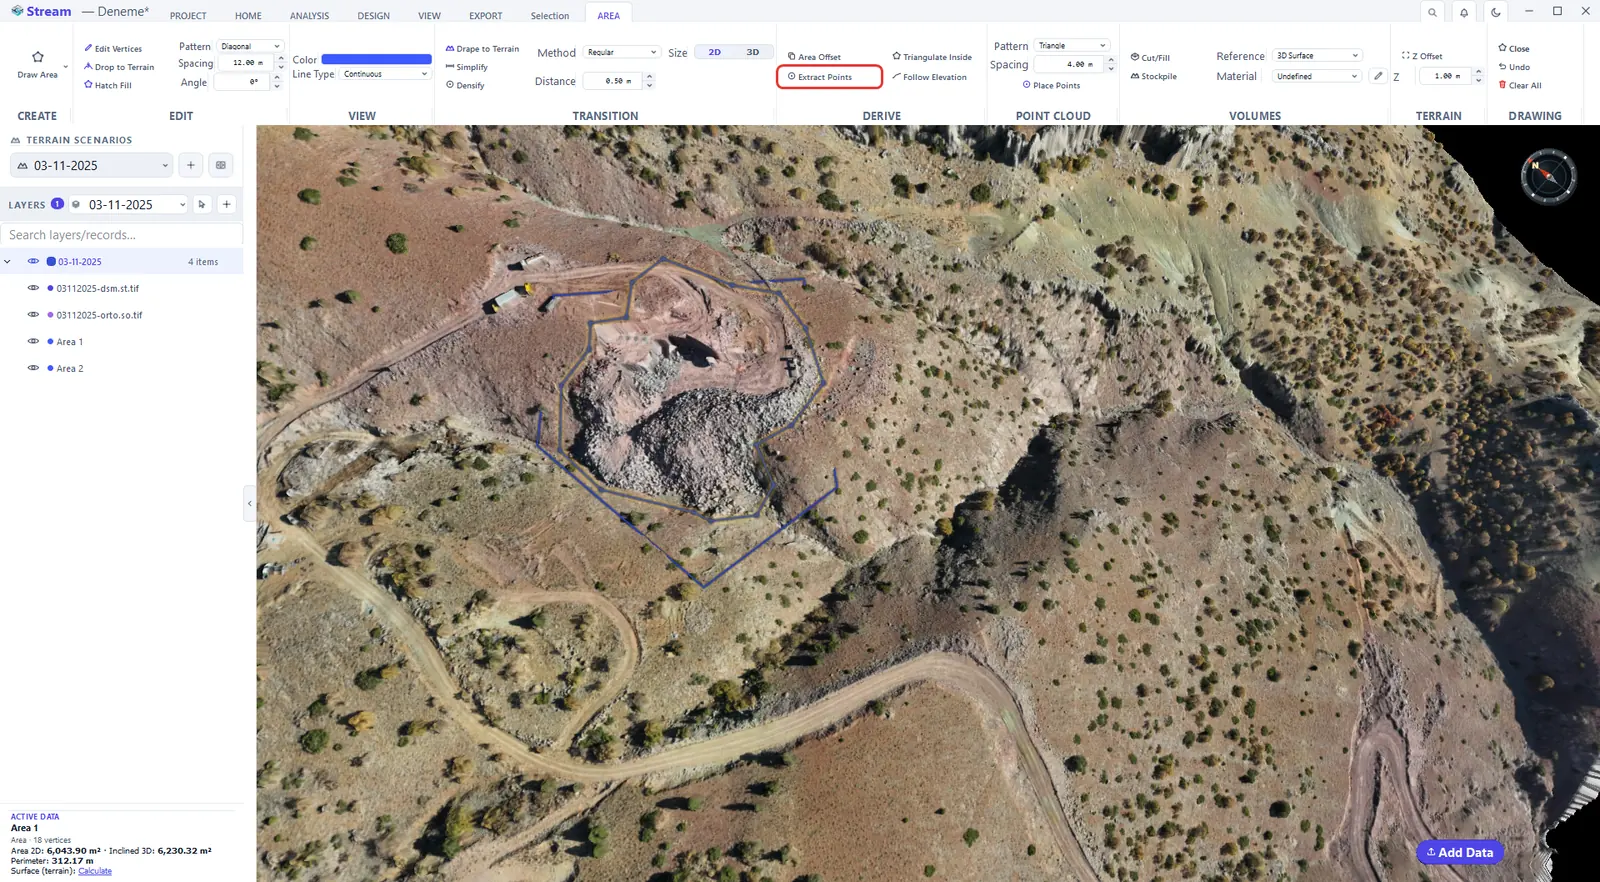
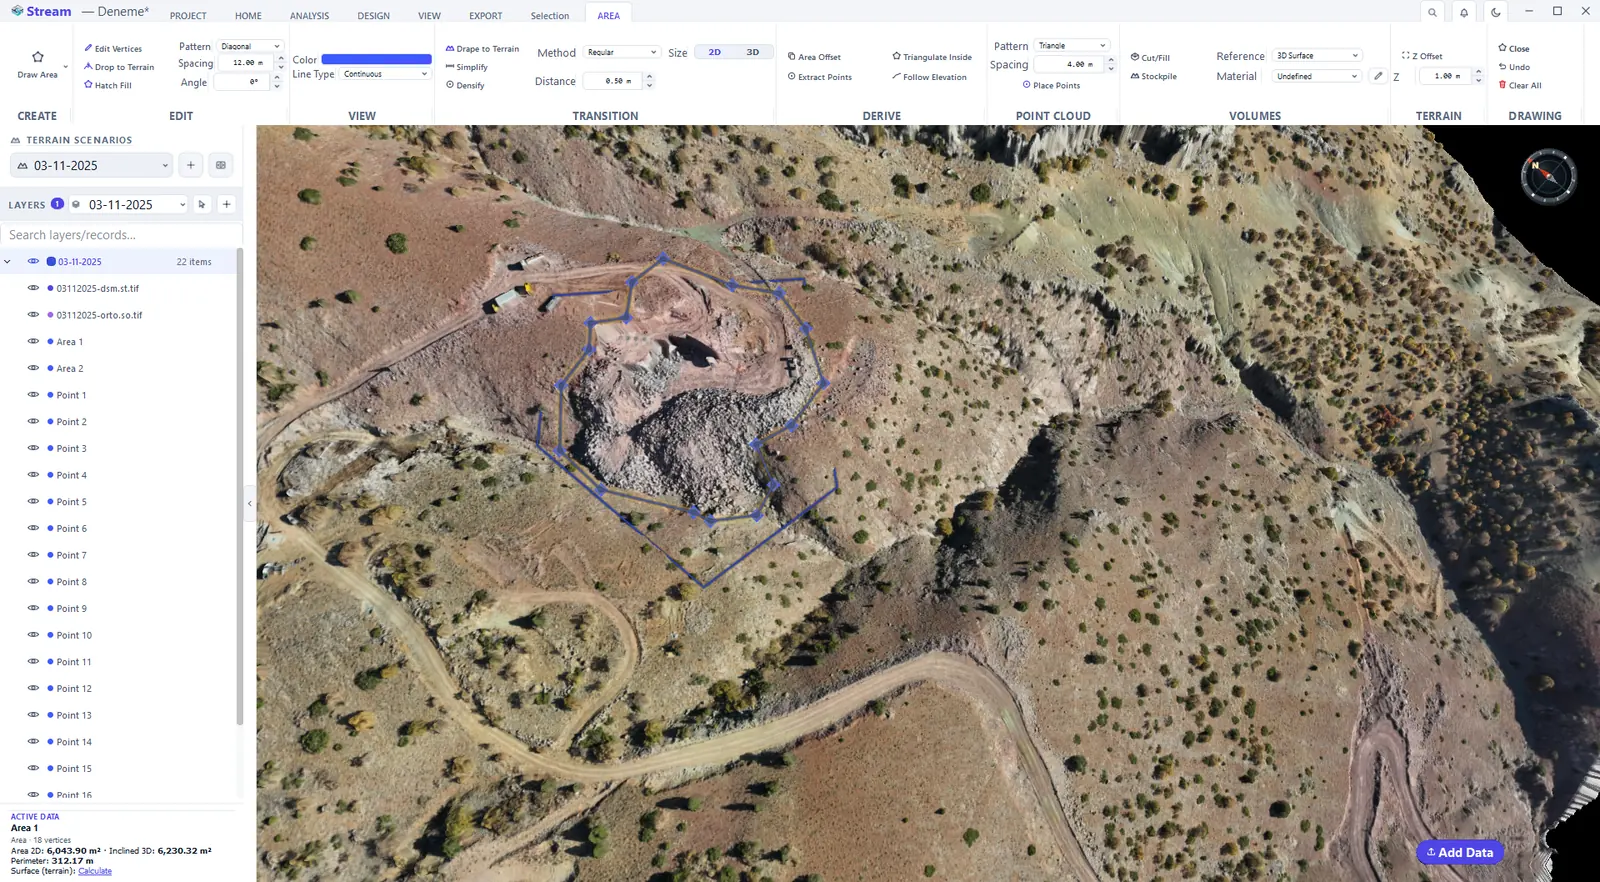
Extract Points turns the corners into separate points in their own layer.
Press Extract Points.
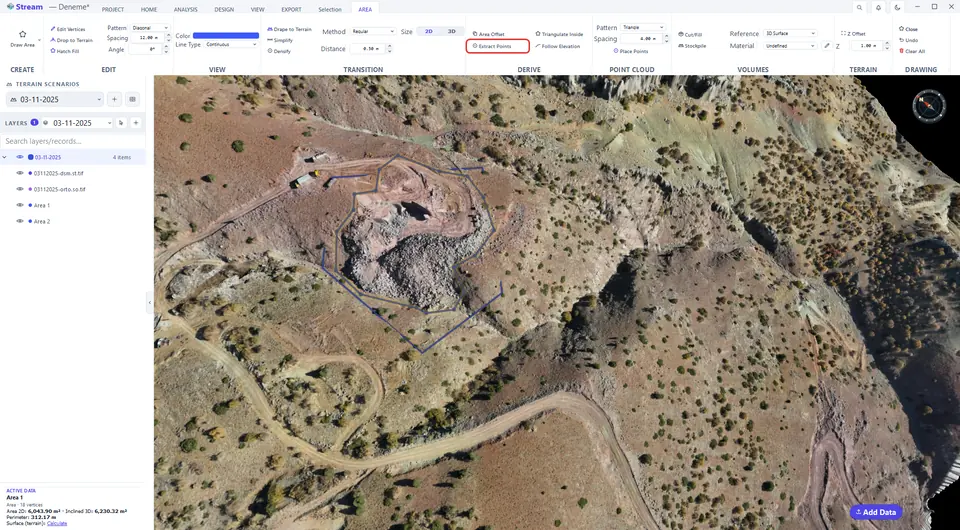
Points on the area corners.
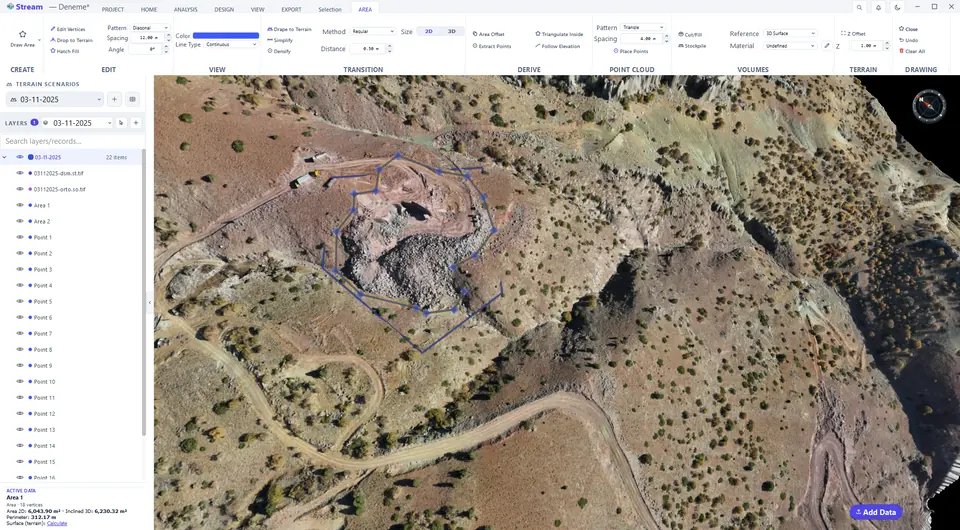
Place a grid of points inside an area
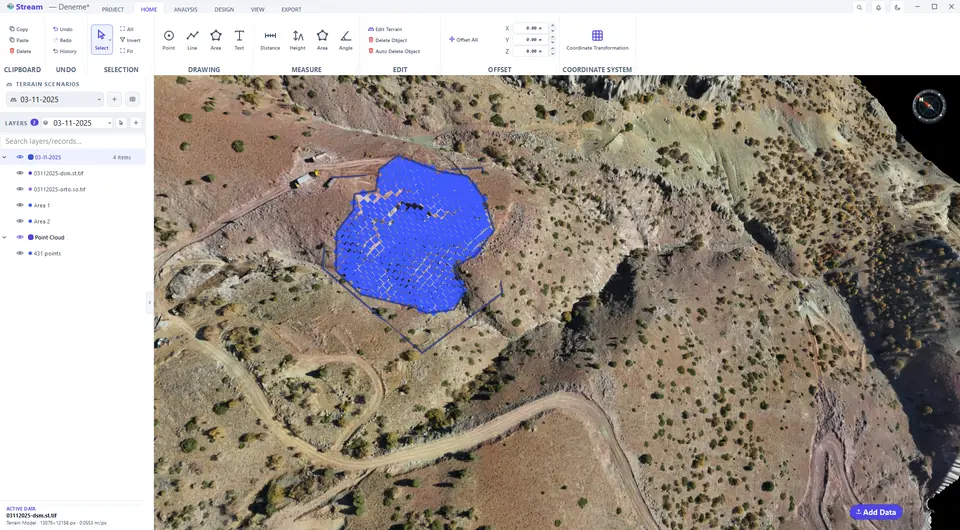
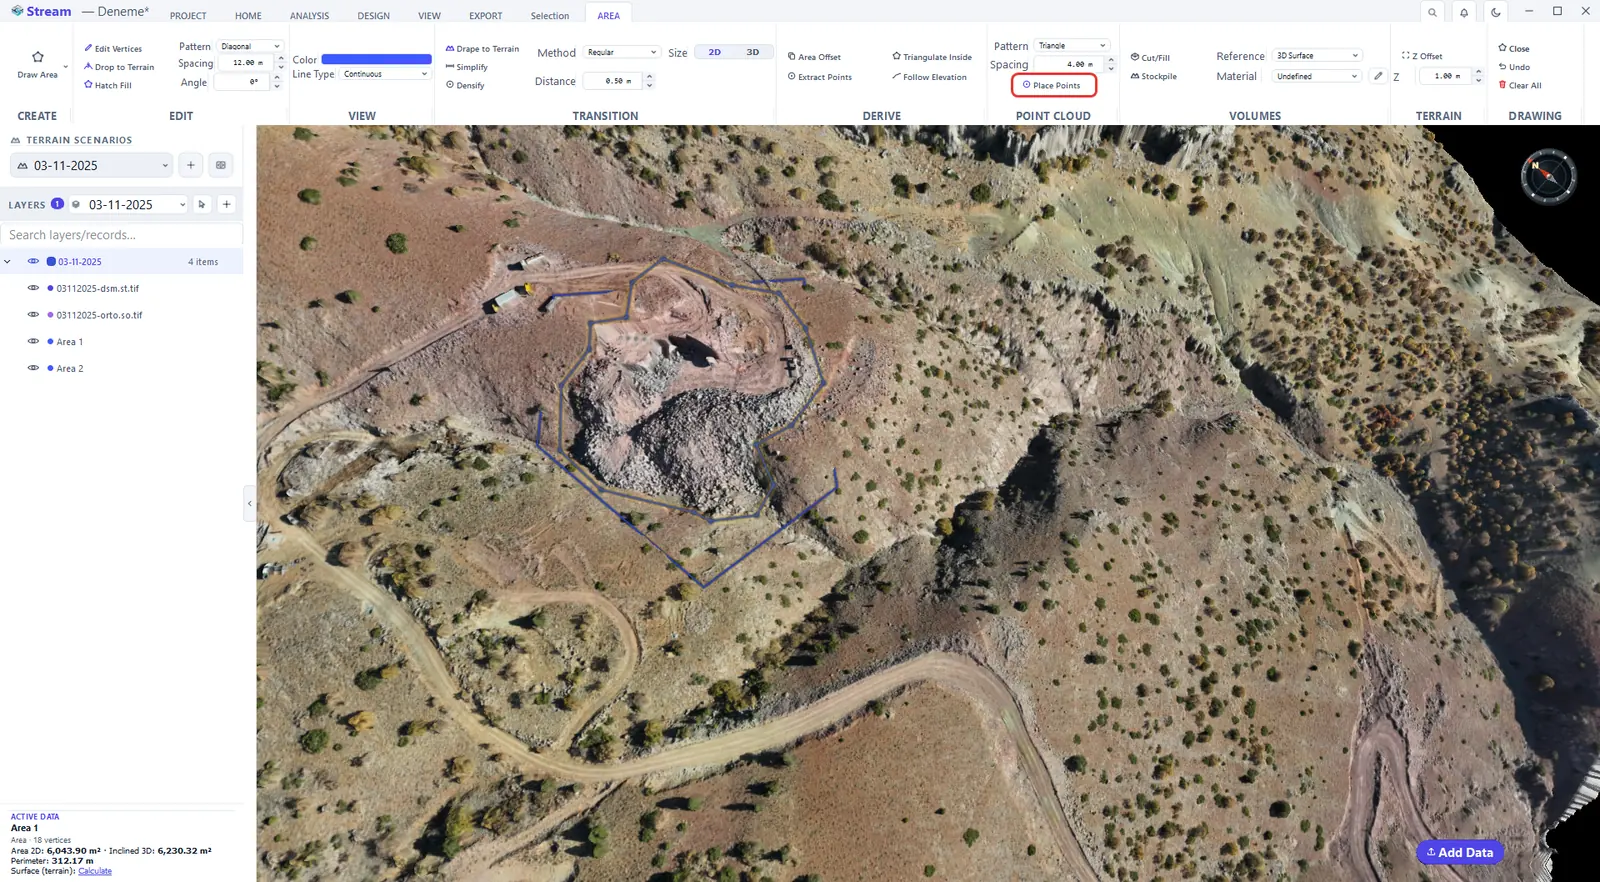
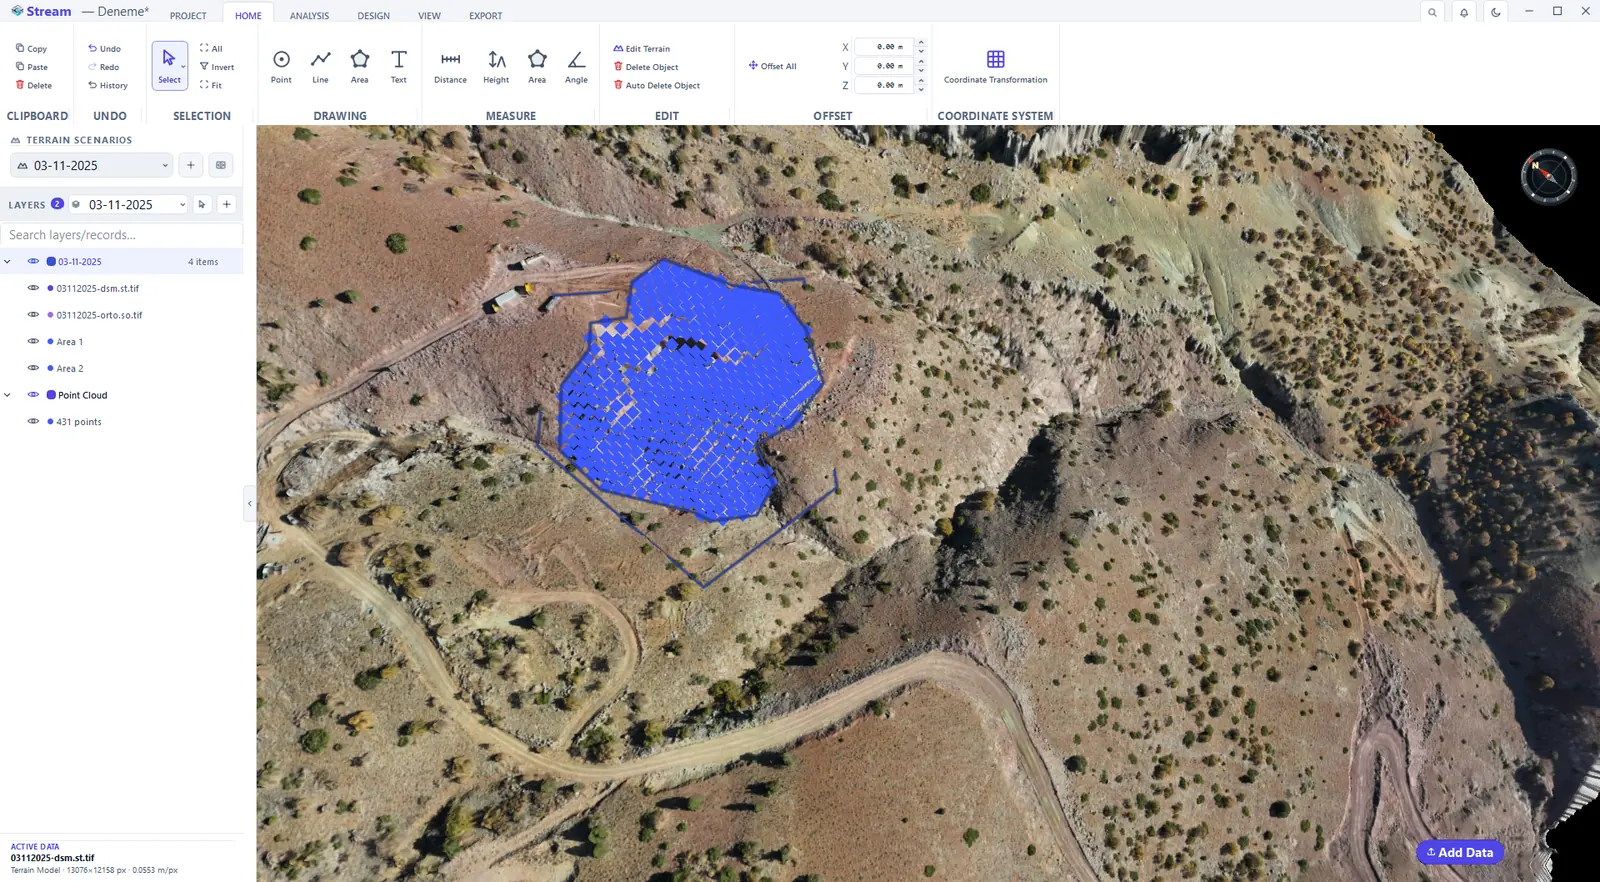
In the POINT CLOUD group of the AREA tab, choose the Pattern (Triangle, Rectangle or Low-pass) and the Spacing, then press Place Points to fill the area with a regular grid of points. Your last choice is remembered.
Choose a pattern and spacing.
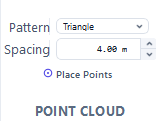
Press Place Points.
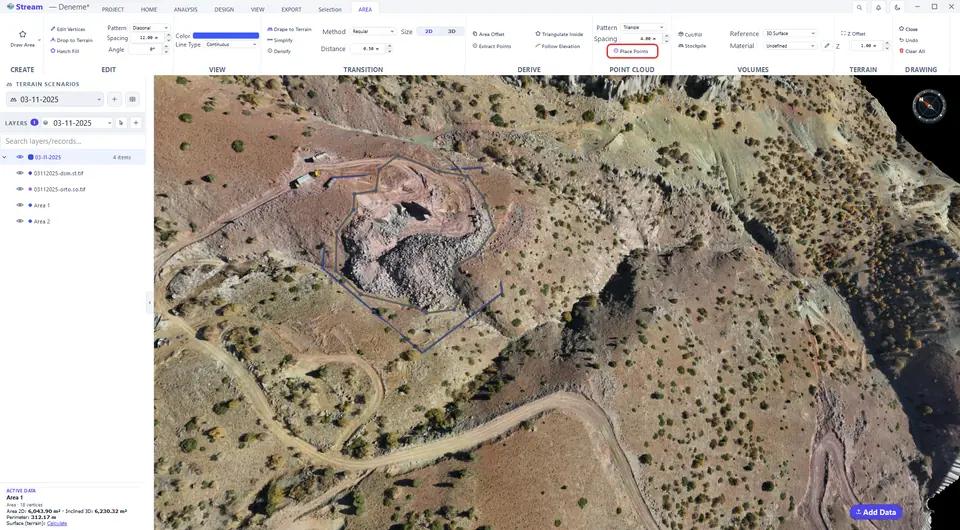
A regular point grid inside the area.
Triangulate inside an area
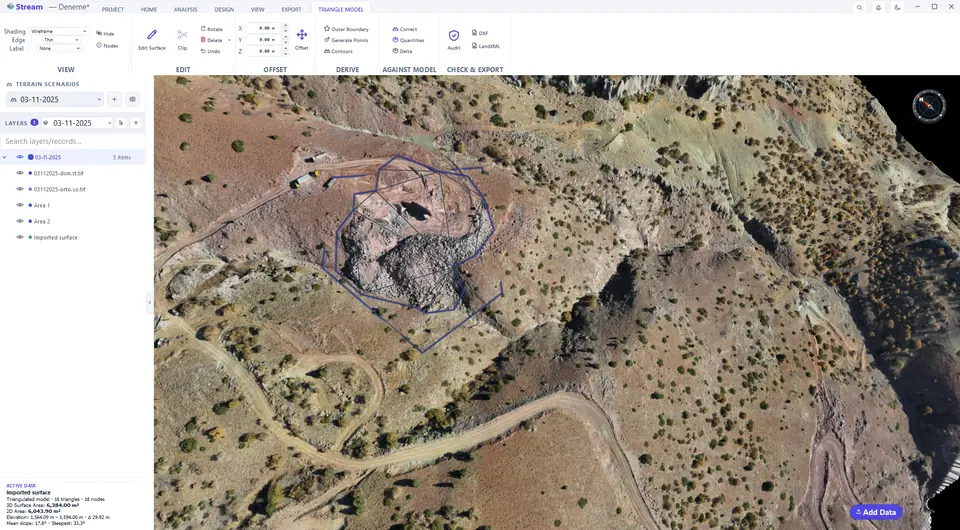
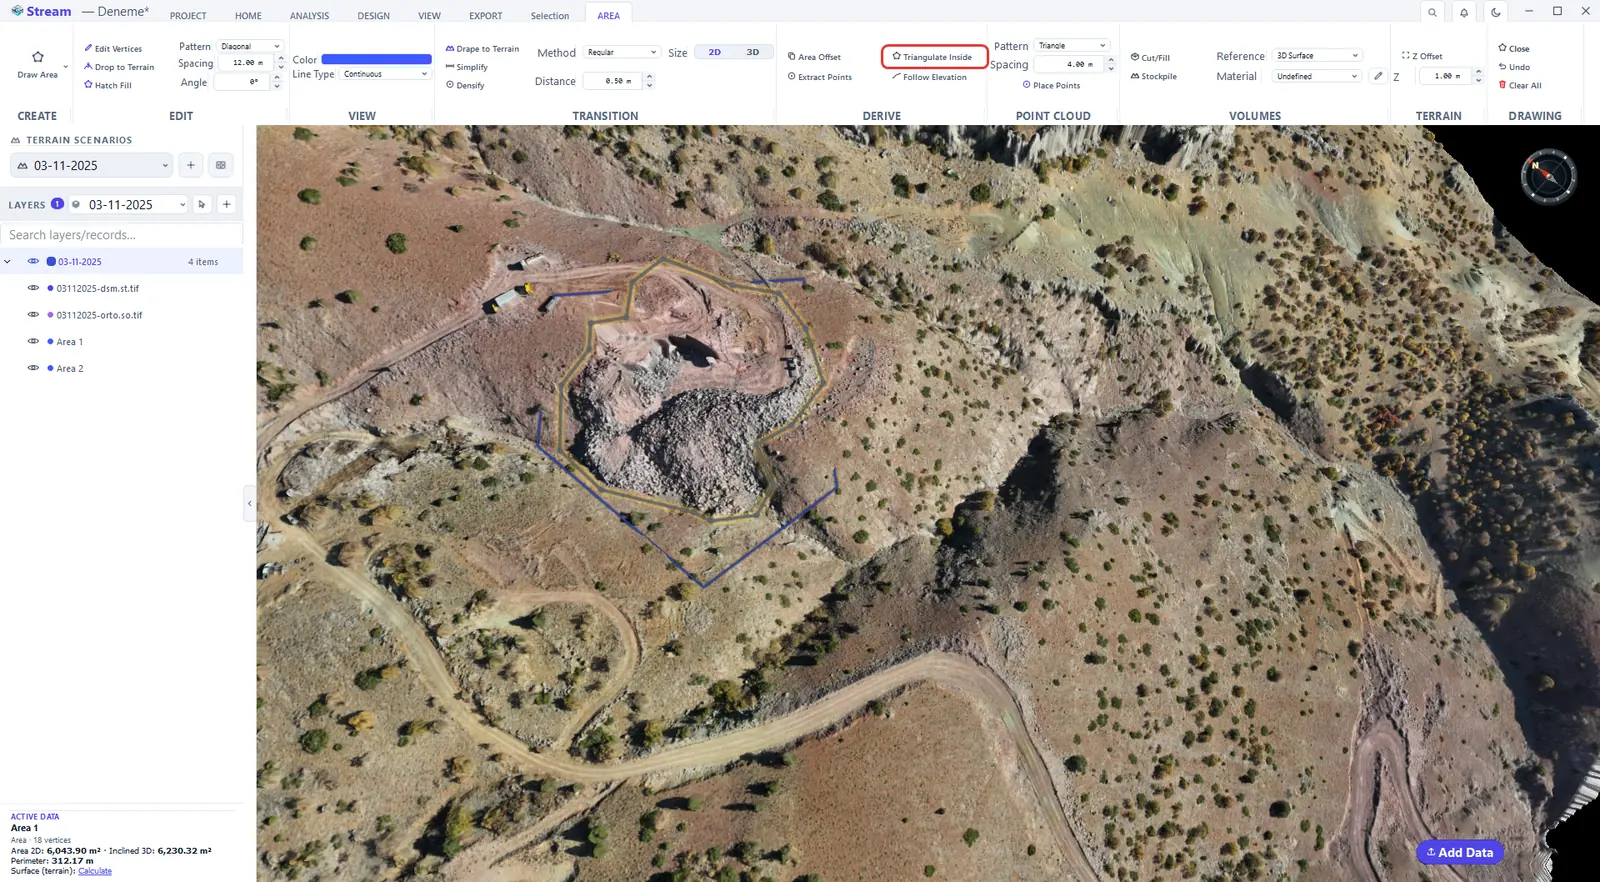
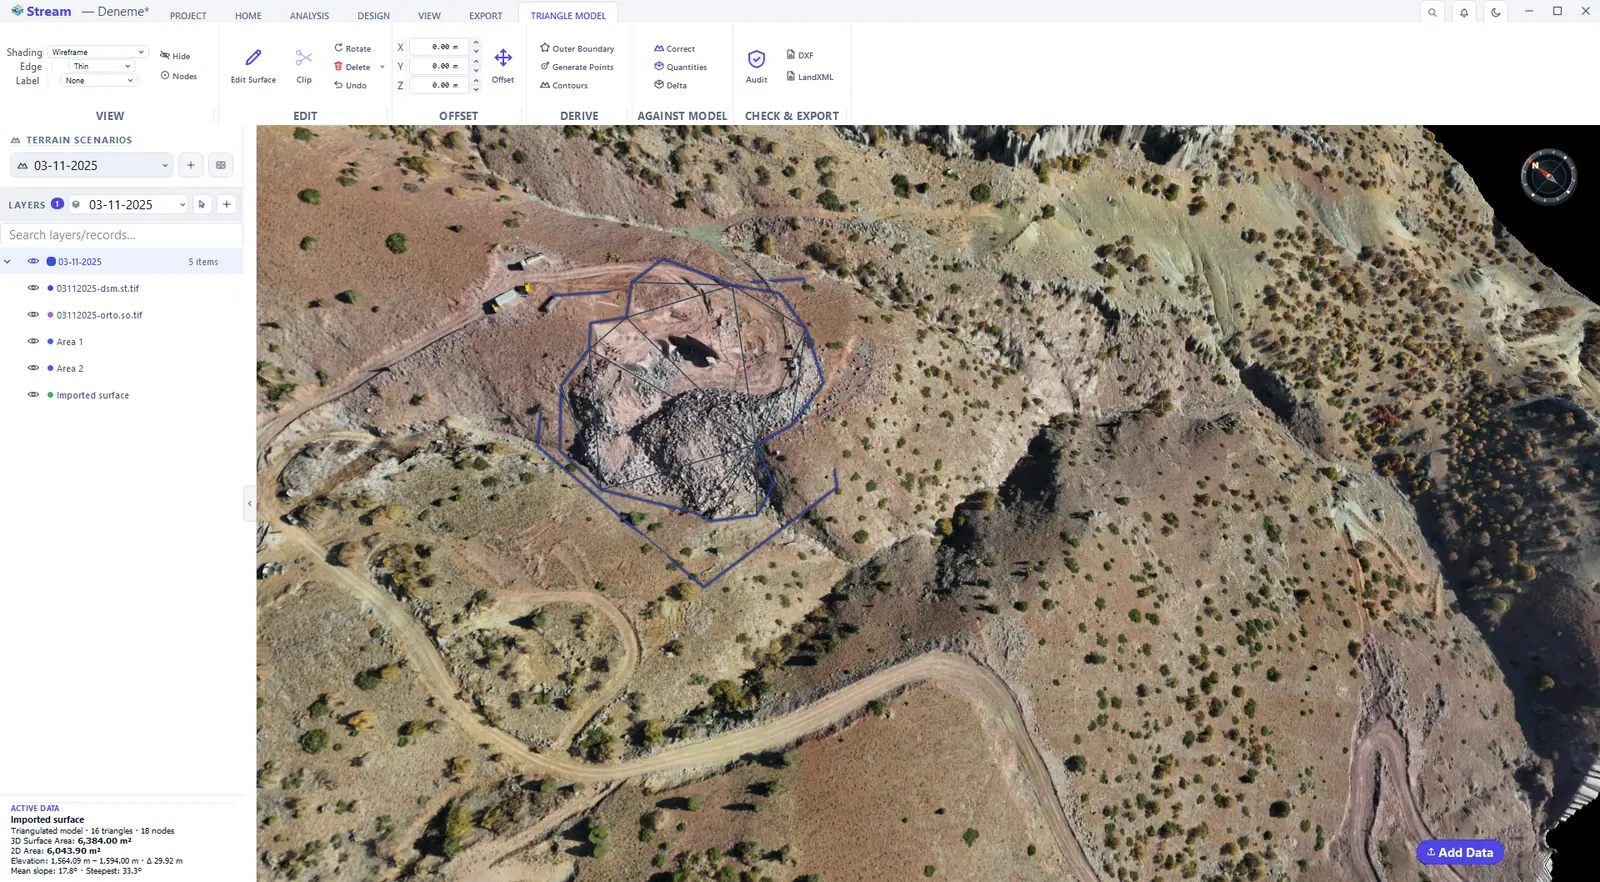
Triangulate Inside builds a TIN surface from the points inside the area. It is the area-bounded counterpart of building a TIN from points.
Press Triangulate Inside.
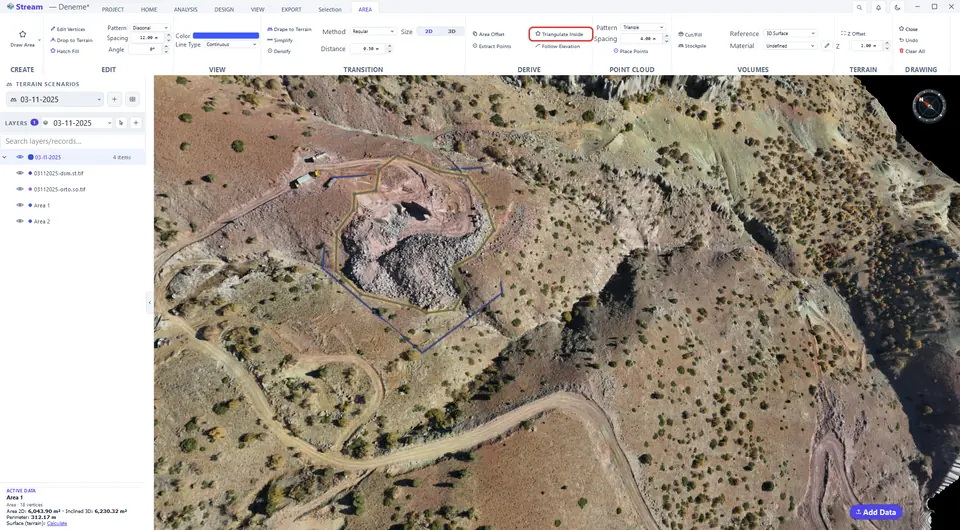
TIN surface inside the boundary.
Follow an elevation
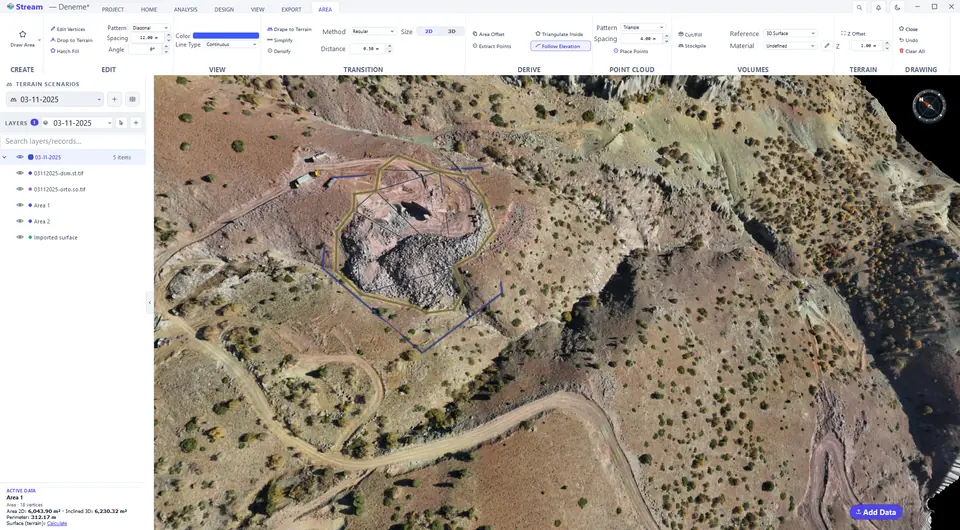
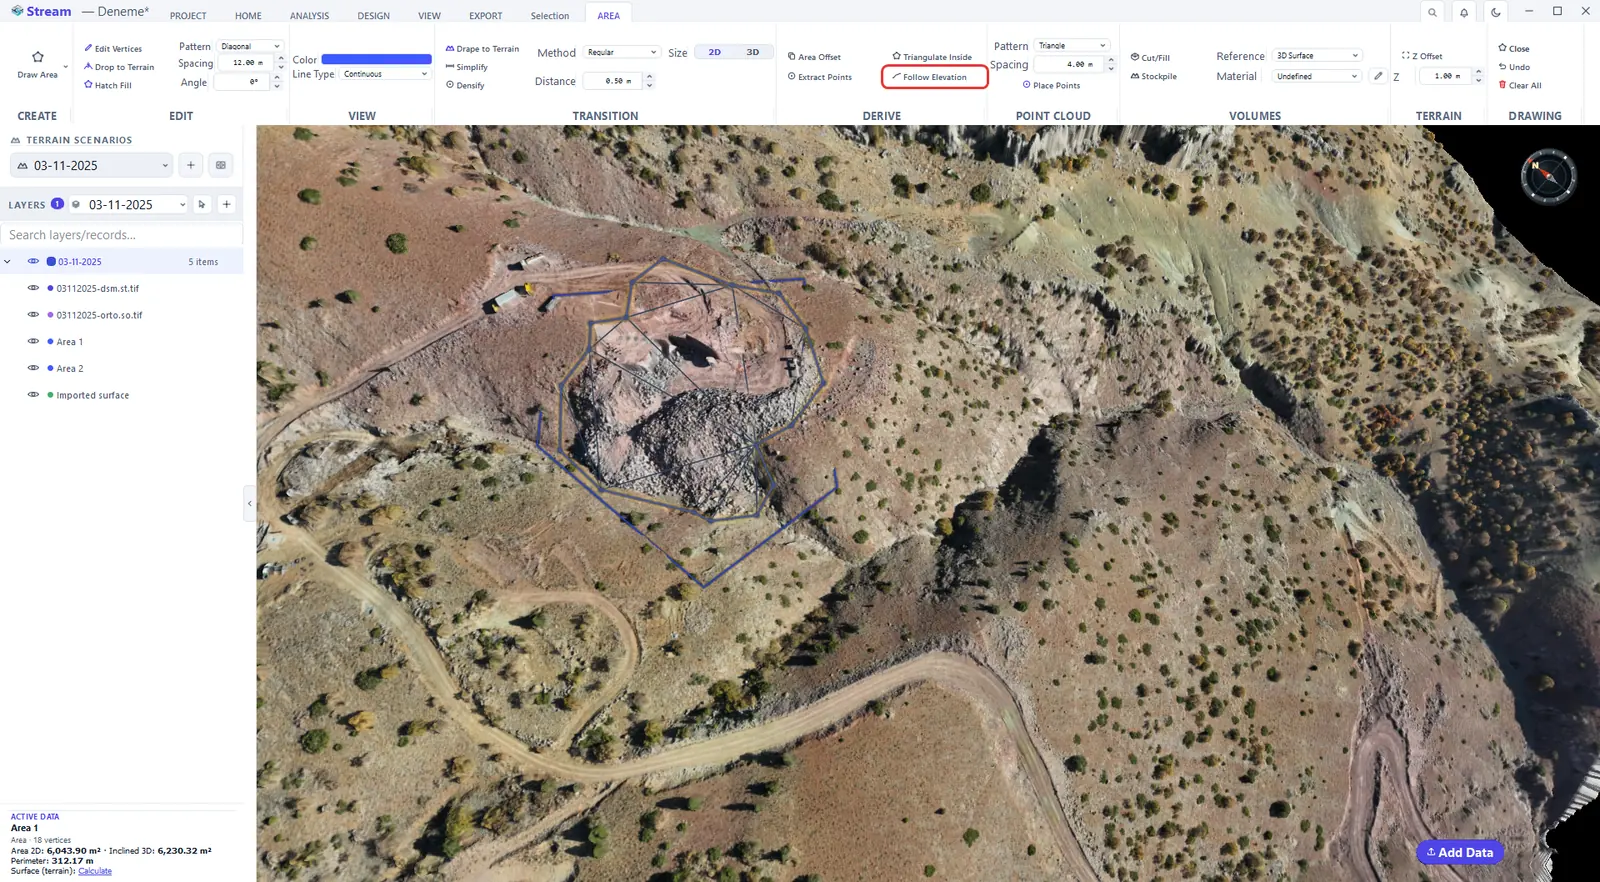
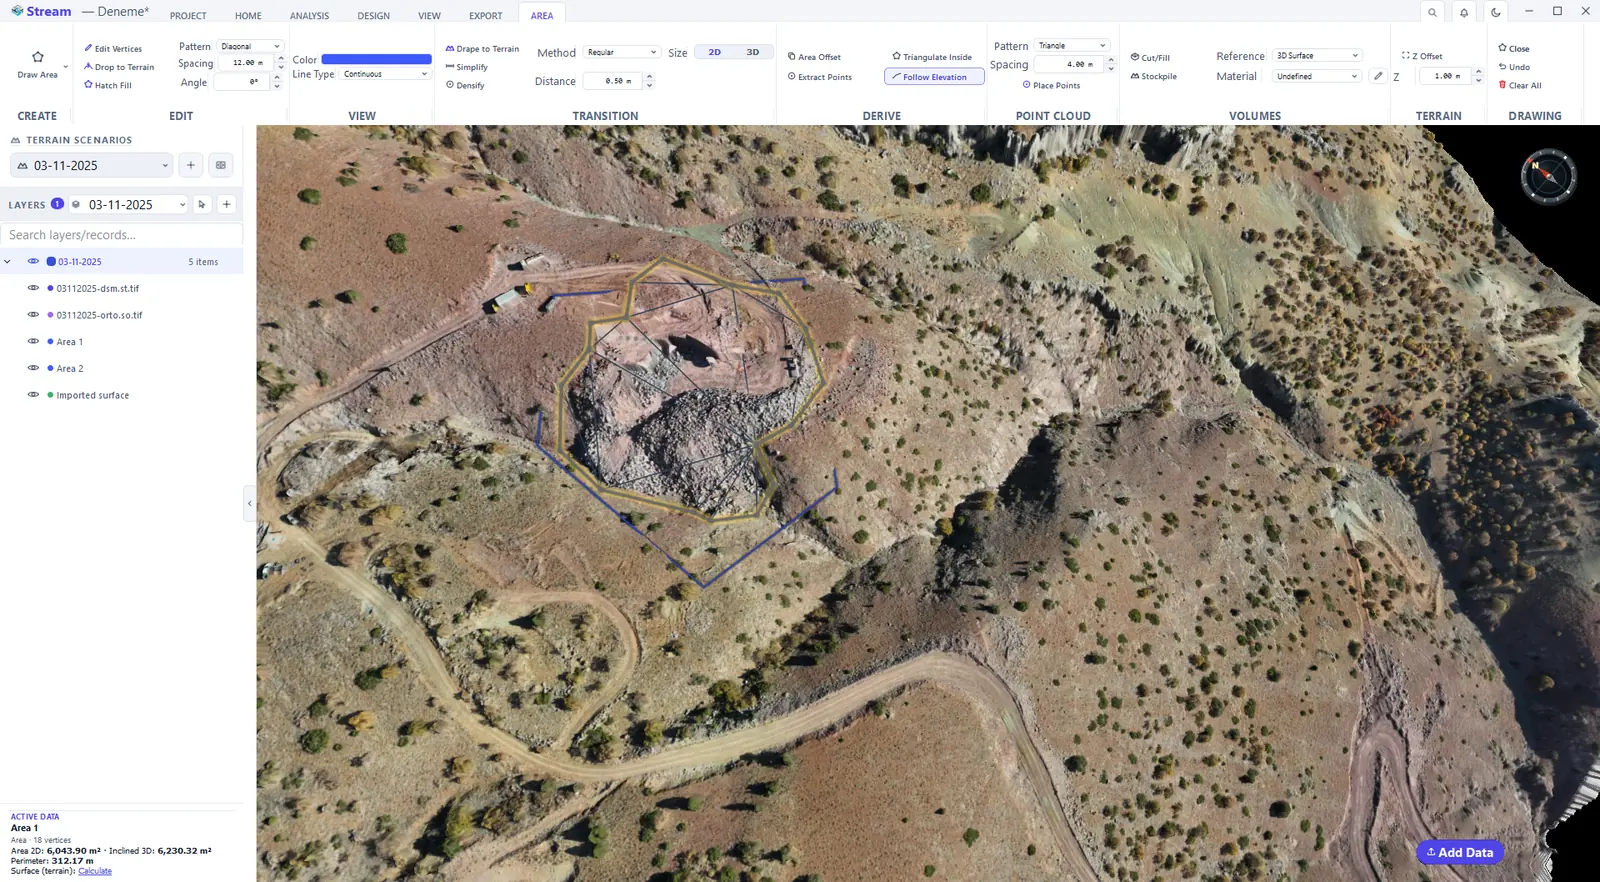
Follow Elevation turns the closed contour at the elevation you click on the terrain into a flat-Z area — for example the outline of the pit floor at one bench level.
Press Follow Elevation.
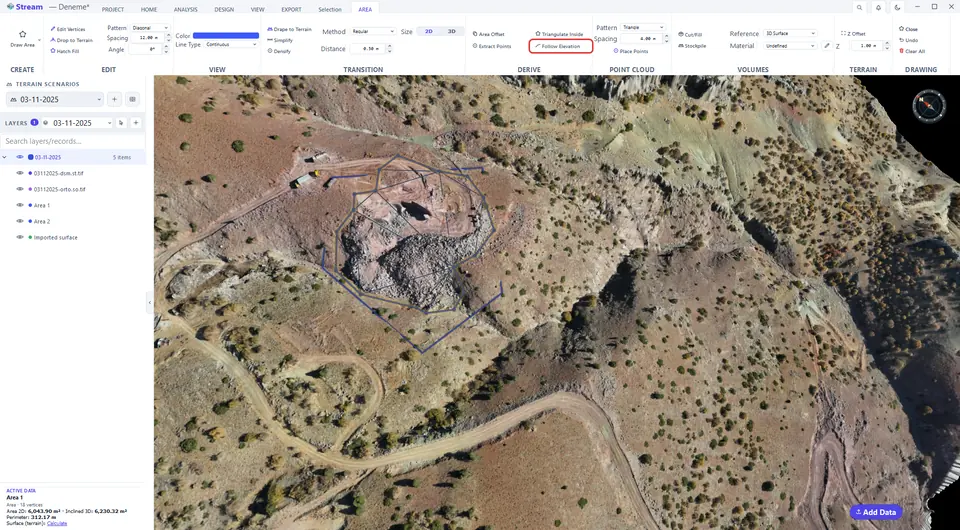
The boundary reads its elevation from the terrain.
Raise or lower the ground inside an area (Z Offset)
Enter the height in the Z Offset box of the TERRAIN group and press Z Offset: the terrain inside the selected area is raised (or lowered with a negative value). The edit is kept as a record in LAYERS — toggle its eye to compare the surface with and without it.
Enter the height, press Z Offset.
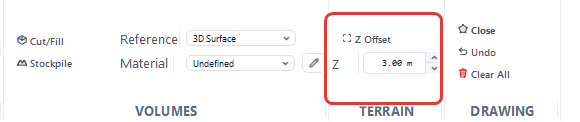
The terrain inside the area is raised.
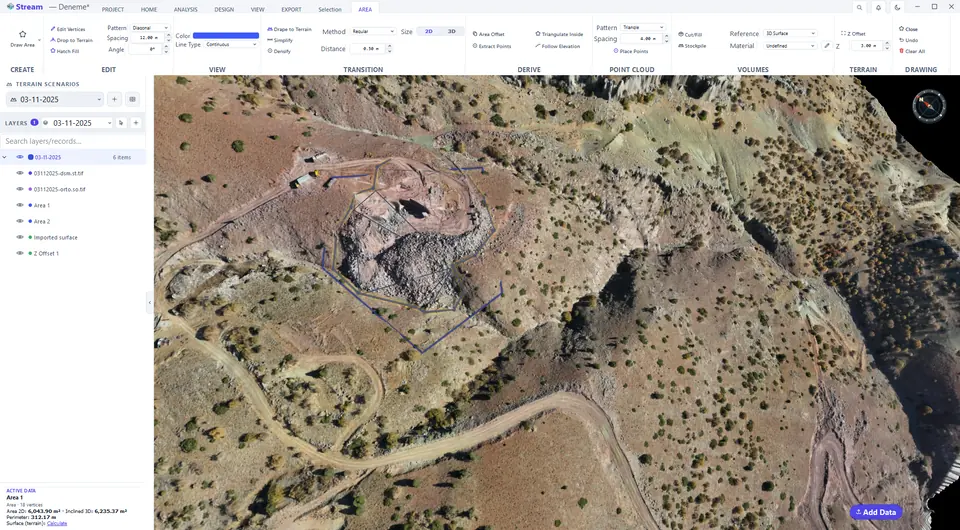
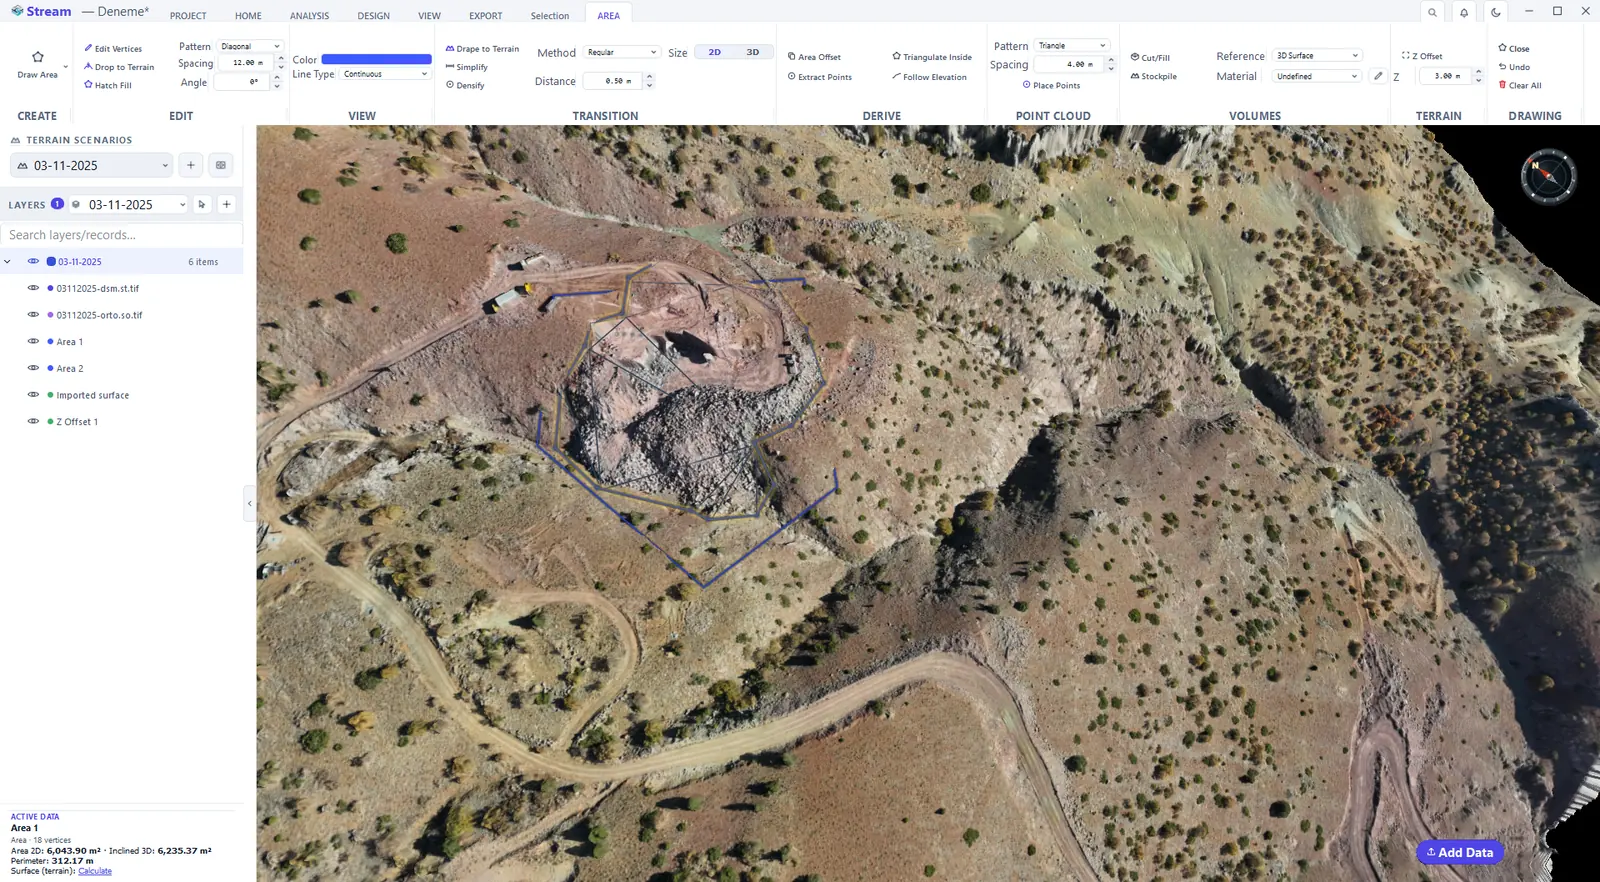
The AREA tab also holds the VOLUMES group — Cut/Fill and Stockpile — which is described in Volumes.
Related features
What each capability does, which formats it reads and writes, and answers to common questions: