Look around the terrain in 3D
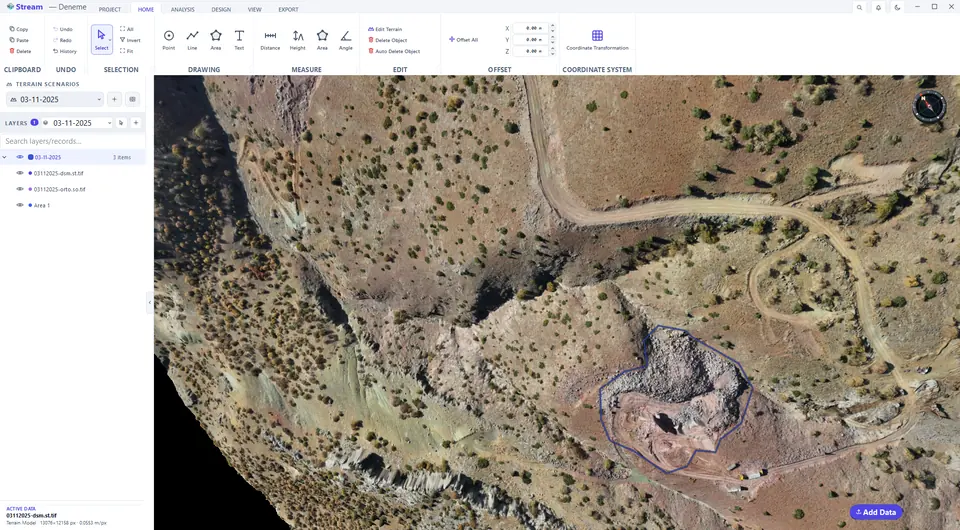
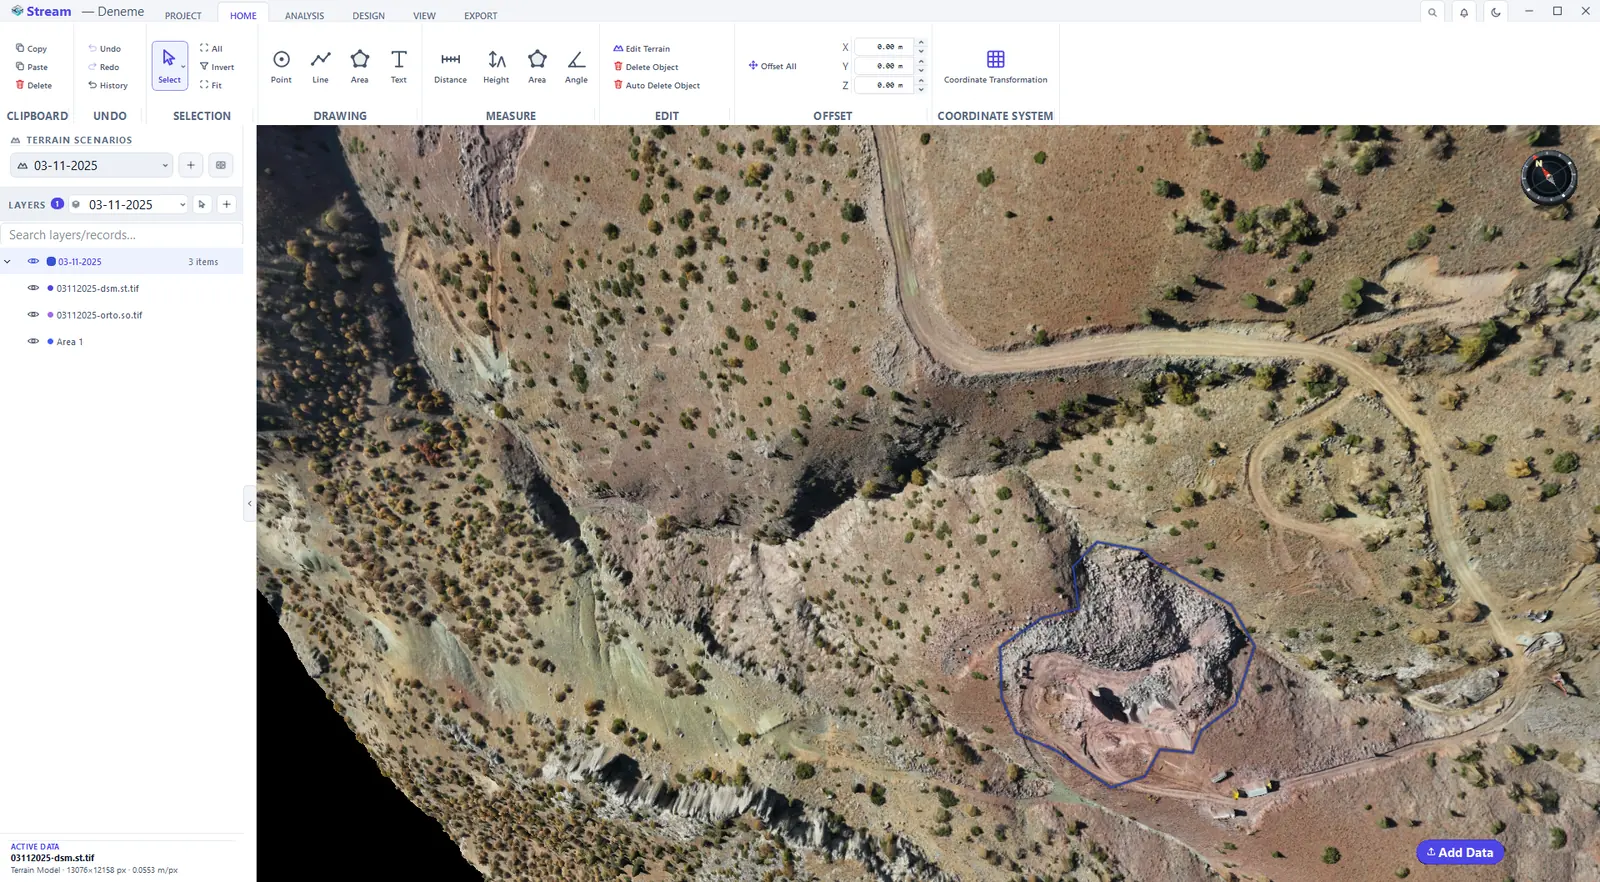
The terrain in 3D.
| Action | What it does |
|---|---|
| Left-button drag | Pans the map |
| Mouse wheel | Zooms toward or away from the point under the cursor |
| Middle-button drag (press the wheel) | Orbits the camera in 3D mode |
| Arrow keys | Pan · Shift + arrow rotates and tilts in 3D mode |
| + / − | Zoom in / out |
| Double-click the compass | Top-down view with north up |
| Ctrl+G | Go to a coordinate: type X and Y, the target is marked on the map |
| Ctrl+Shift+C | Copies the coordinate under the cursor as X, Y, Z |
| Ctrl+Z / Ctrl+Y | Undo / redo |
Going to a coordinate. Click the coordinate read-out in the status bar (or press Ctrl+G) and choose Go to Coordinate…. Type X and Y in the project coordinate system — or paste a copied coordinate into the X box, it is split into both boxes — and click Go. The camera moves there and the target is marked with a ring. If the coordinate lies outside the loaded data, STREAM does not move; it tells you so and shows the extent of the data.
Copying a coordinate. Hold the cursor over the point and press Ctrl+Shift+C. The clipboard receives X, Y, Z with a decimal point in every interface language, so it pastes cleanly into CAD command lines and spreadsheets.
Notification history. Warnings and errors appear as a short bubble. If you missed one, click the bell at the top right of the window: it lists this session's warnings and errors with their time, newest first.
Switch to 2D mode
2D Mode locks the camera straight down, like a map sheet; orbit is switched off. 3D Mode frees it again. The same switch sits in the status bar (3D / 2D).
The same terrain in 2D top view.
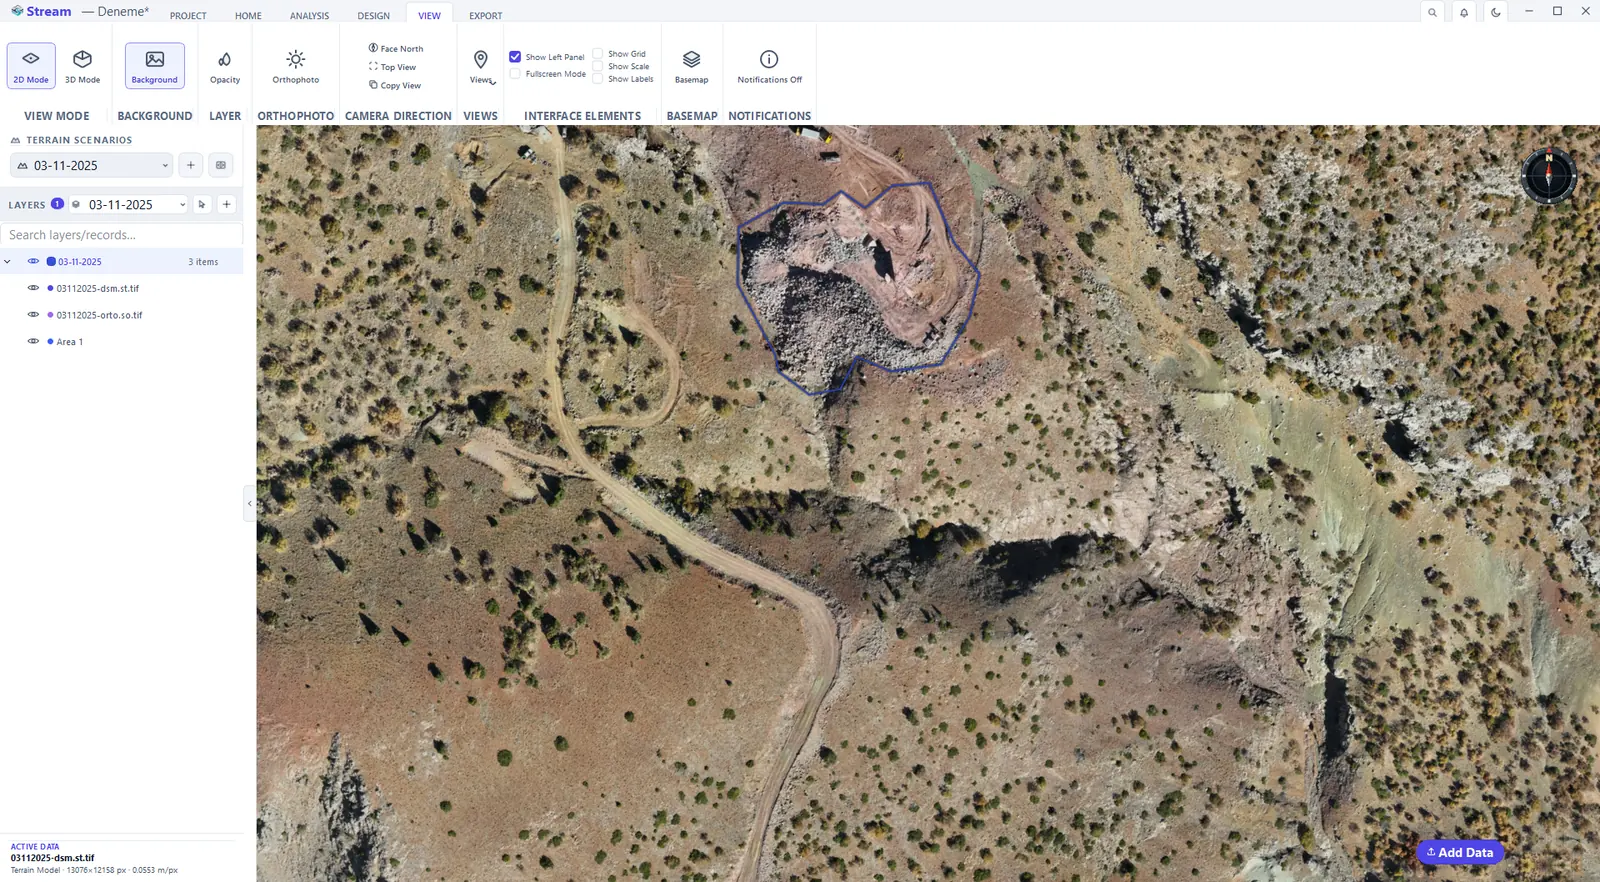
The View tab
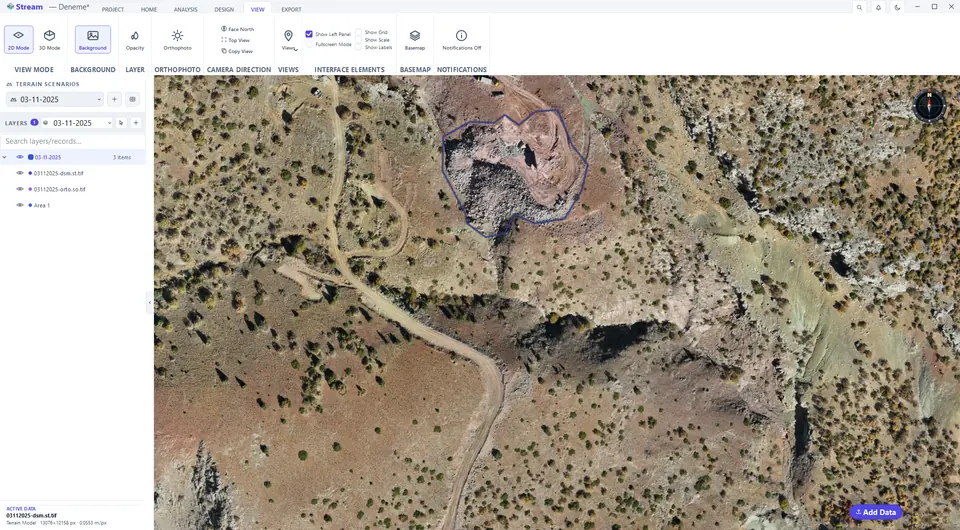
The VIEW tab controls the camera and what is shown around the map.
The View tab controls.

- View mode — 2D Mode and 3D Mode.
- Camera direction — Face North turns the view north-up without changing the tilt; Top View looks straight down; Copy View puts the current view on the clipboard as an image, ready to paste into a report or an e-mail.
- Interface elements — Show Scale adds a scale bar to the view; Show Grid adds a coordinate grid; Show Left Panel and Fullscreen Mode hide the panels to leave more room for the map.
Background, Opacity and Orthophoto on the same tab change the backdrop, the opacity of the selected layer and the draped imagery. Notifications Off / On controls the short information bubbles (off by default — error and confirmation dialogs always appear).
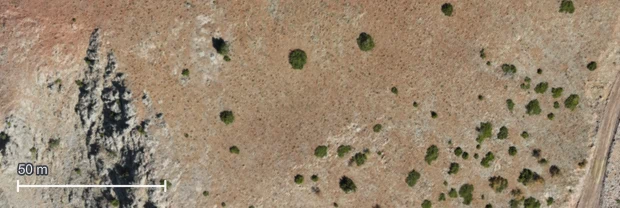
Show a scale bar
Show Scale adds a scale bar at the bottom-left of the view. It follows the zoom and uses metres or feet according to Settings ▸ Units.
On-screen scale bar.
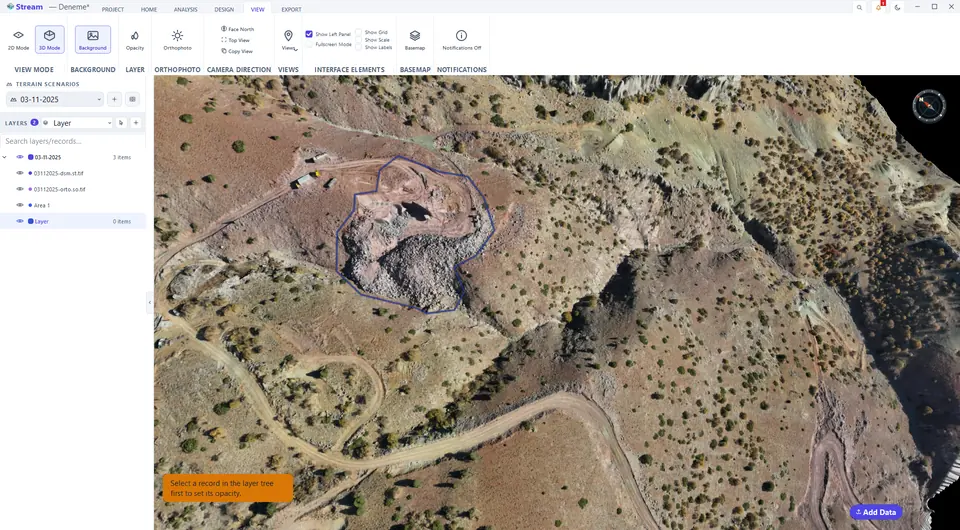
Change the opacity of a layer
Select a record in the layer tree, then press Opacity in the LAYER group of the VIEW tab and set how see-through the layer is: 100 % is fully visible, 0 % invisible. Use it to look at the terrain beneath an analysis overlay or an orthophoto. If nothing is selected, STREAM tells you to select a record in the layer tree first.
Opacity on the View tab.

Set how see-through the layer is.
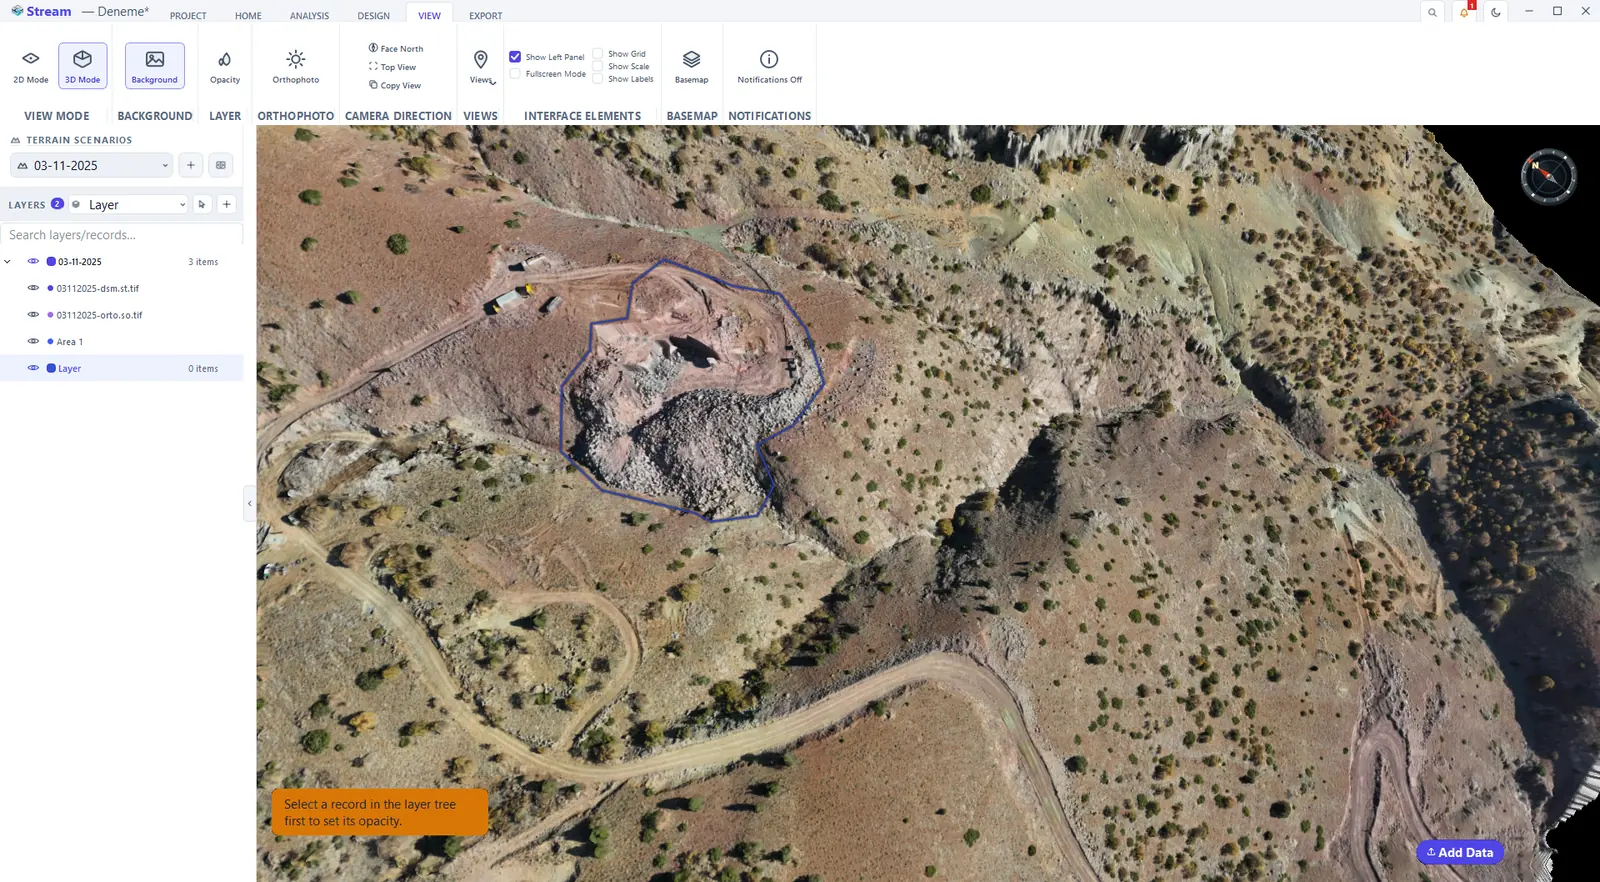
Switch to the dark theme
Click the moon button on the title bar (Dark / light theme) to switch. The whole interface redraws immediately; nothing needs a restart.
The dark theme.
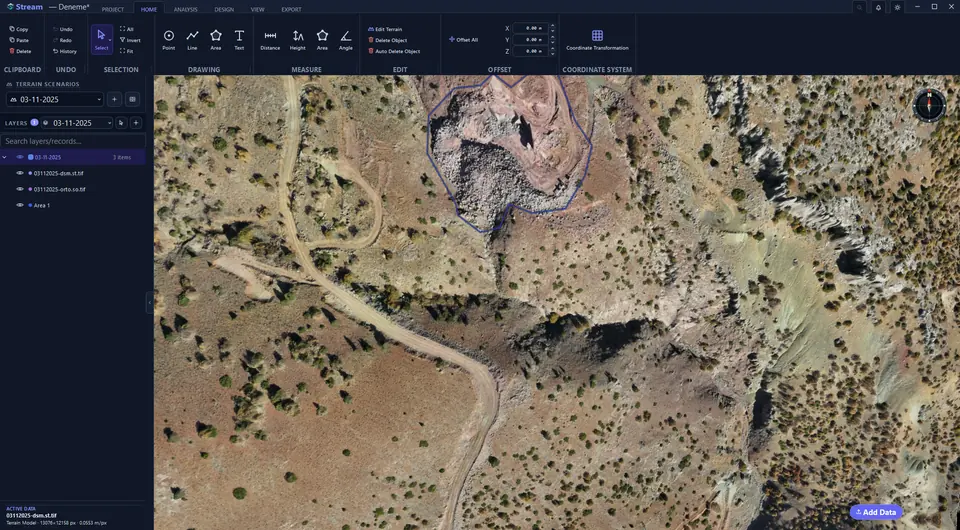
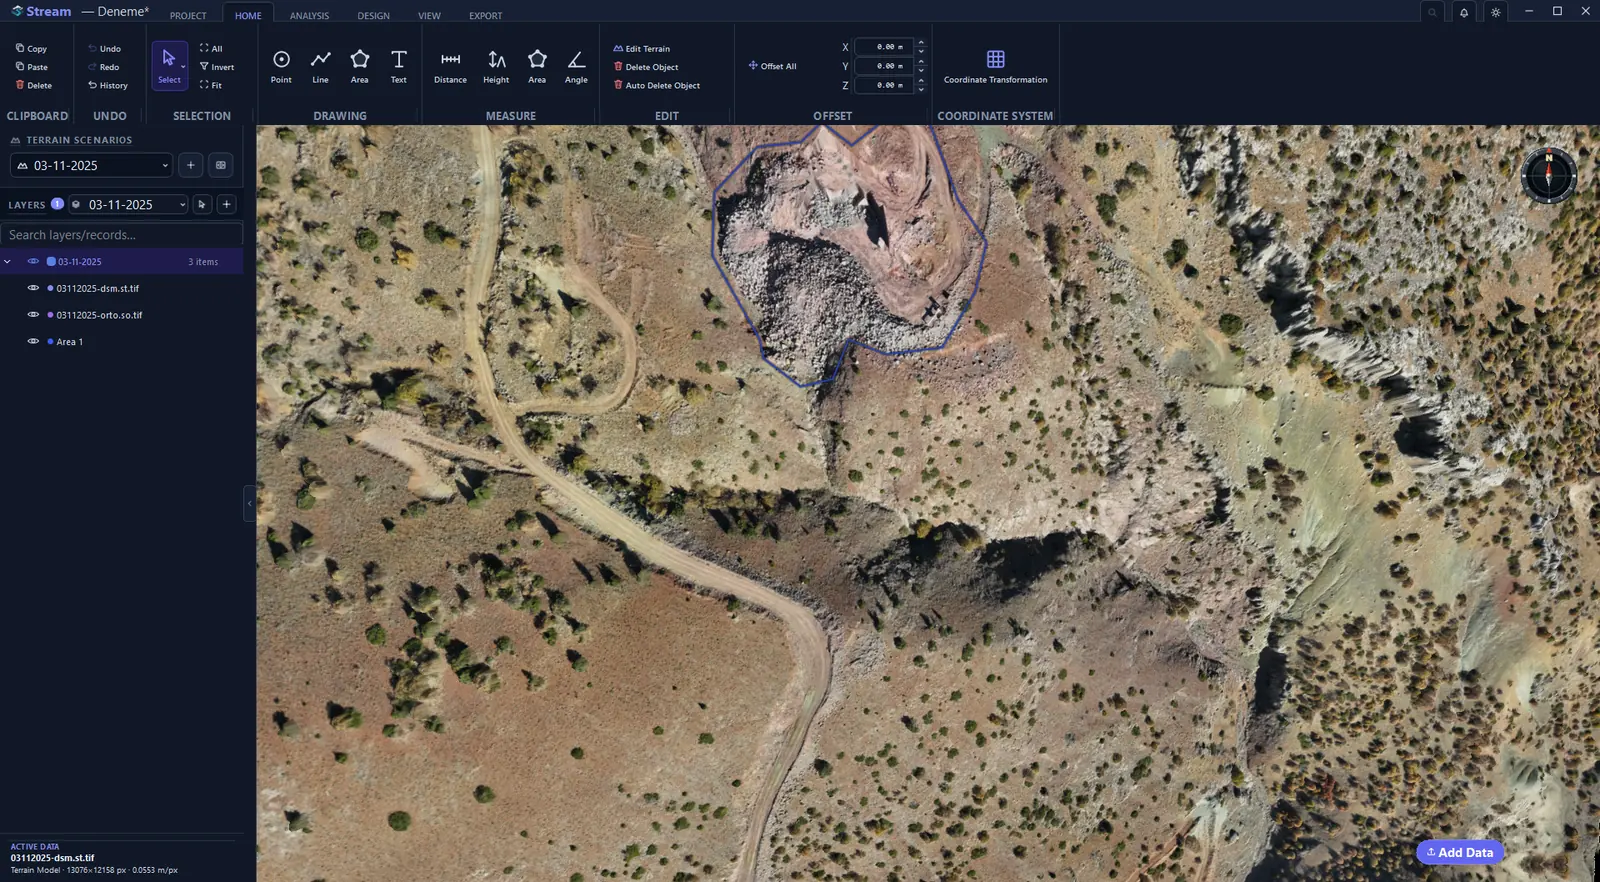
Add a basemap or download a DEM
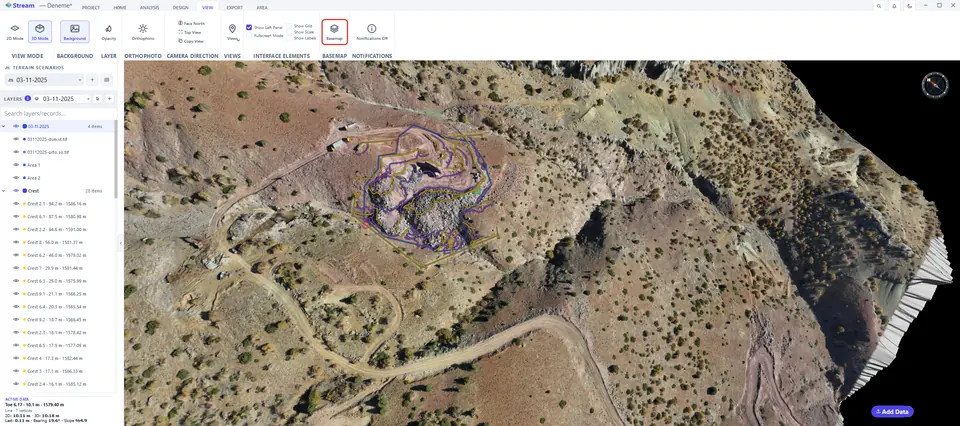
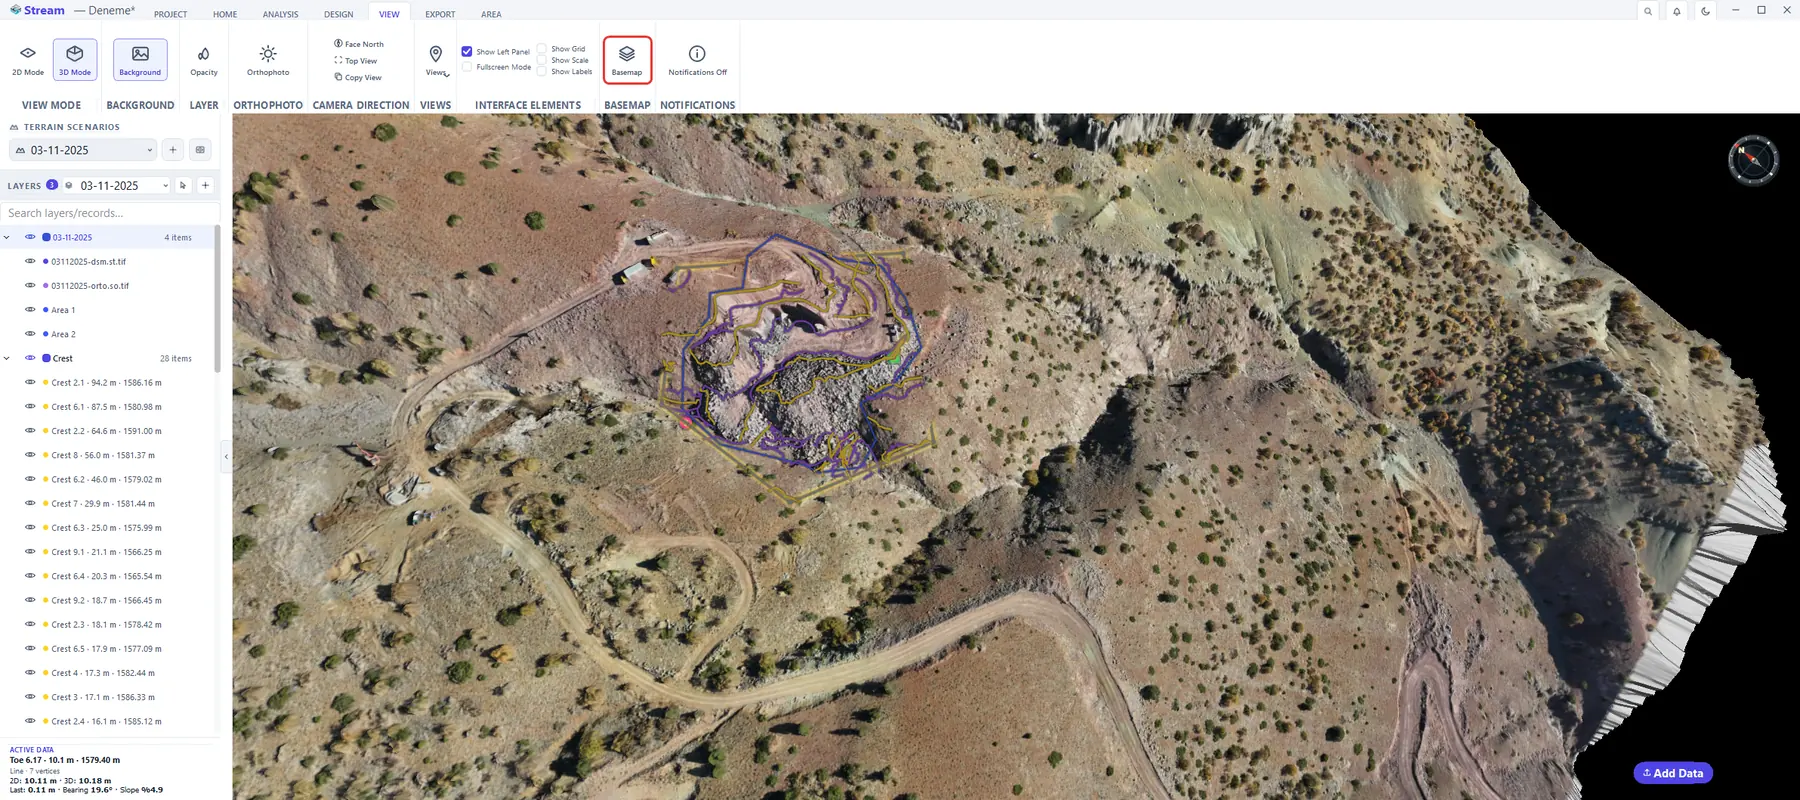
VIEW ▸ Basemap downloads an online map of the project area — or its elevation model — places it in the project coordinate system and adds it. If an area is selected on the map, only its extent is downloaded; in an empty project, draw the site and select it first.
Press Basemap on the View tab.
Pick a basemap or DEM source.
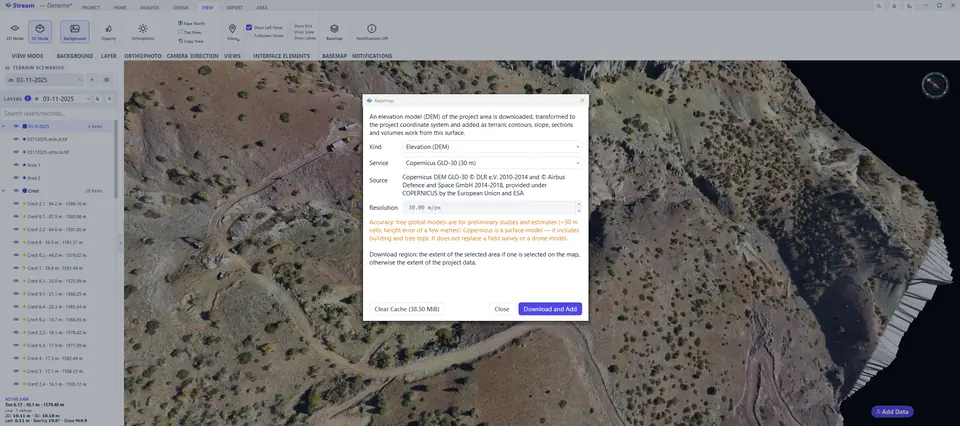
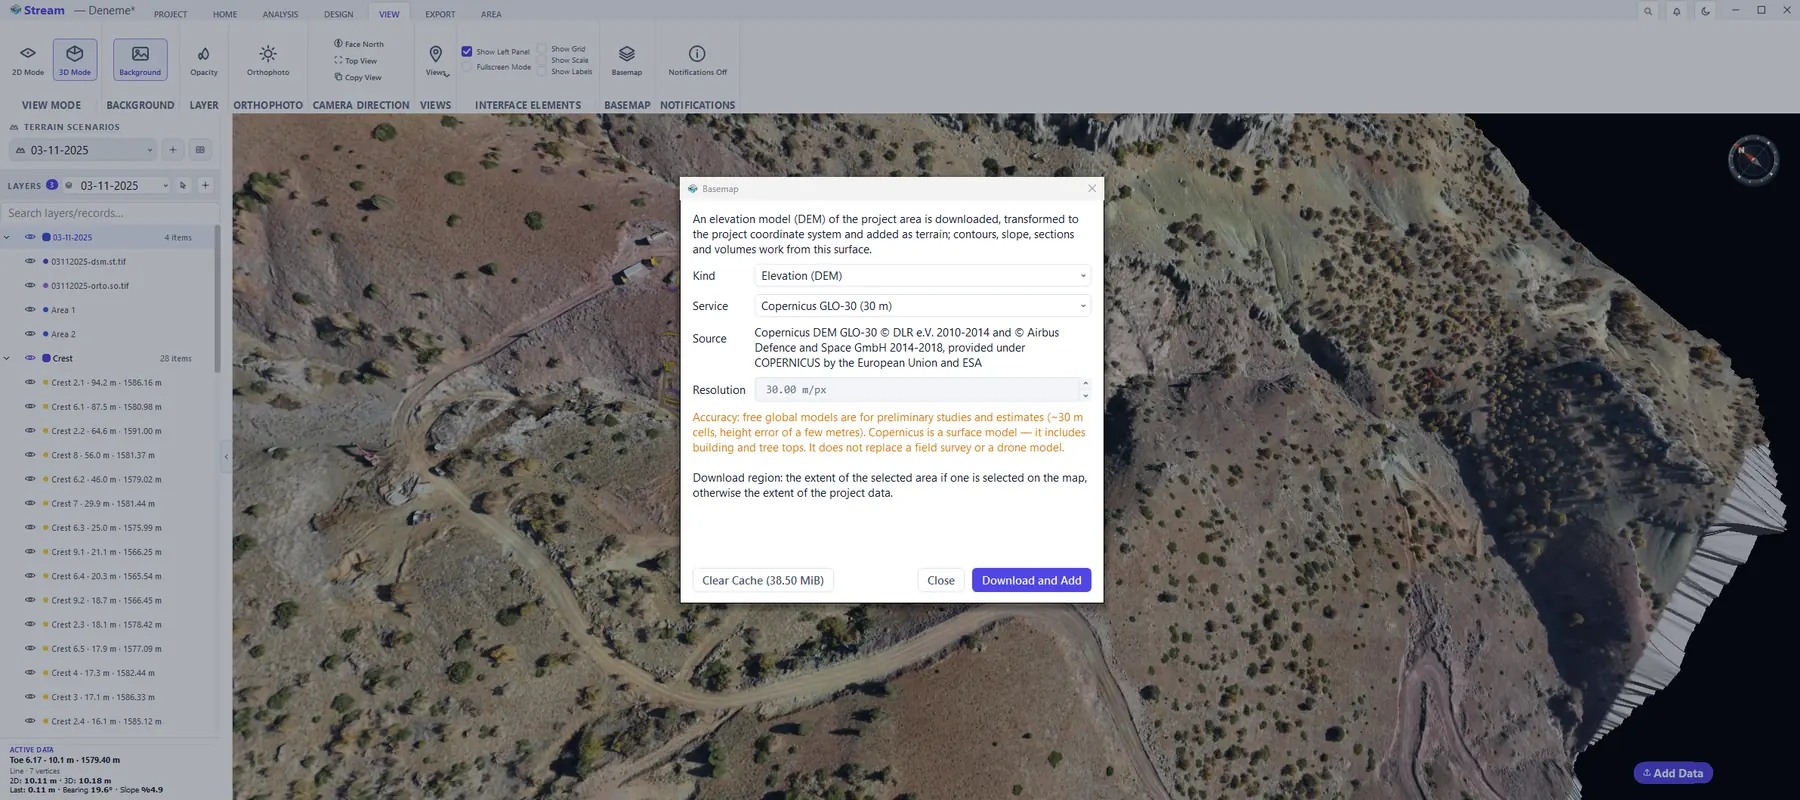
- Map — OpenTopoMap, or your own XYZ tile service.
- Elevation (DEM) — Copernicus GLO-30 / GLO-90 and AWS Terrarium work without a key; with your own key OpenTopography adds ALOS, NASADEM and SRTM. The elevation model is added as terrain, so contours, slope, sections and volumes work from it.
- Downloads stay in a cache; Clear Cache in the same window frees the space.
- The source attribution is printed on the sheet and in reports.
Save and recall camera views
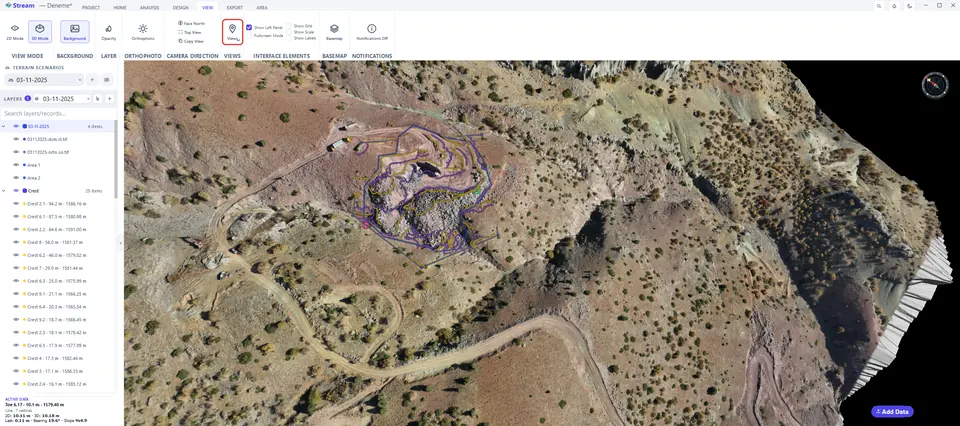
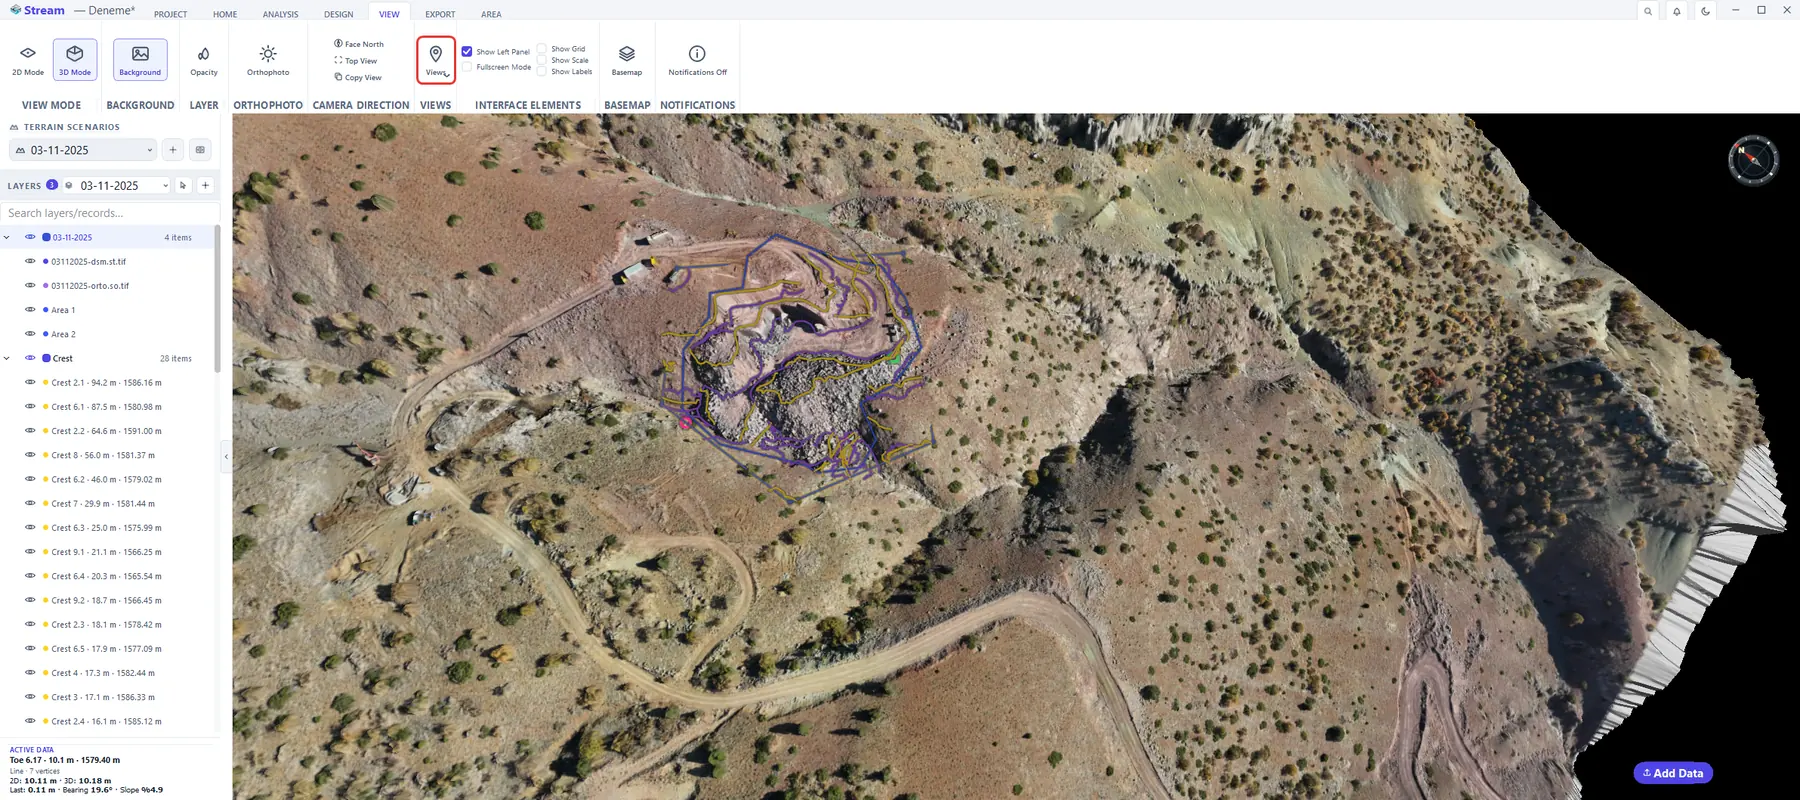
On the VIEW tab, Views ▸ Save View… stores the camera's current view under a name; clicking a name in the list returns the camera to that view (2D or 3D mode included). Delete View removes it from the list, and it can be undone. Views are saved with the project.
Saved camera views on the View tab.
Saved views are also what the camera flythrough is built from.
Next: Terrain scenarios and layers.
Related features
What each capability does, which formats it reads and writes, and answers to common questions: