
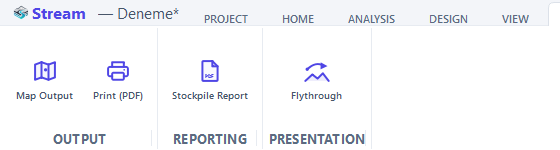
Map output
Map Output is the single export gate for data. Click EXPORT ▸ OUTPUT ▸ Map Output, tick what to export, choose the format and a folder.
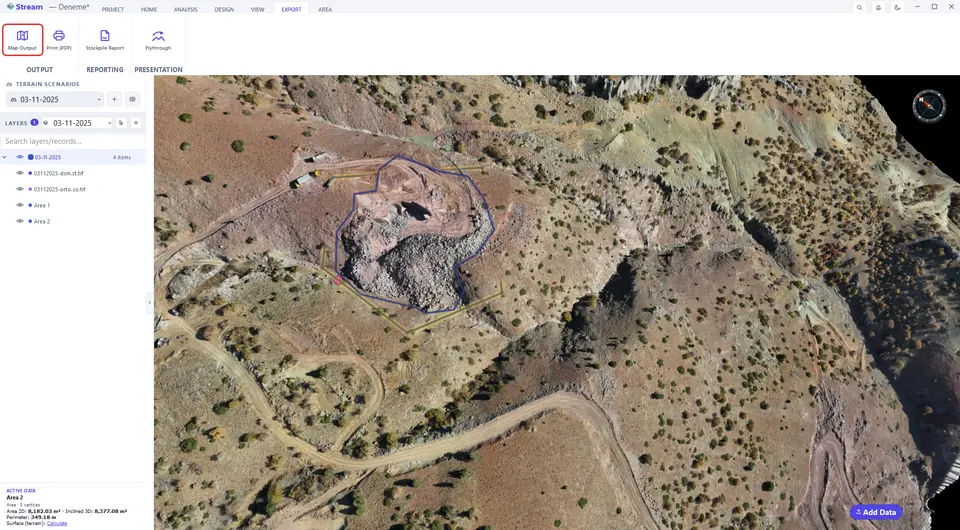
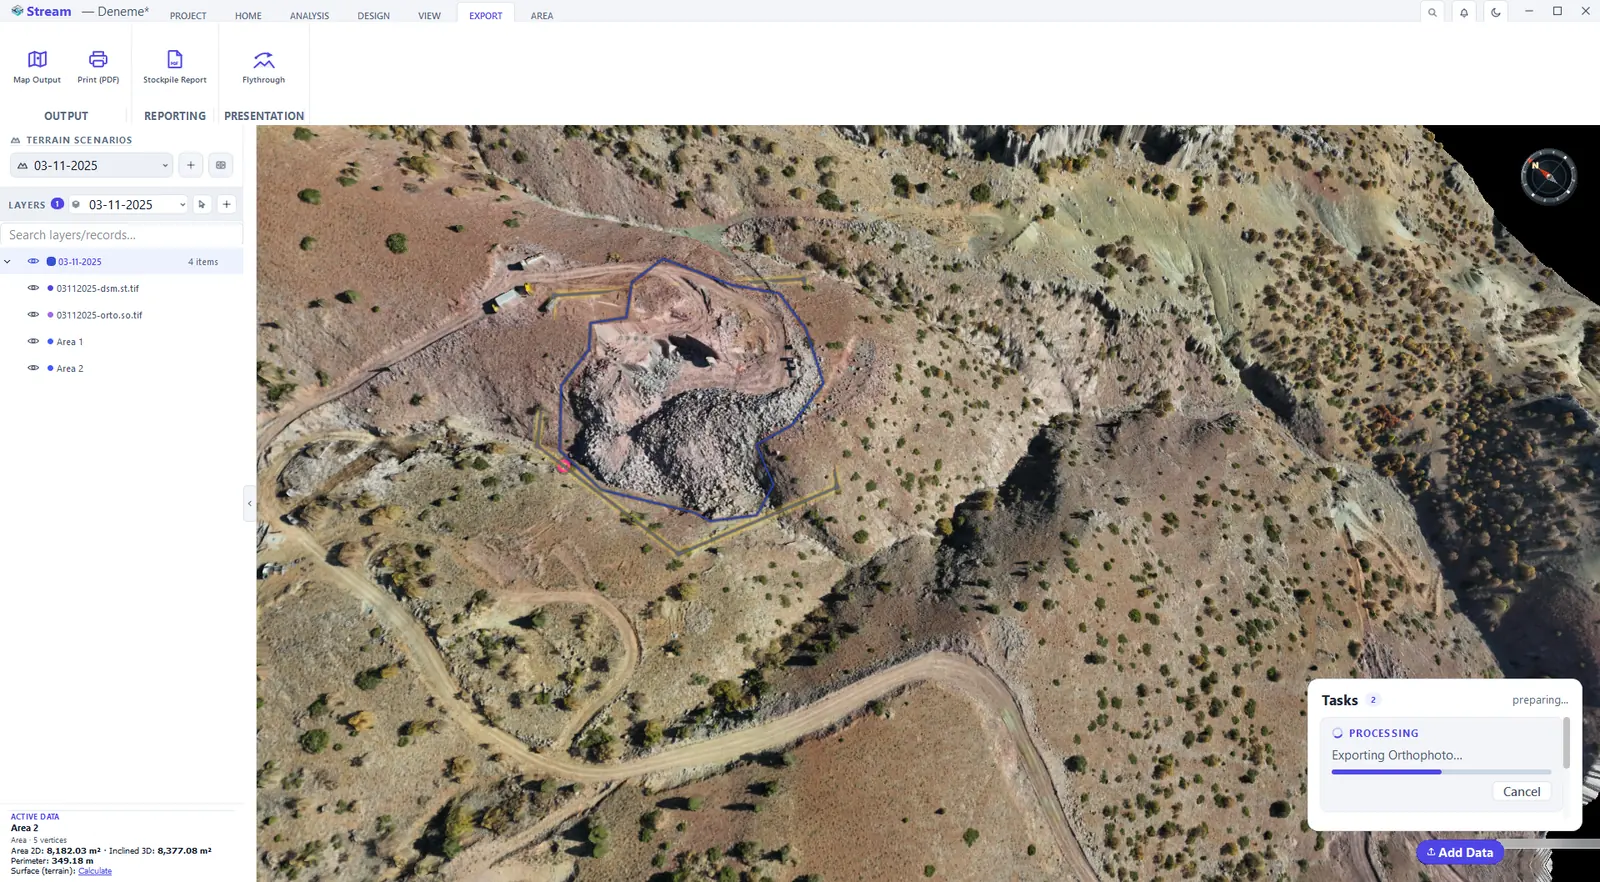
Press Map Output on the Export tab.
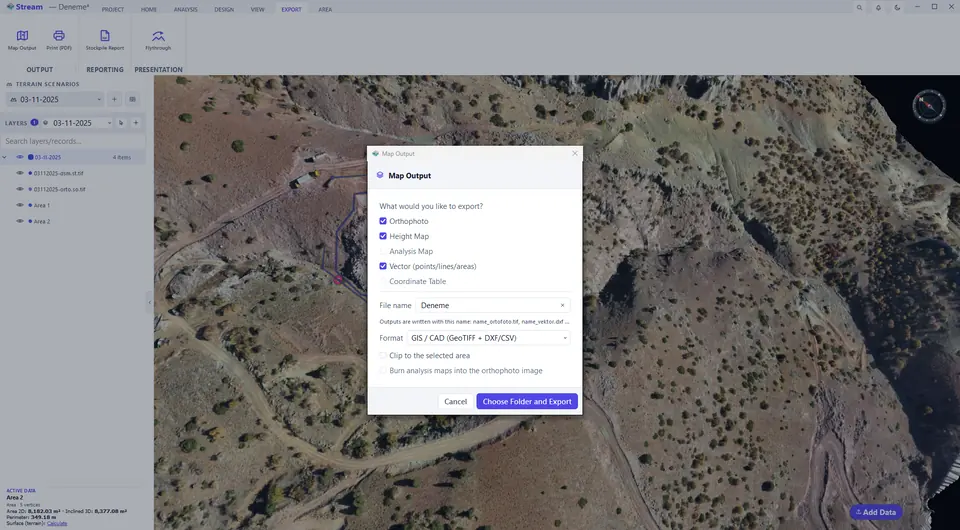
Tick what to export and pick the format.
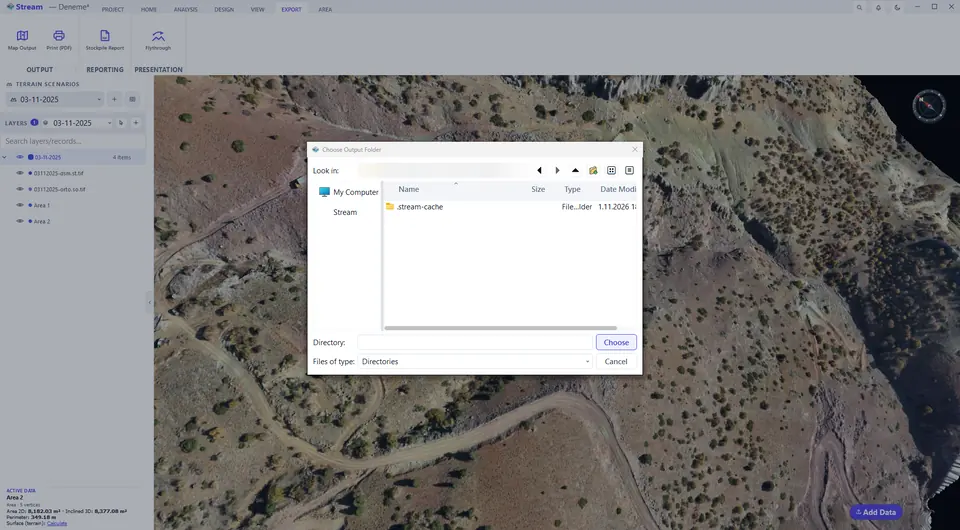
Choose the output folder.
Files are written, a message confirms the export.
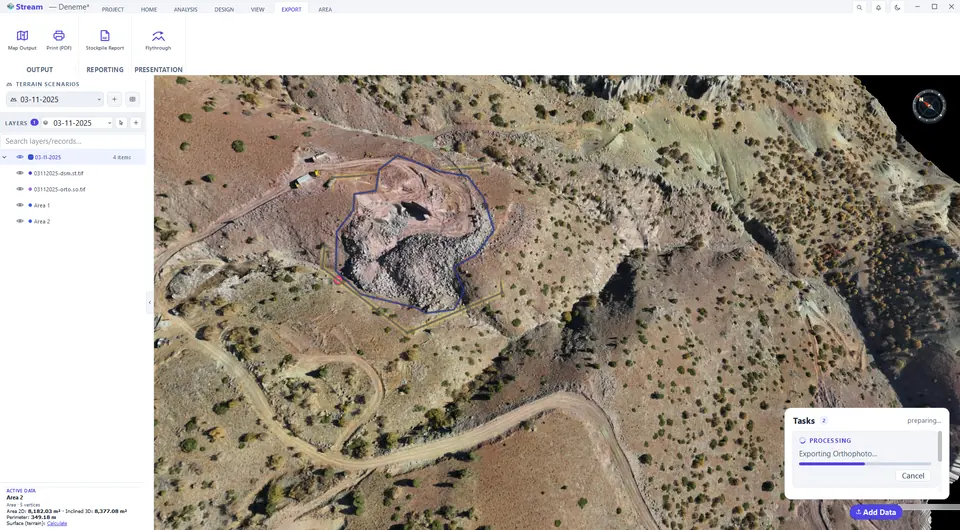
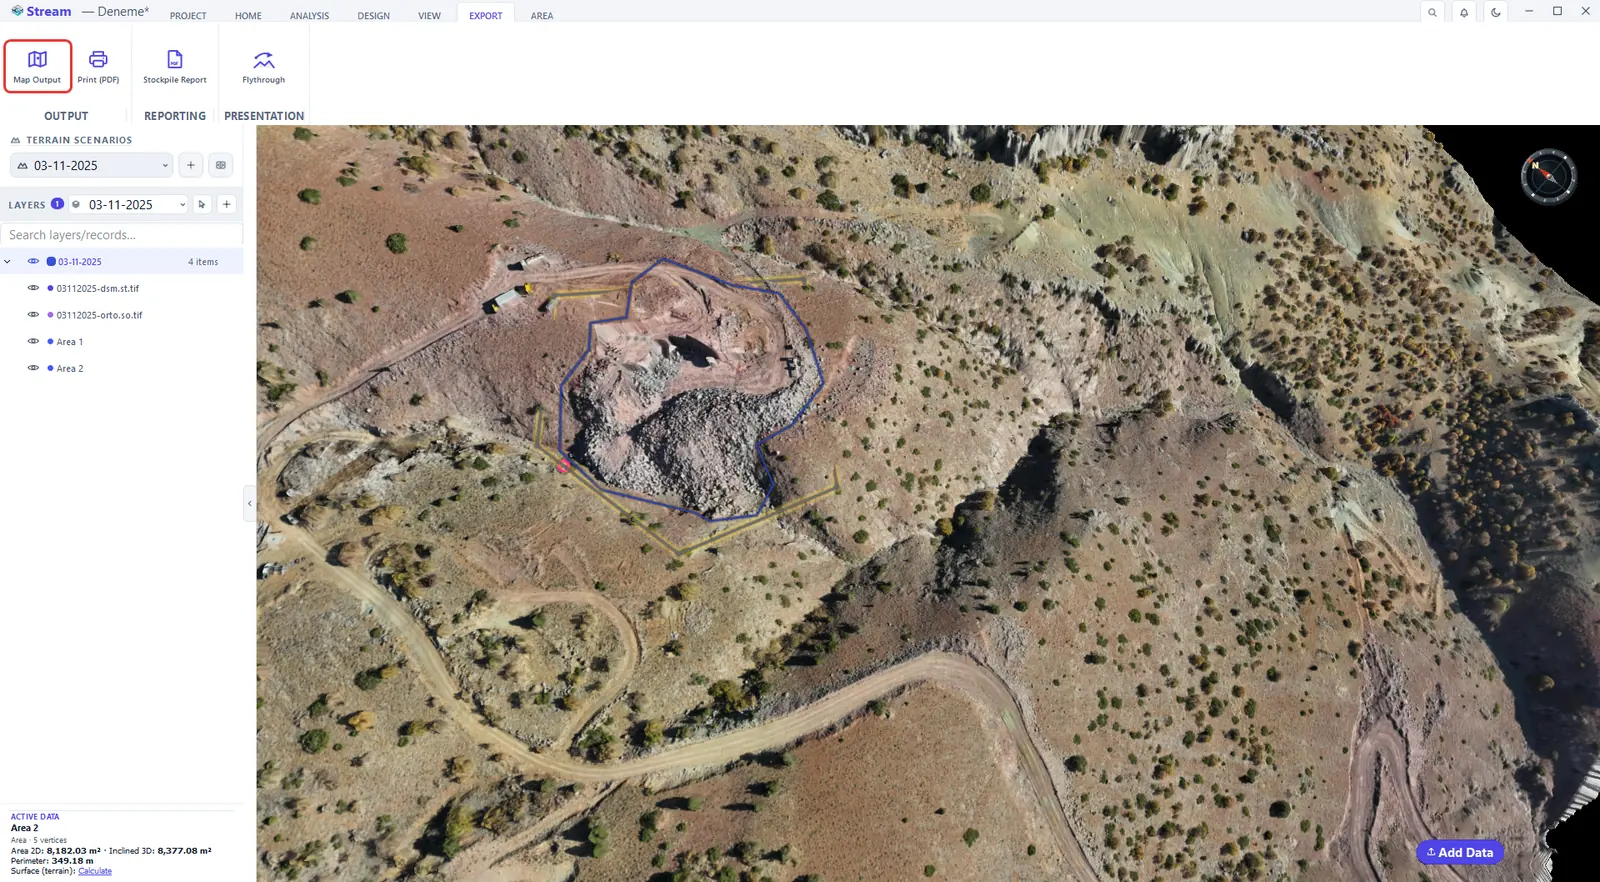
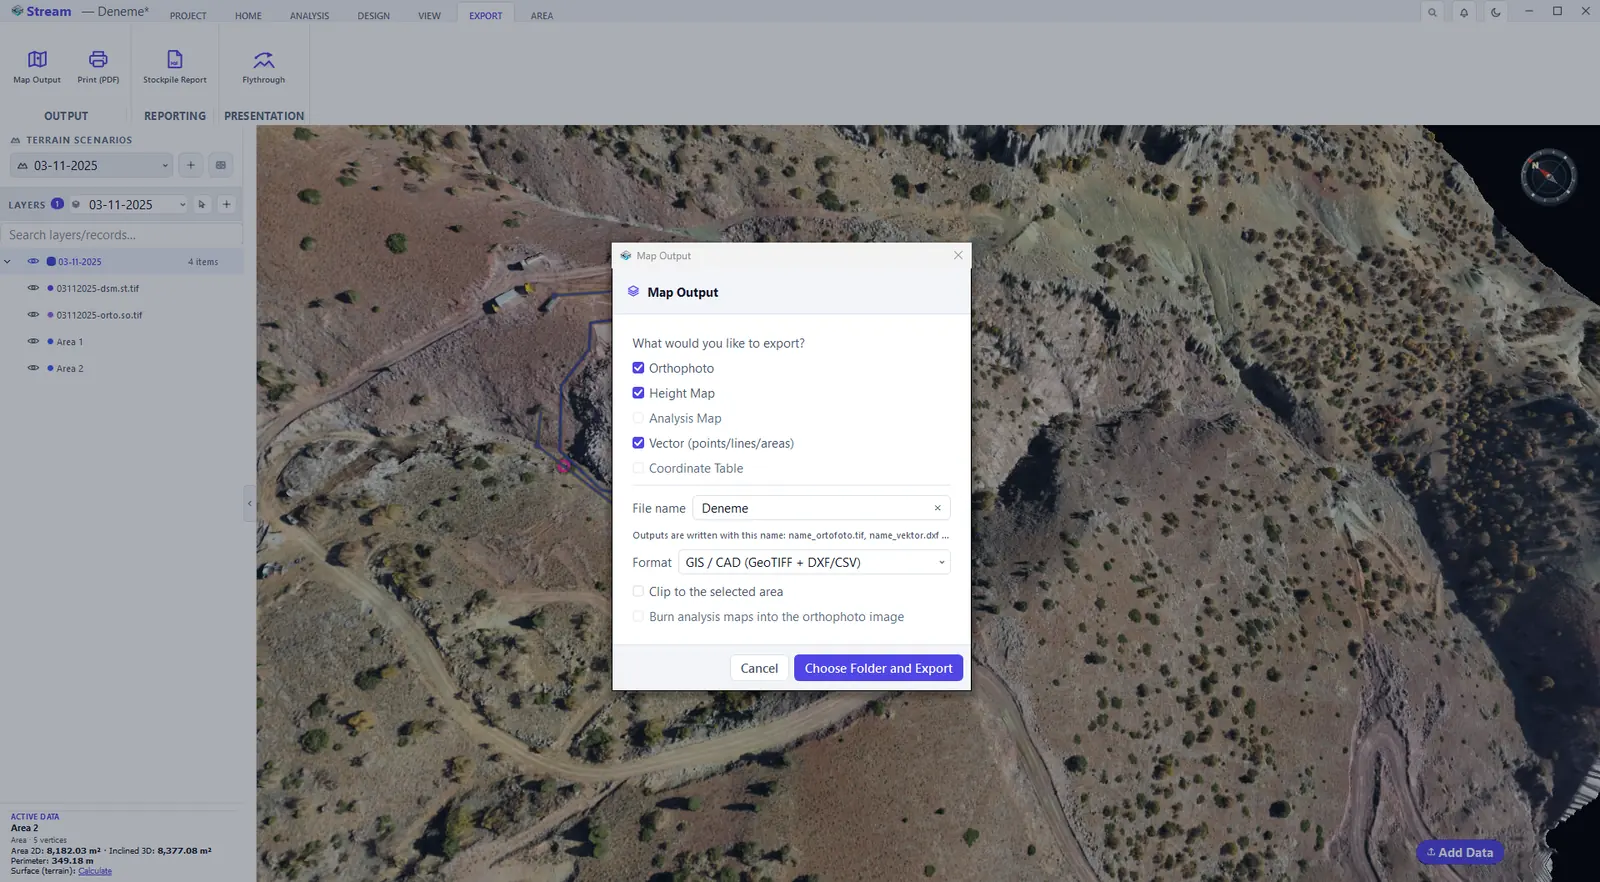
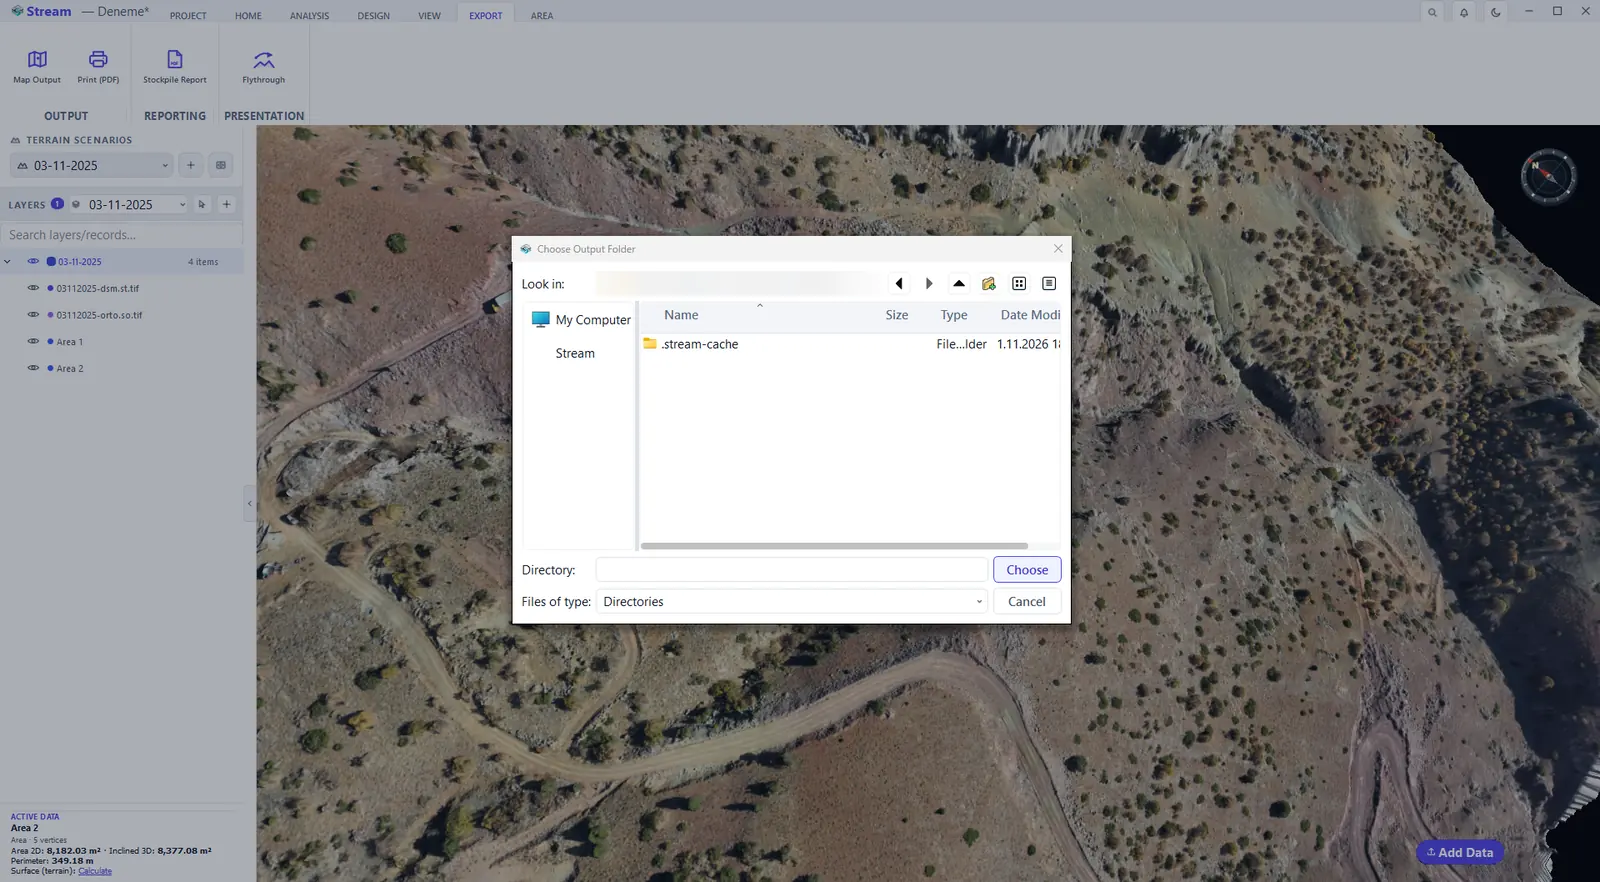
- What to export: Orthophoto, Height Map, Analysis Map, Vector (points/lines/areas) and Coordinate Table.
- Format: GIS / CAD (GeoTIFF + DXF/CSV), Google Earth (KMZ), LandXML (GeoTIFF + LandXML/CSV) or Shapefile (GeoTIFF + SHP/CSV).
- Type a File name; optionally tick Clip to the selected area and Burn analysis maps into the orthophoto image.
- Press Choose Folder and Export. Every file is written into that one folder, named after your file name (for example
name_ortofoto.tif,name_vektor.dxf), and a progress card shows the export running.
Print a map sheet as PDF
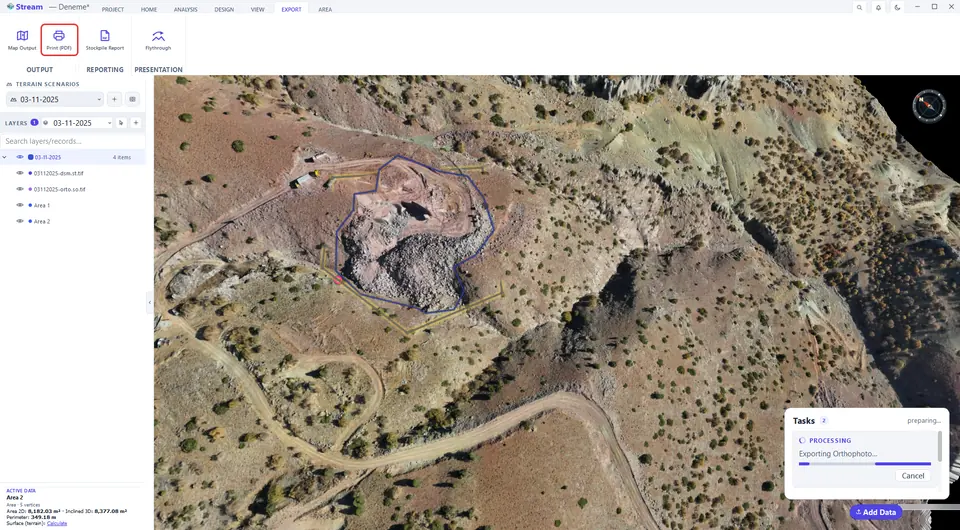
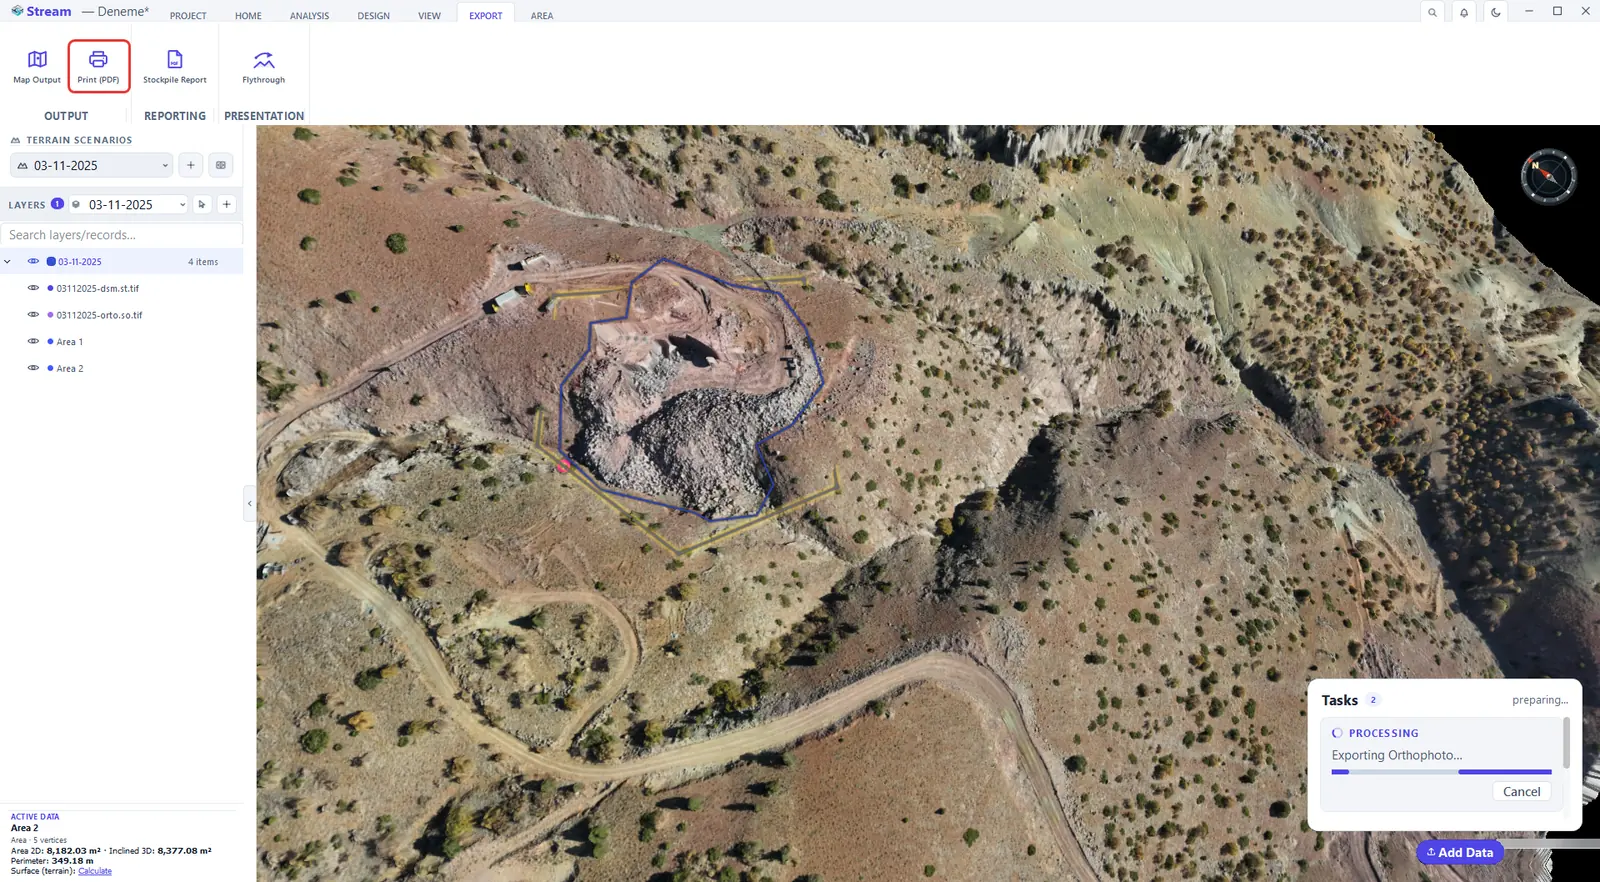
Print (PDF) lays the visible terrain, orthophoto, analysis maps and drawings out on a scaled sheet with a title block. Click EXPORT ▸ OUTPUT ▸ Print (PDF).
Press Print PDF on the Export tab.
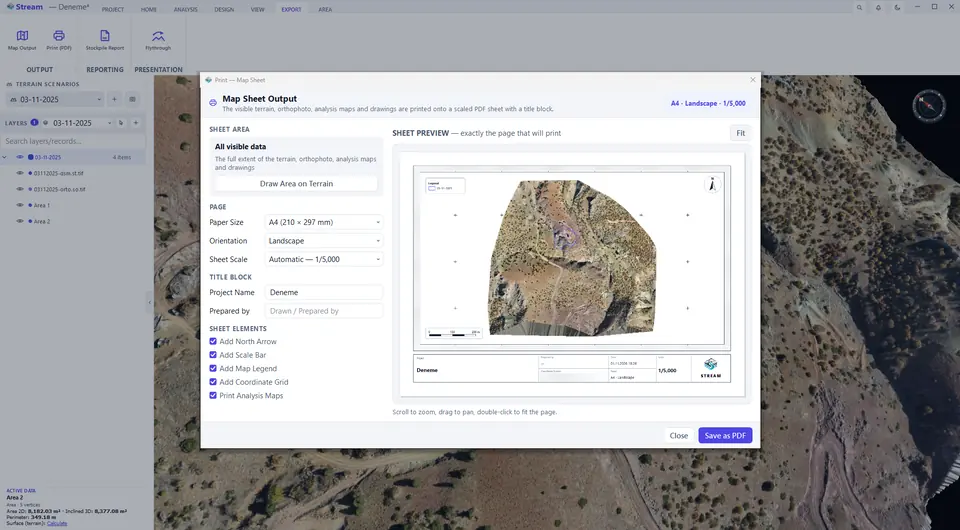
Sheet size, scale and title block.
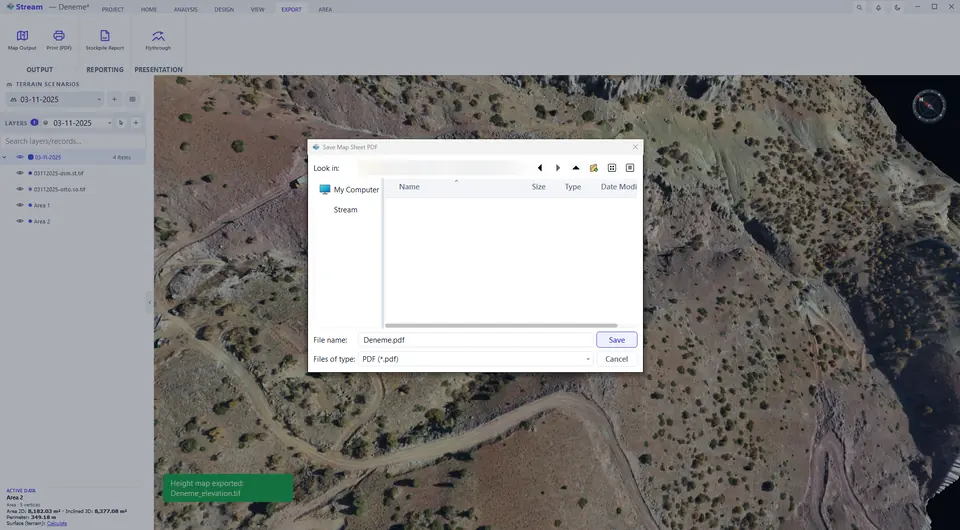
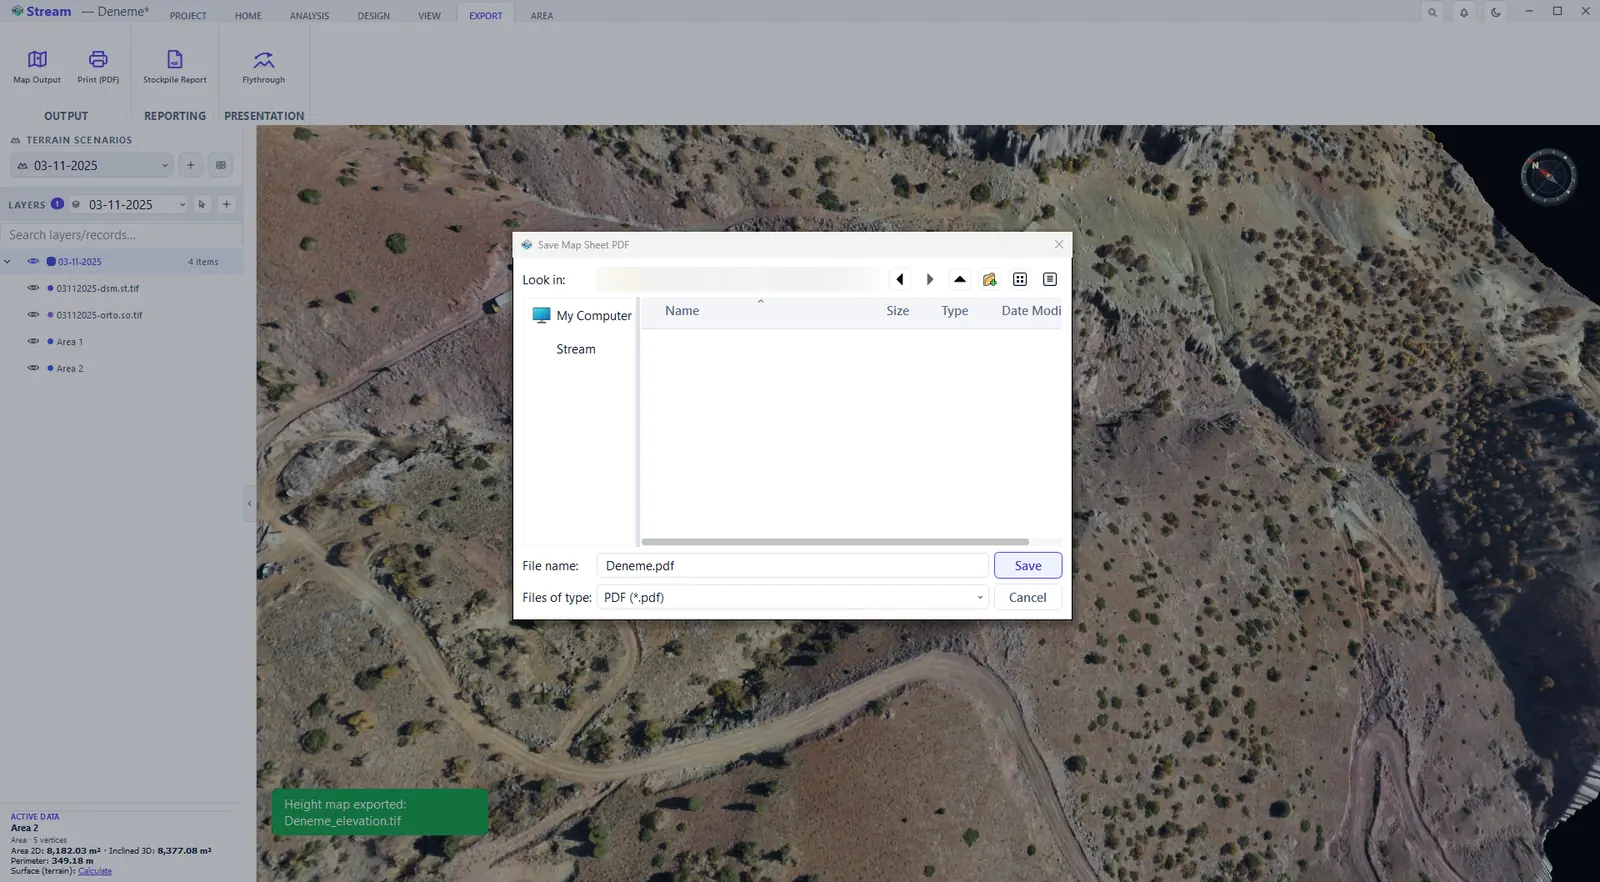
Name the PDF and save.
The finished map sheet, page 1.
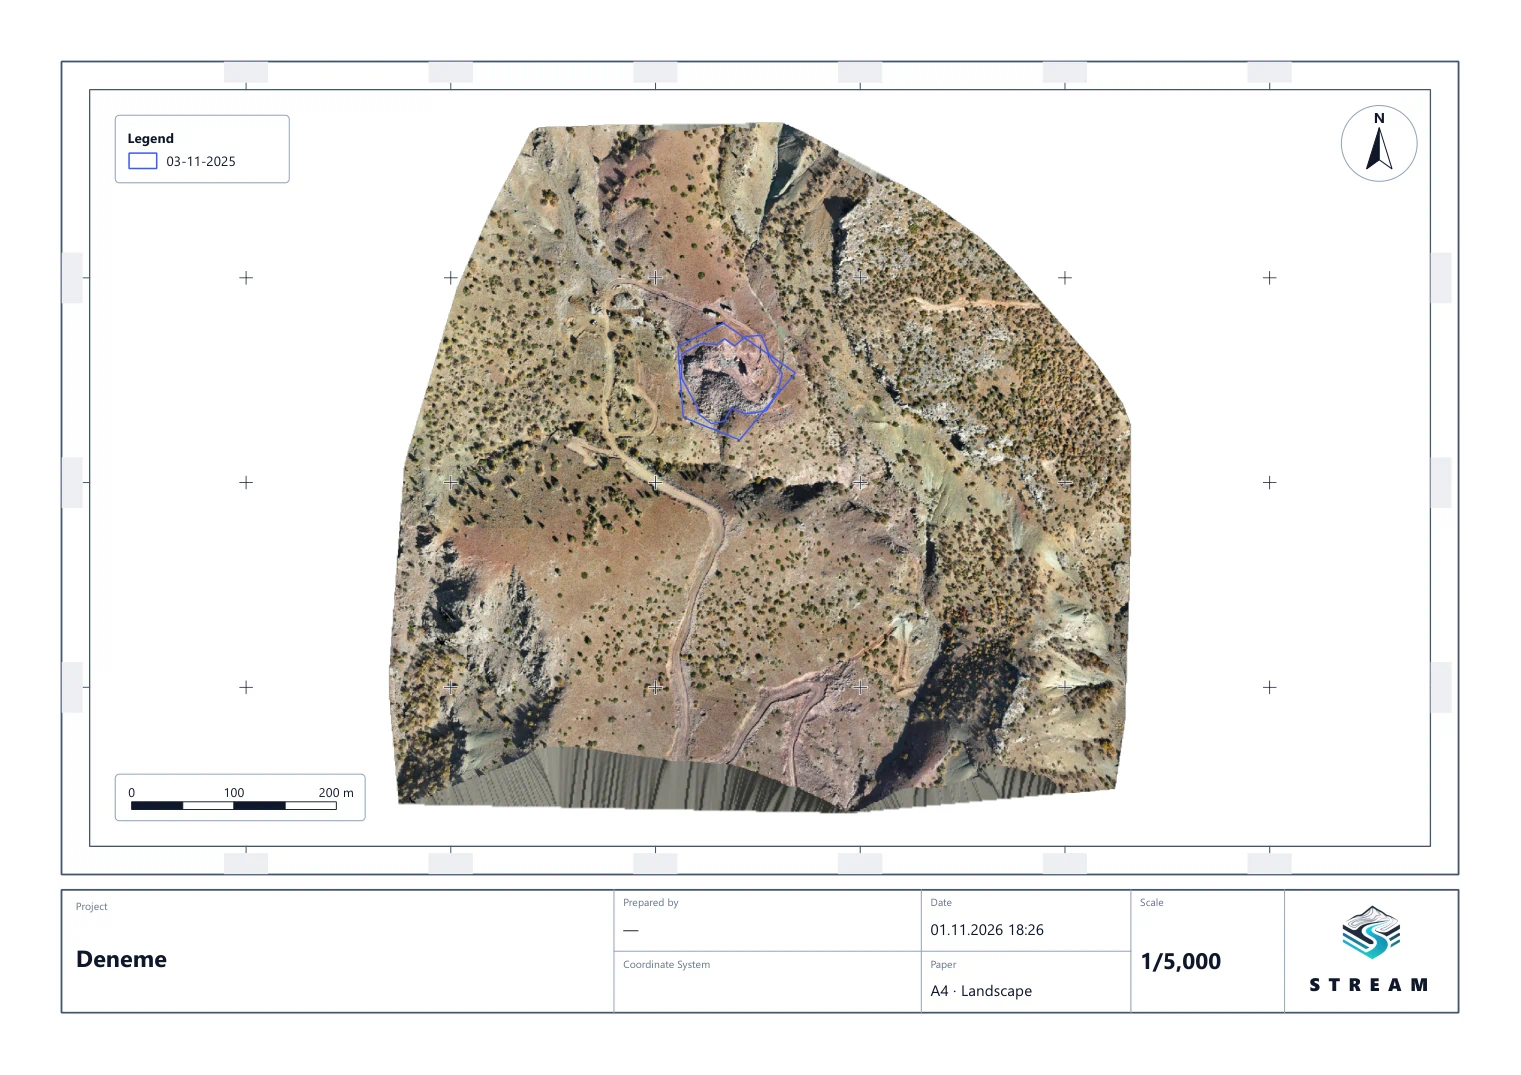
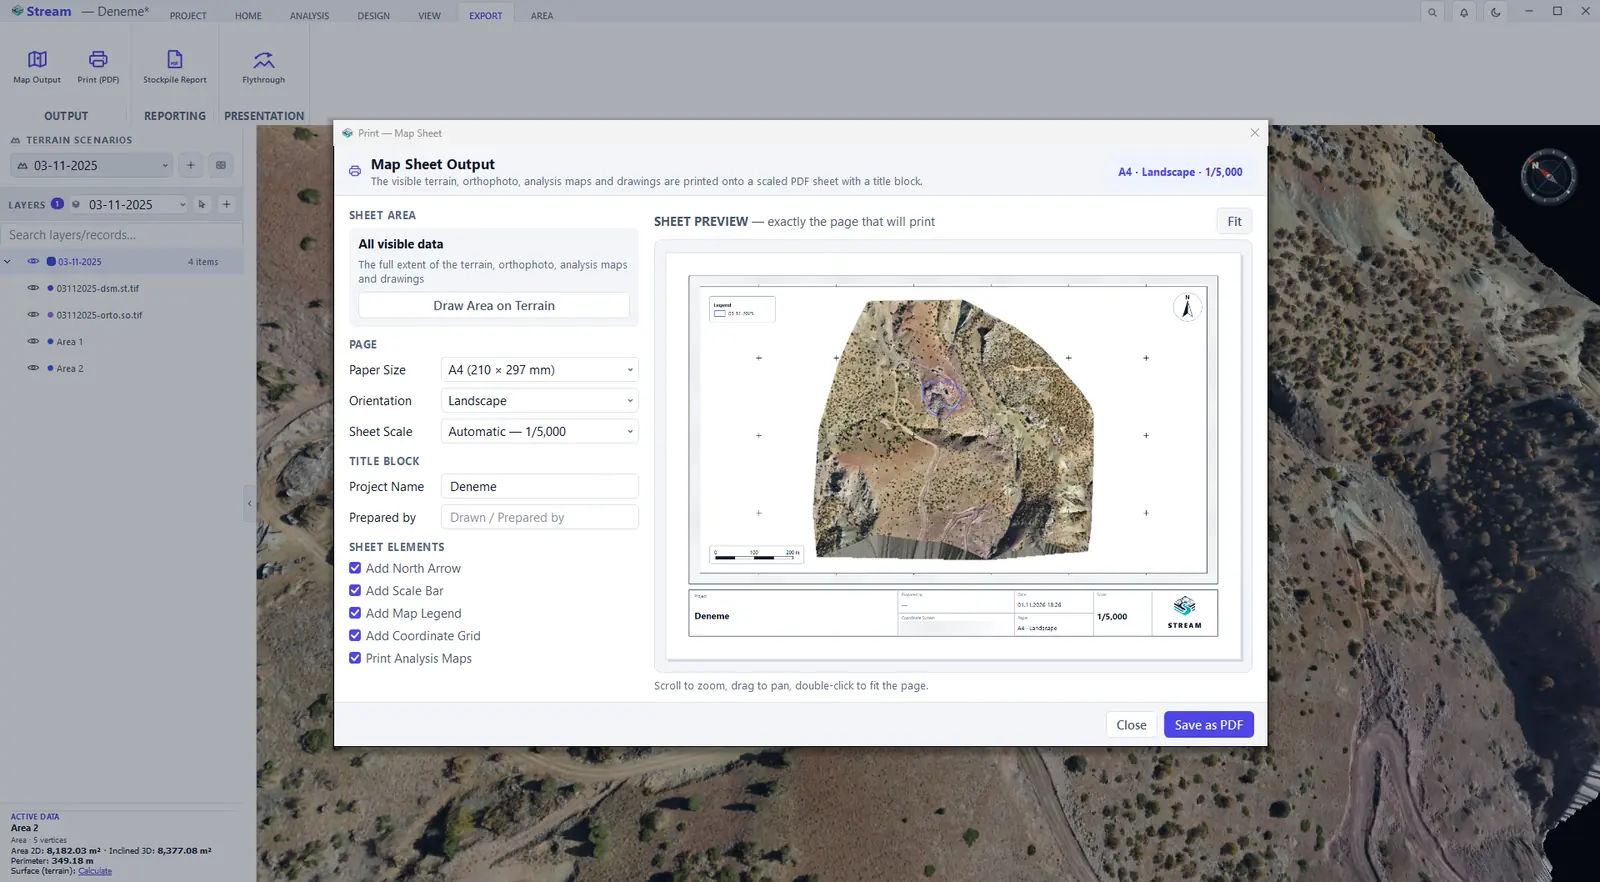
- Sheet area — print all visible data, or press Draw Area on Terrain and pick the region with two clicks.
- Page — Paper Size (A4 to A0), Orientation and Sheet Scale (automatic picks the largest round scale that fits).
- Title block — Project Name and Prepared by; the sheet also states the date, the scale and the coordinate system.
- Sheet elements — north arrow, scale bar, map legend, coordinate grid and analysis maps.
- The preview is exactly the page that will print — scroll to zoom, drag to pan, double-click to fit. Press Save as PDF; when saving finishes, the window offers buttons to open the PDF and its folder.
Stockpile report
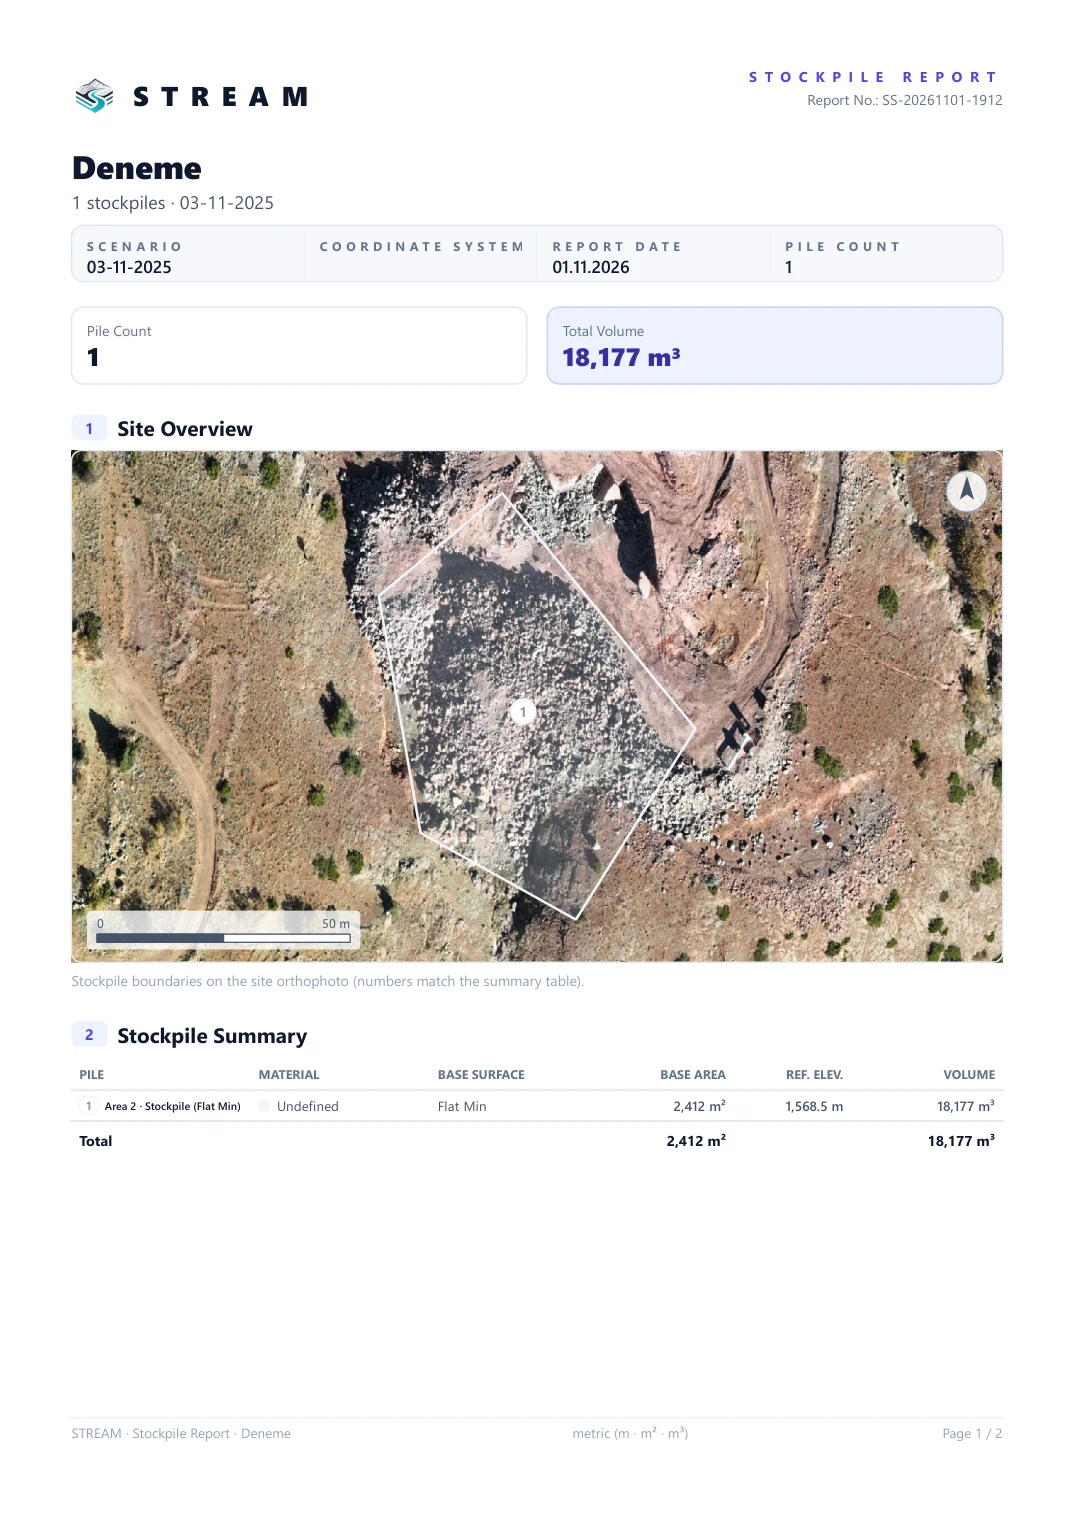
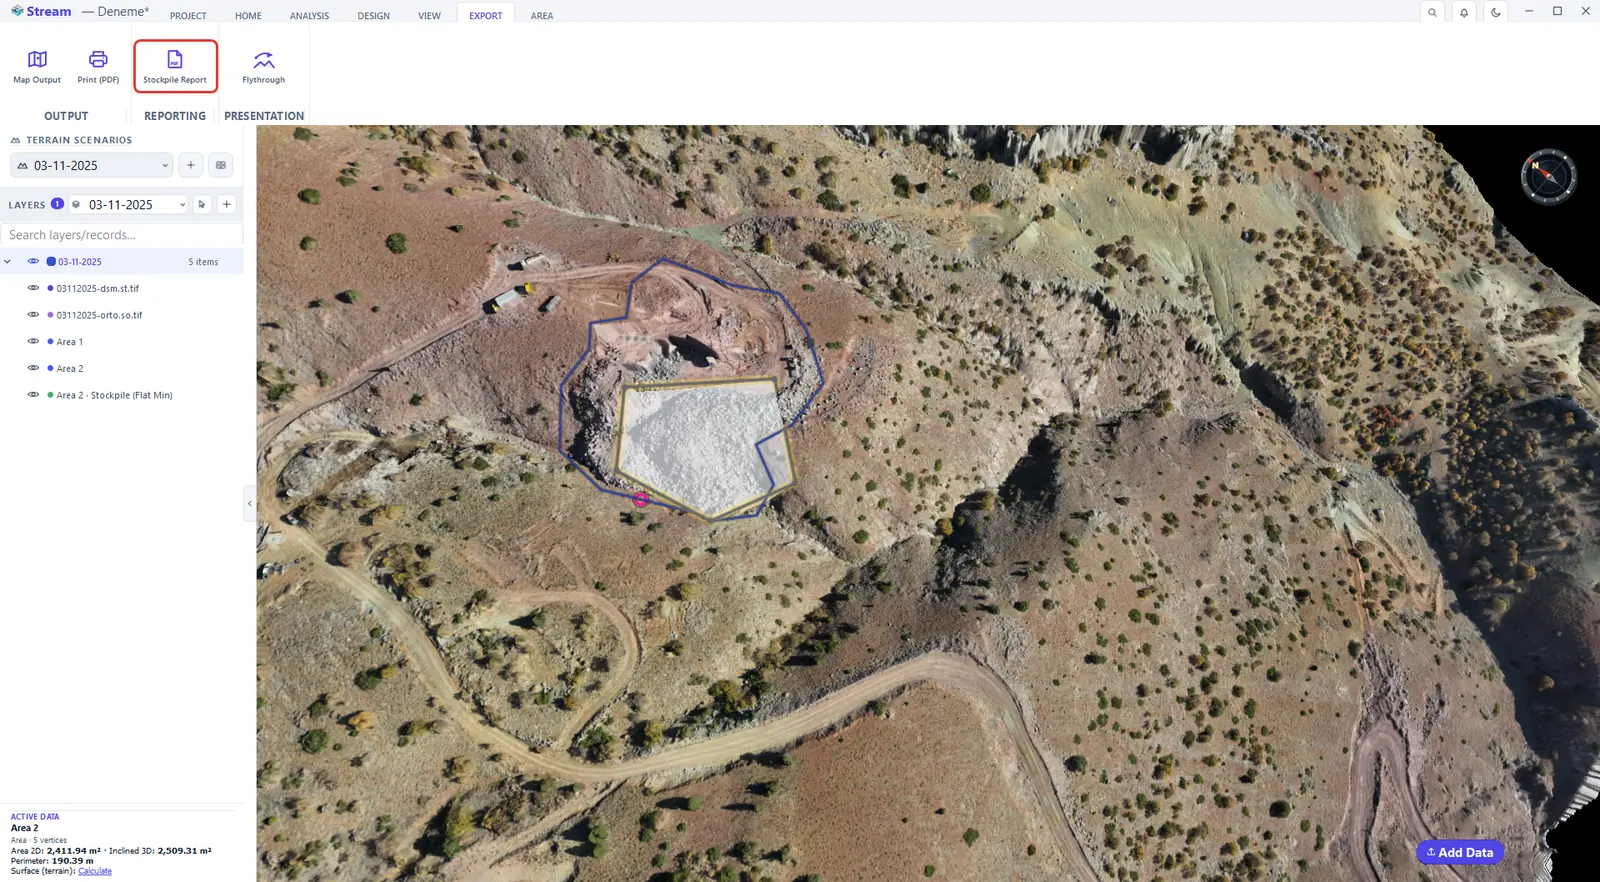
EXPORT ▸ REPORTING ▸ Stockpile Report collects every stockpile on the site into one PDF: a numbered site view over the orthophoto, a summary table (volume, tonnage, value) and a detail page per pile. The numbers on the map and in the table match one to one. First measure the pile — see stockpile volume — then press the button.
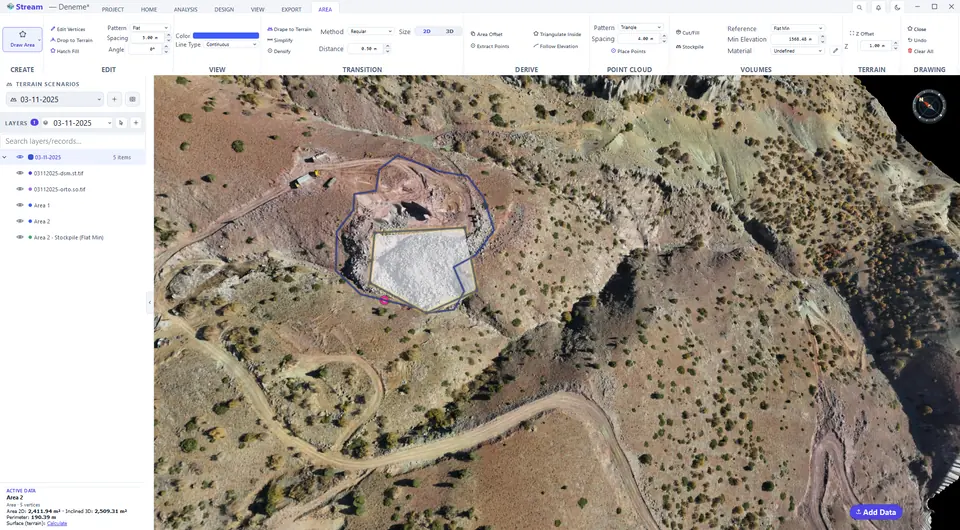
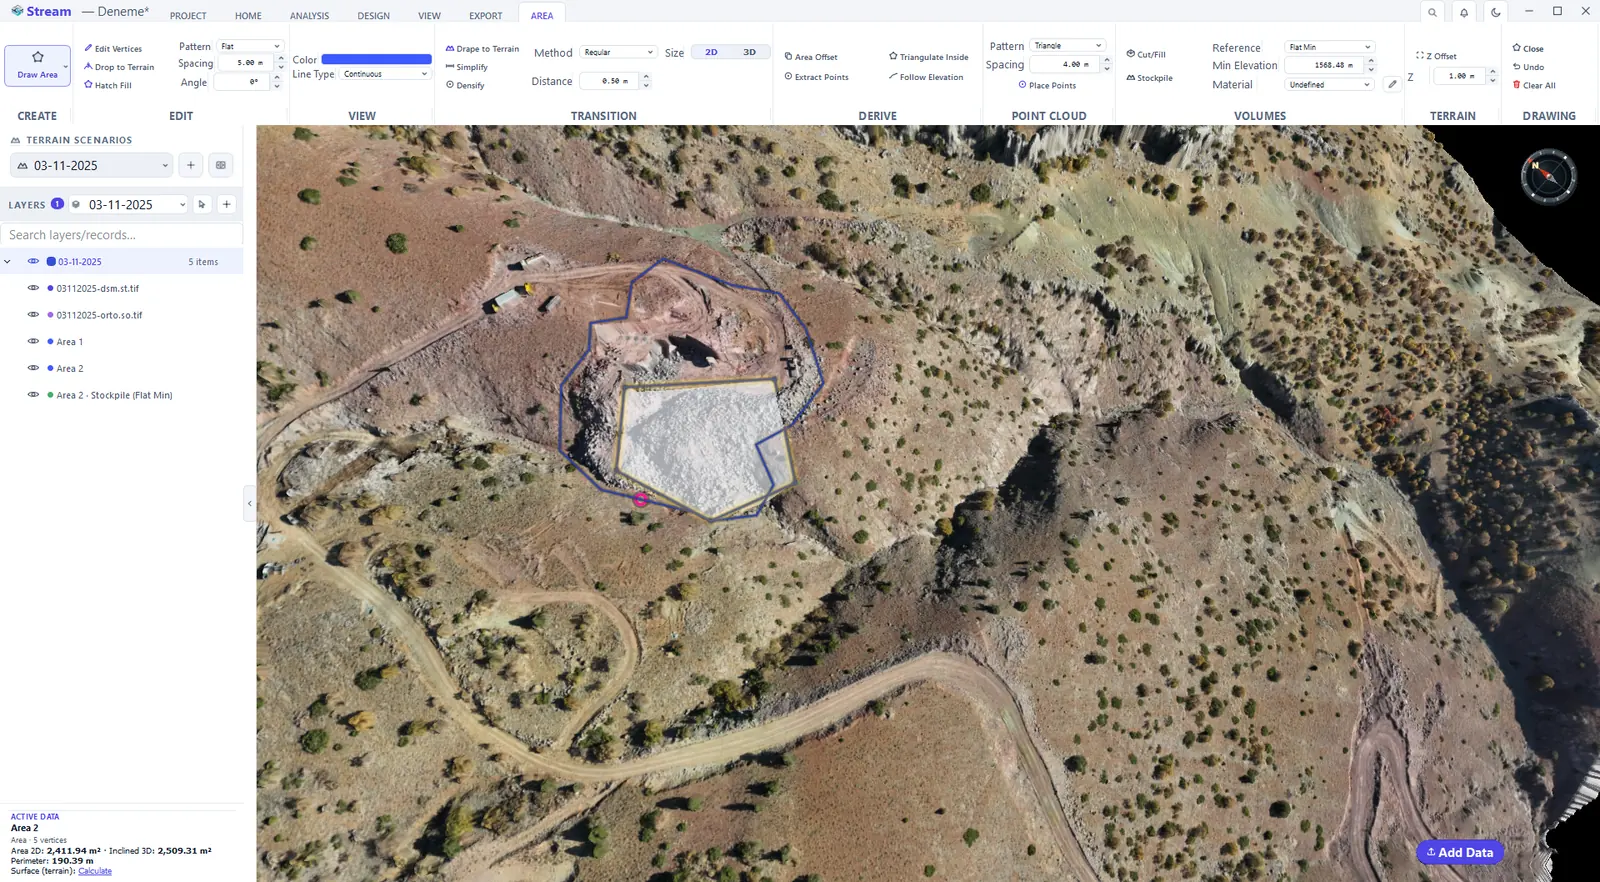
Calculate a stockpile from the area.
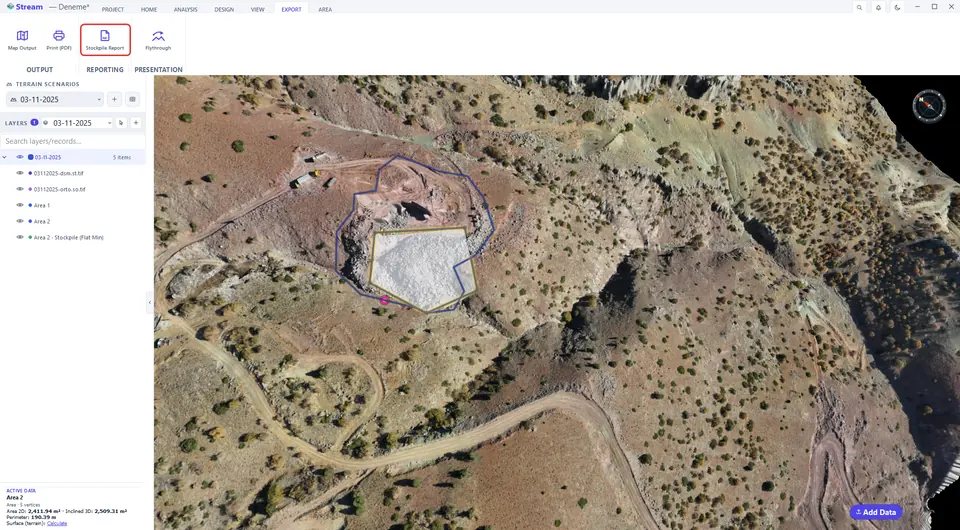
Press Stockpile Report on the Export tab.
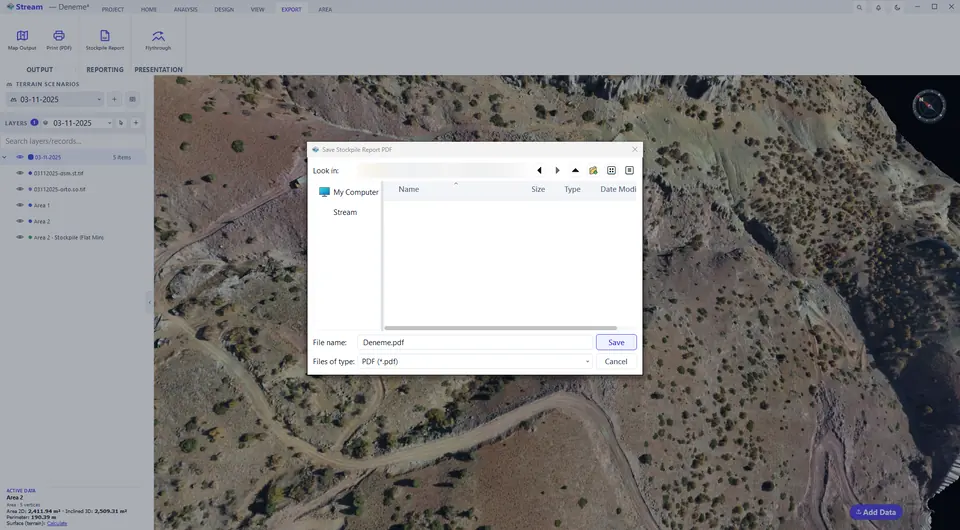
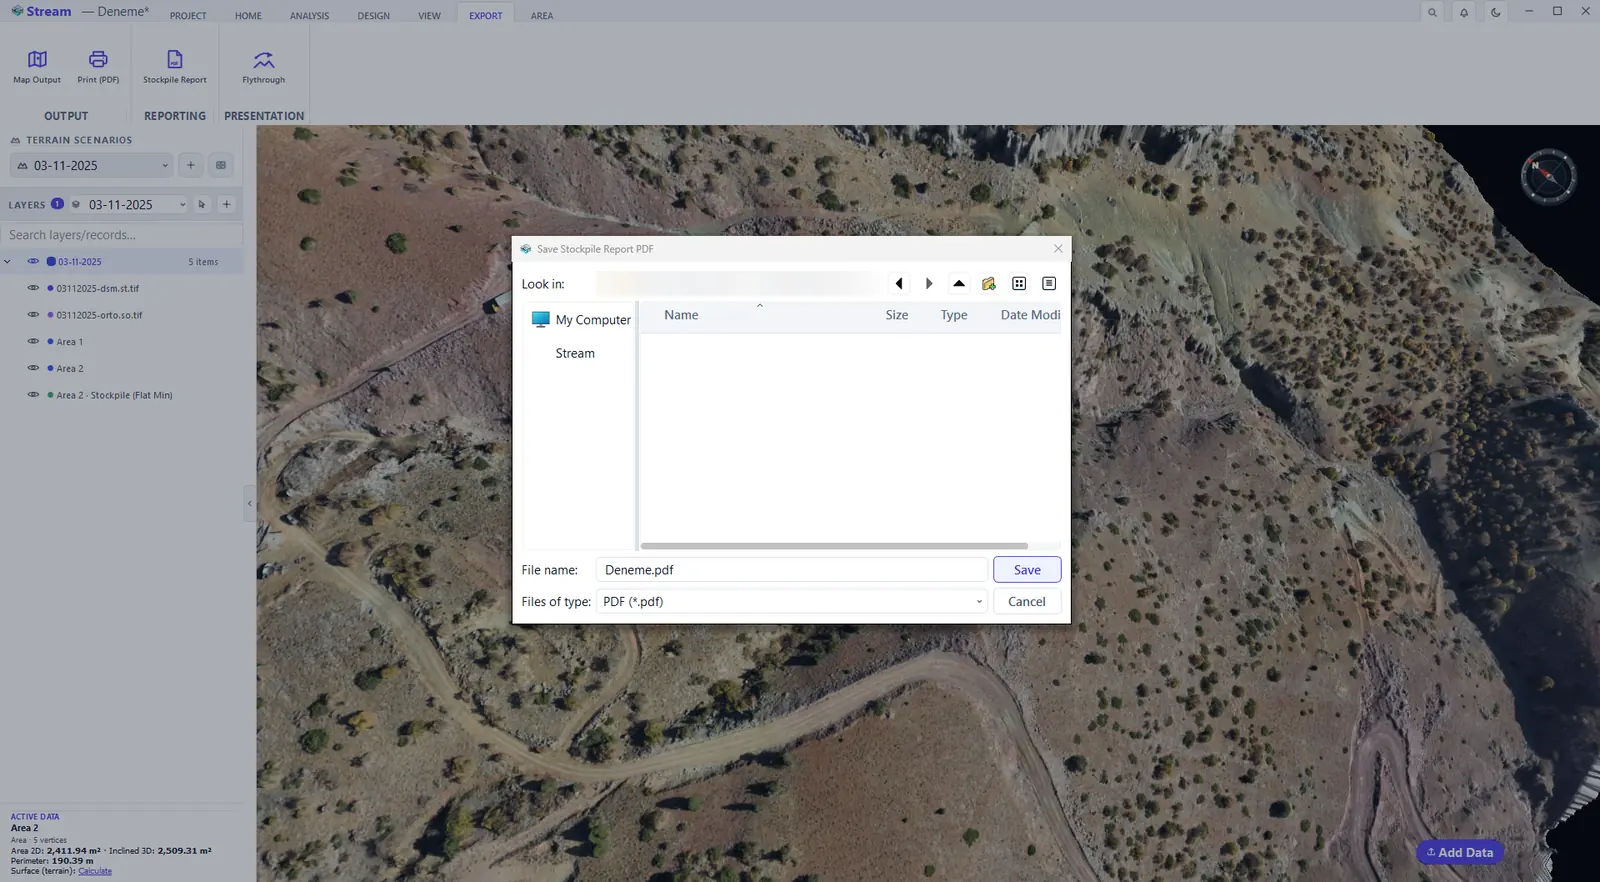
Name the stockpile report PDF and save it.
The finished stockpile report, page 1.
The finished stockpile report, page 2.
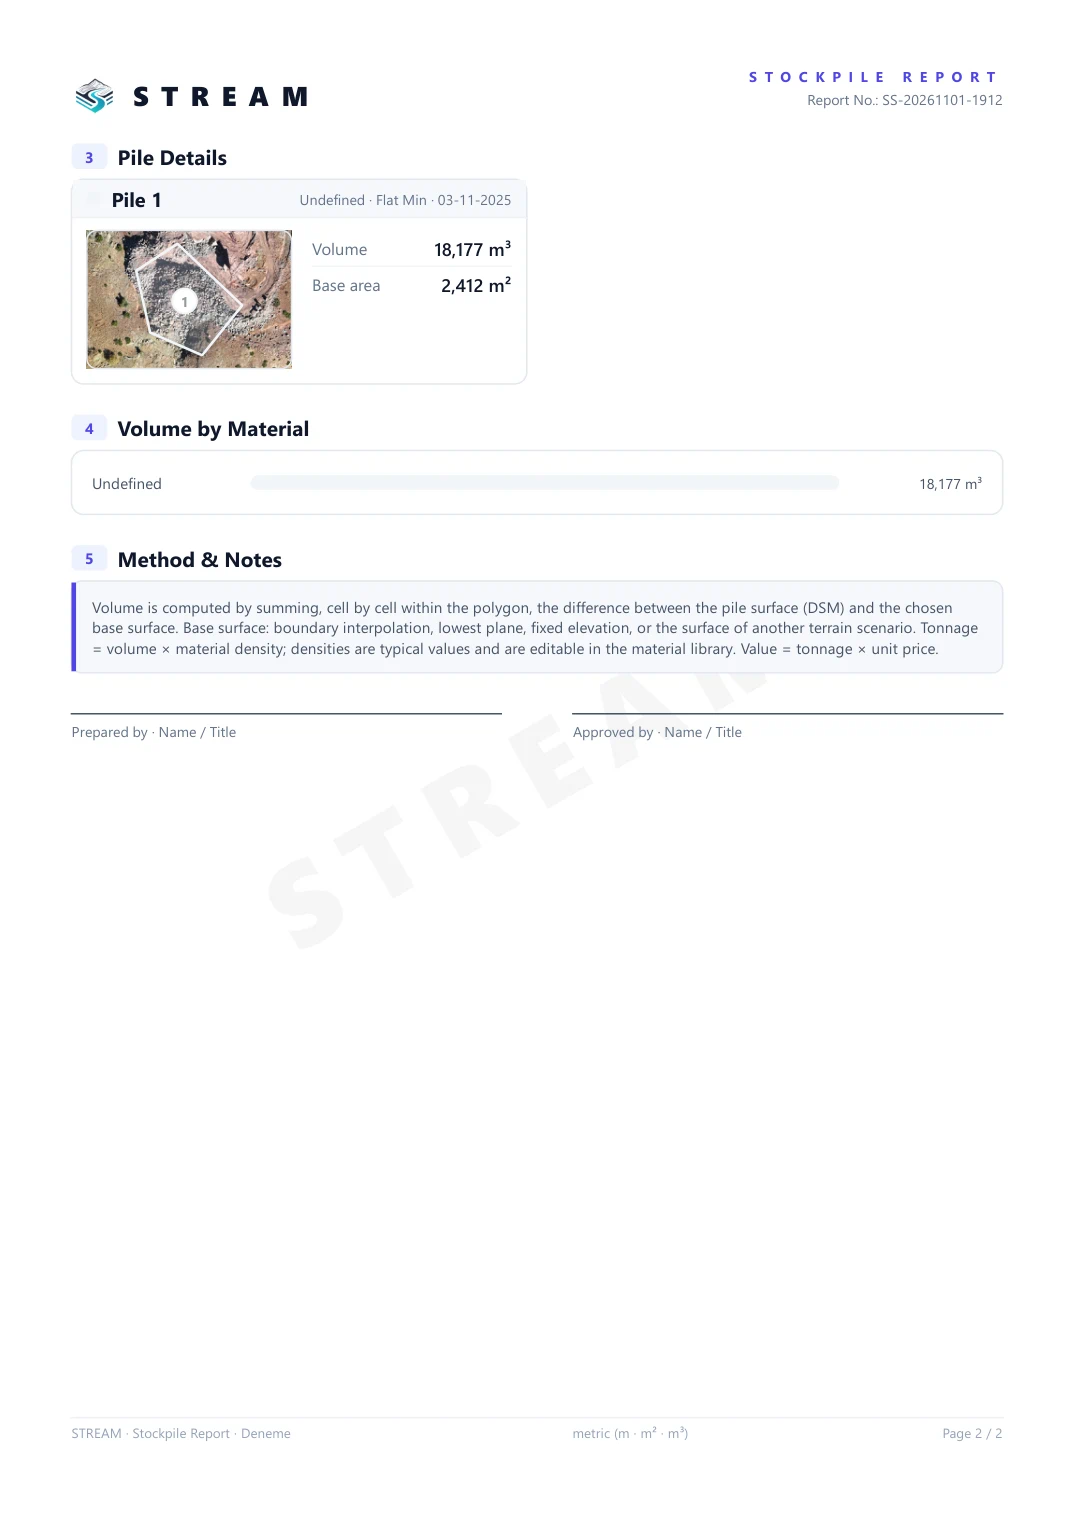
The report has five parts: the site overview, the stockpile summary (pile, material, base surface, base area, reference elevation and volume), a detail card for every pile, the volume by material and the method and notes, with signature lines for Prepared by and Approved by. With no material chosen the pile stays Undefined: the volume is still correct, only tonnage and value are left out.
Record a flythrough video
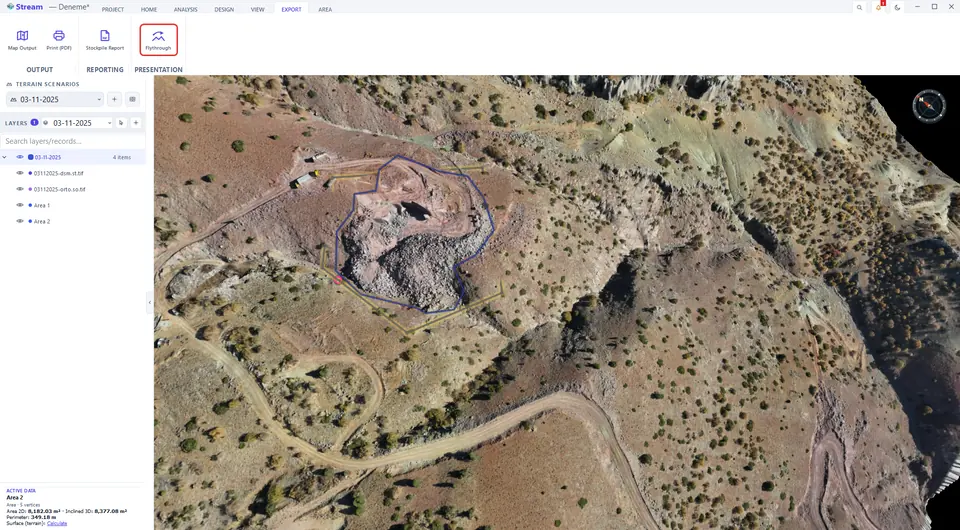
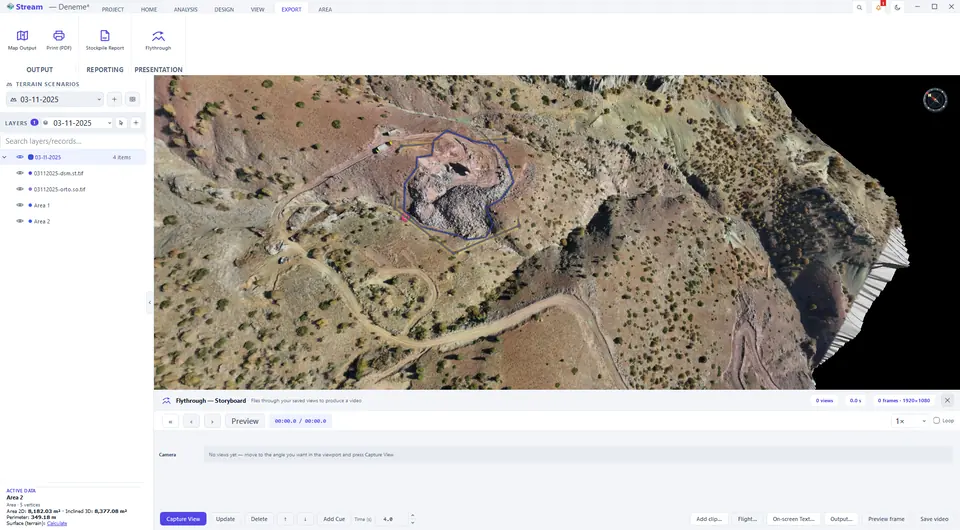
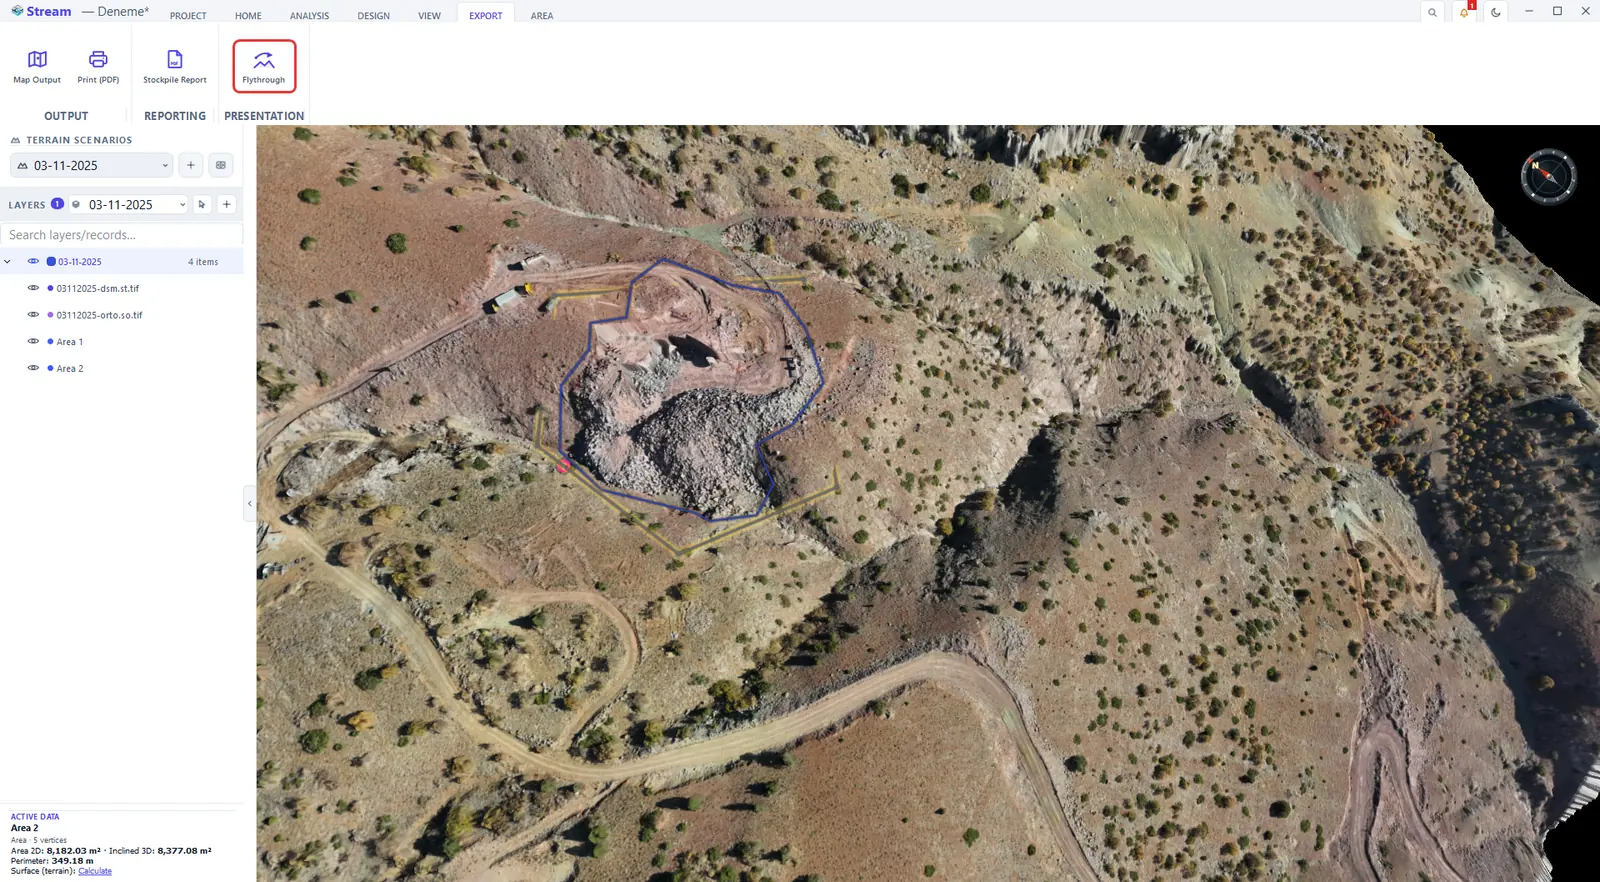
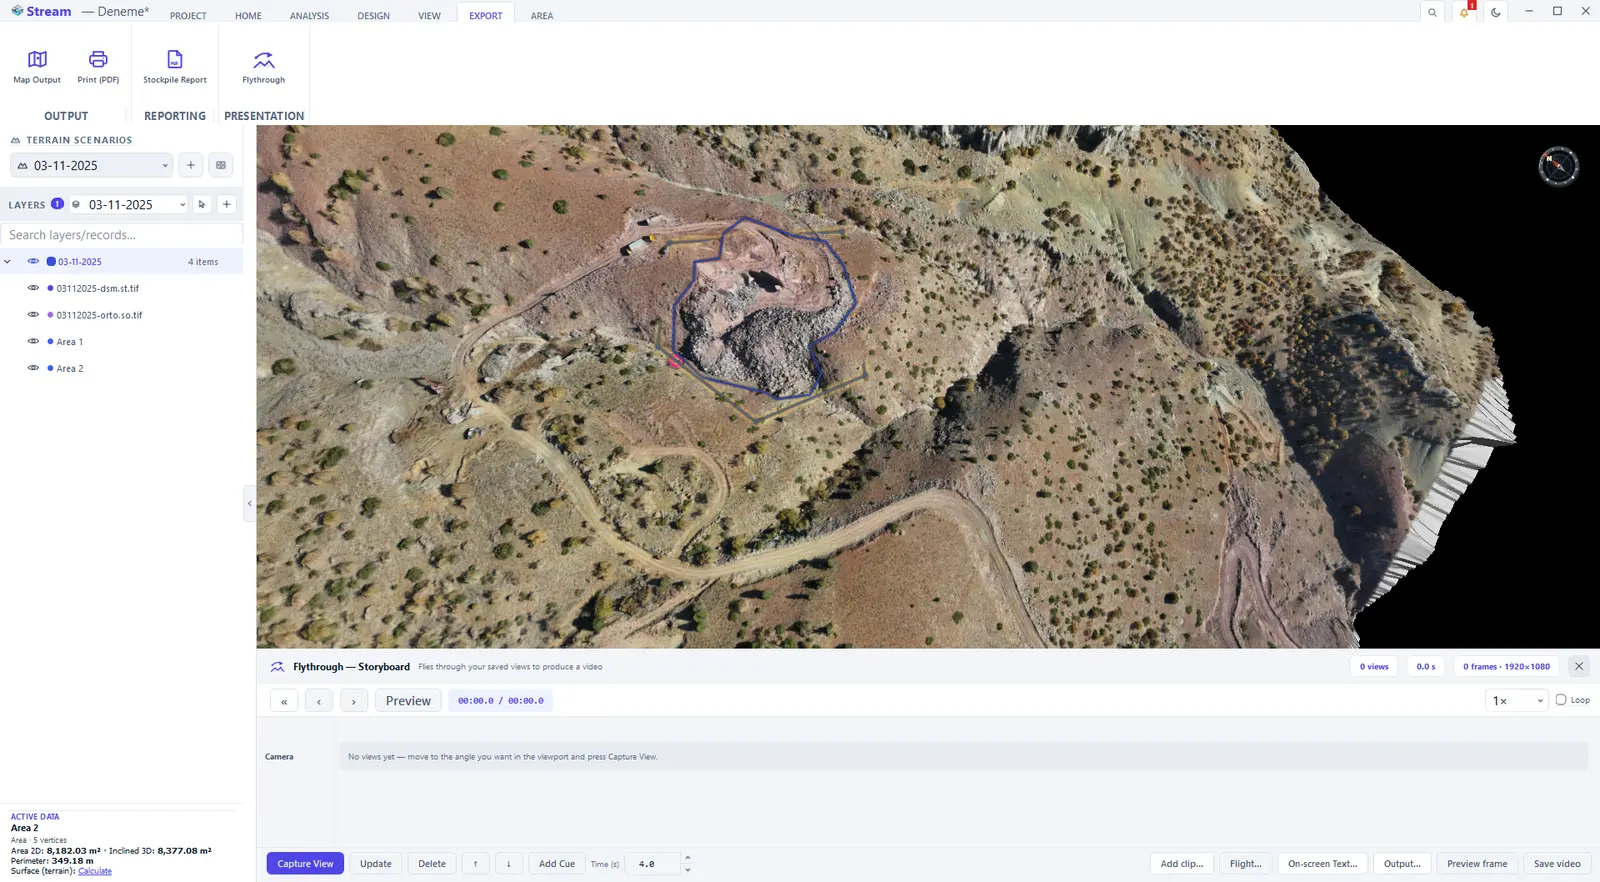
EXPORT ▸ PRESENTATION ▸ Flythrough opens a storyboard strip under the view. The model is simple: move to the angle you want, press Capture View, navigate, capture again. The captured views are the flight — both the path and the look direction come from them, and STREAM glides between them along a smooth curve.
Press Flythrough on the Export tab.
Move the camera and press Capture View.
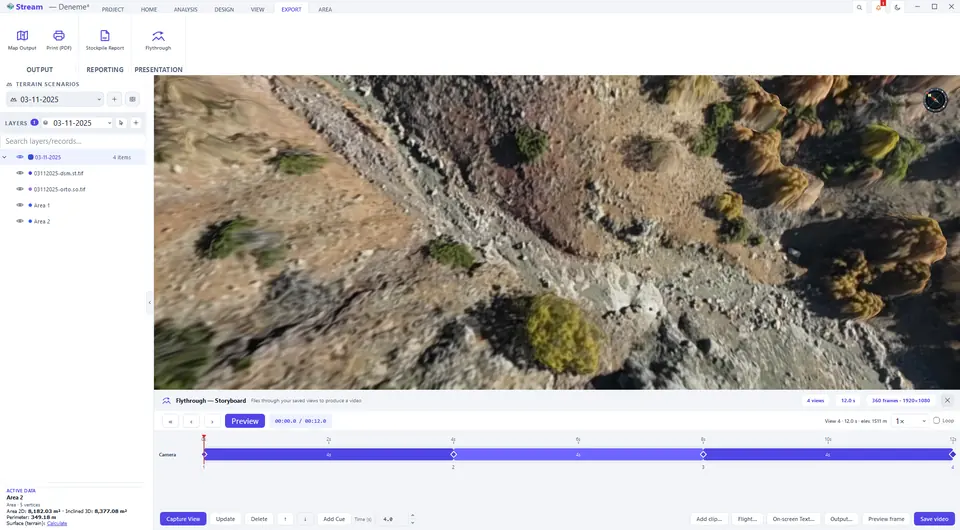
Saved views form the flight path on the timeline.
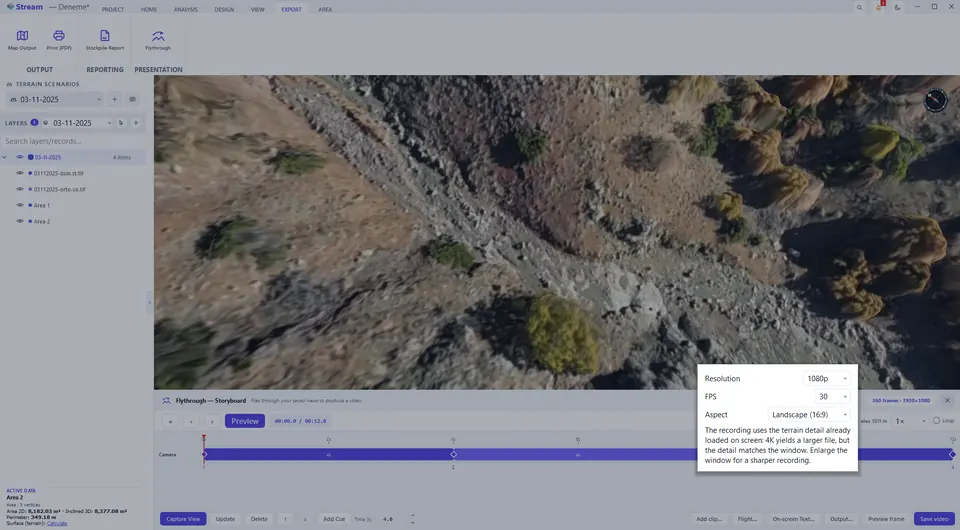
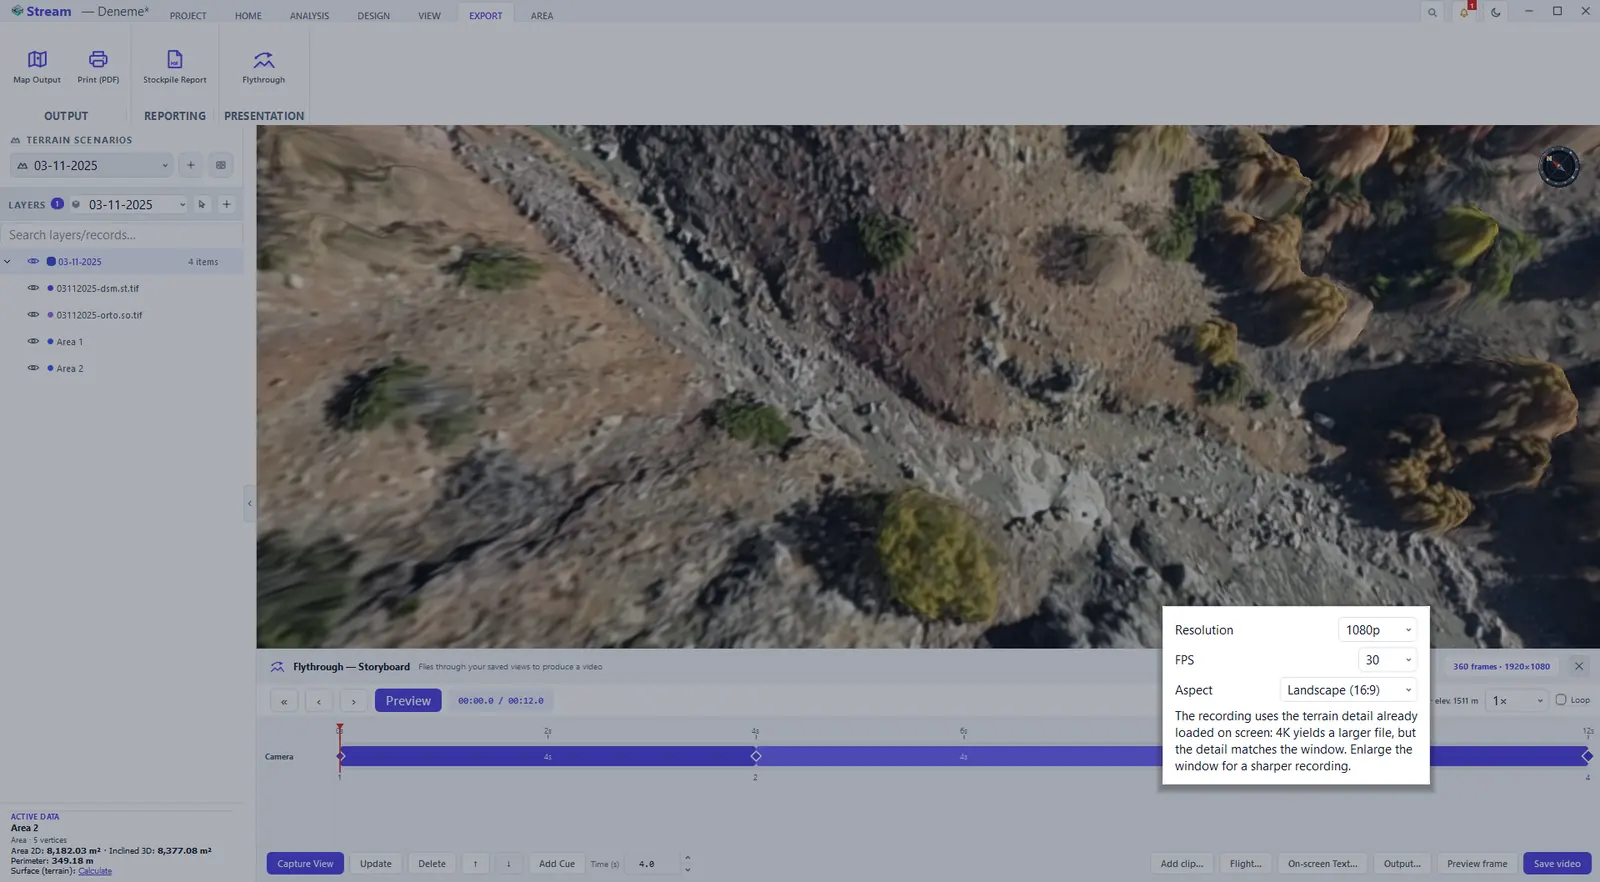
Resolution, frame rate and quality.
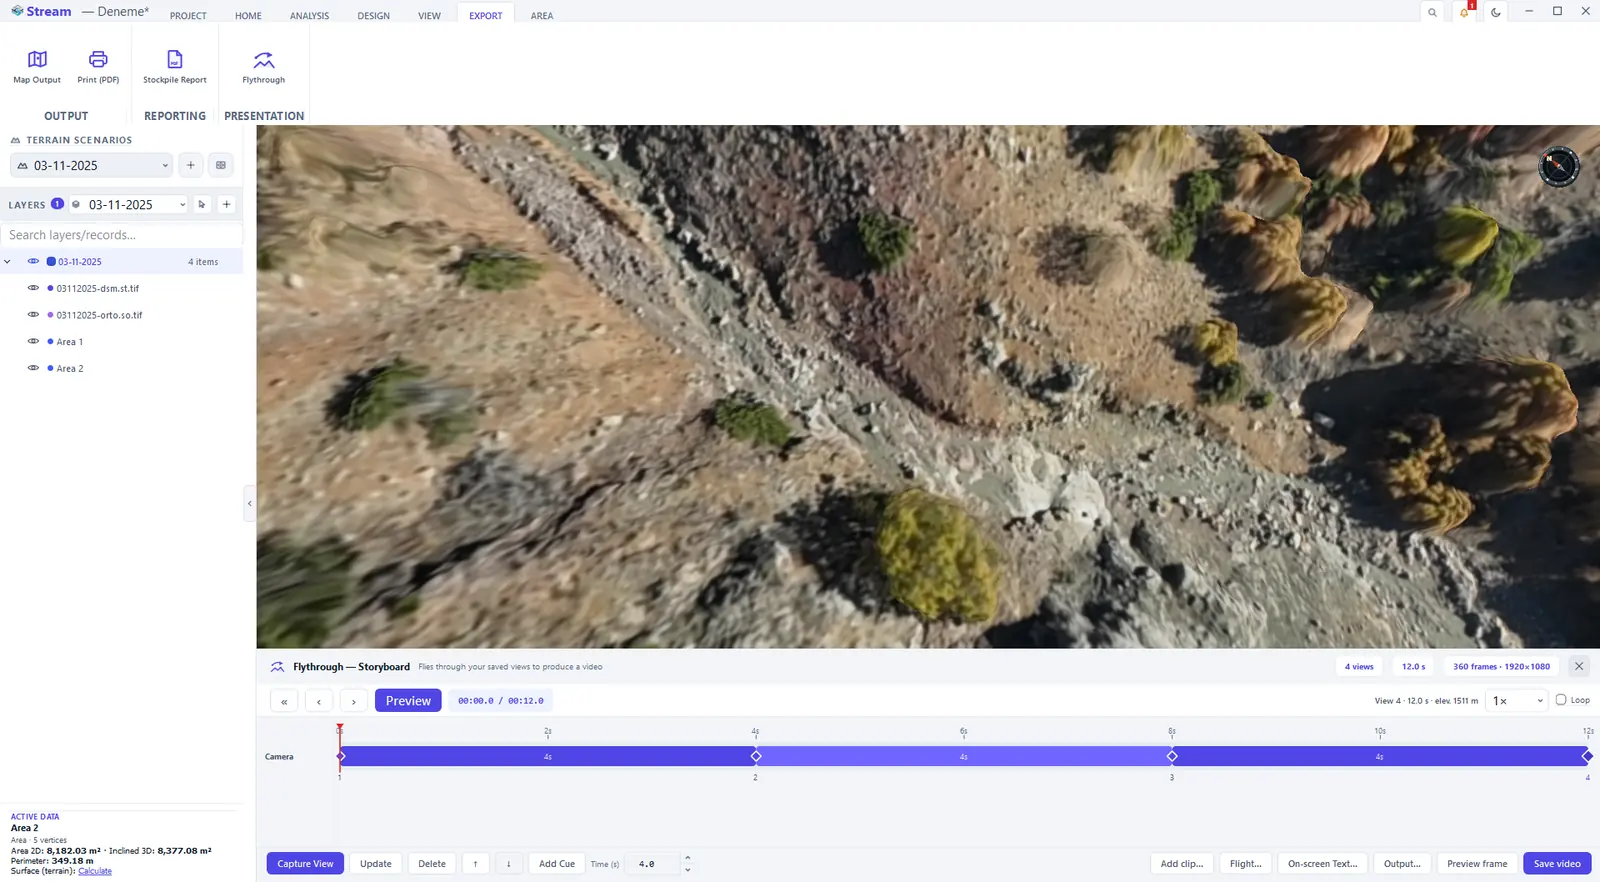
- Preview drives the real camera; Loop and the preview speed help while you iterate.
- Update replaces the selected view with the current camera angle; Delete and the arrows remove a view or move it one step forward or back.
- Seconds per view sets the leg duration; drag between two views on the timeline to change a single leg.
- Layer Cue shows or hides a layer at a chosen moment, and Scenario Switch swaps the terrain scenario mid-flight (the before-and-after story).
- Under Output… pick the resolution, frame rate, aspect ratio and quality, then press Save Video. Overlay Text… burns a fixed title or caption into the video. The recording uses the terrain detail already loaded on screen: enlarge the window for a sharper recording.
The storyboard is saved with the project: an unfinished flight is still there when you reopen it. Recording renders frame by frame, so long high-resolution flights take time — settle the edit with a short preview first.
The cut/fill elevation band report has its own PDF output, shown in the volumes chapter.
Next: Permit audit.
Related features
What each capability does, which formats it reads and writes, and answers to common questions: