
Switch between terrain scenarios
Open the list under TERRAIN SCENARIOS in the left panel and pick a scenario. The view, the layer list and every tool now work on that survey.
Open the terrain scenario list.
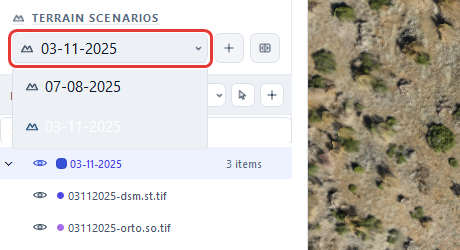
Switch to the earlier survey.
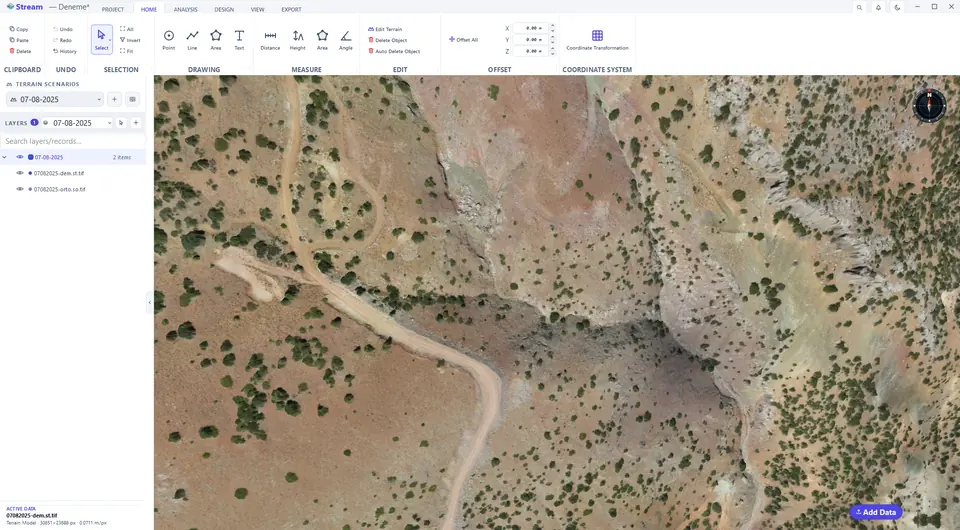
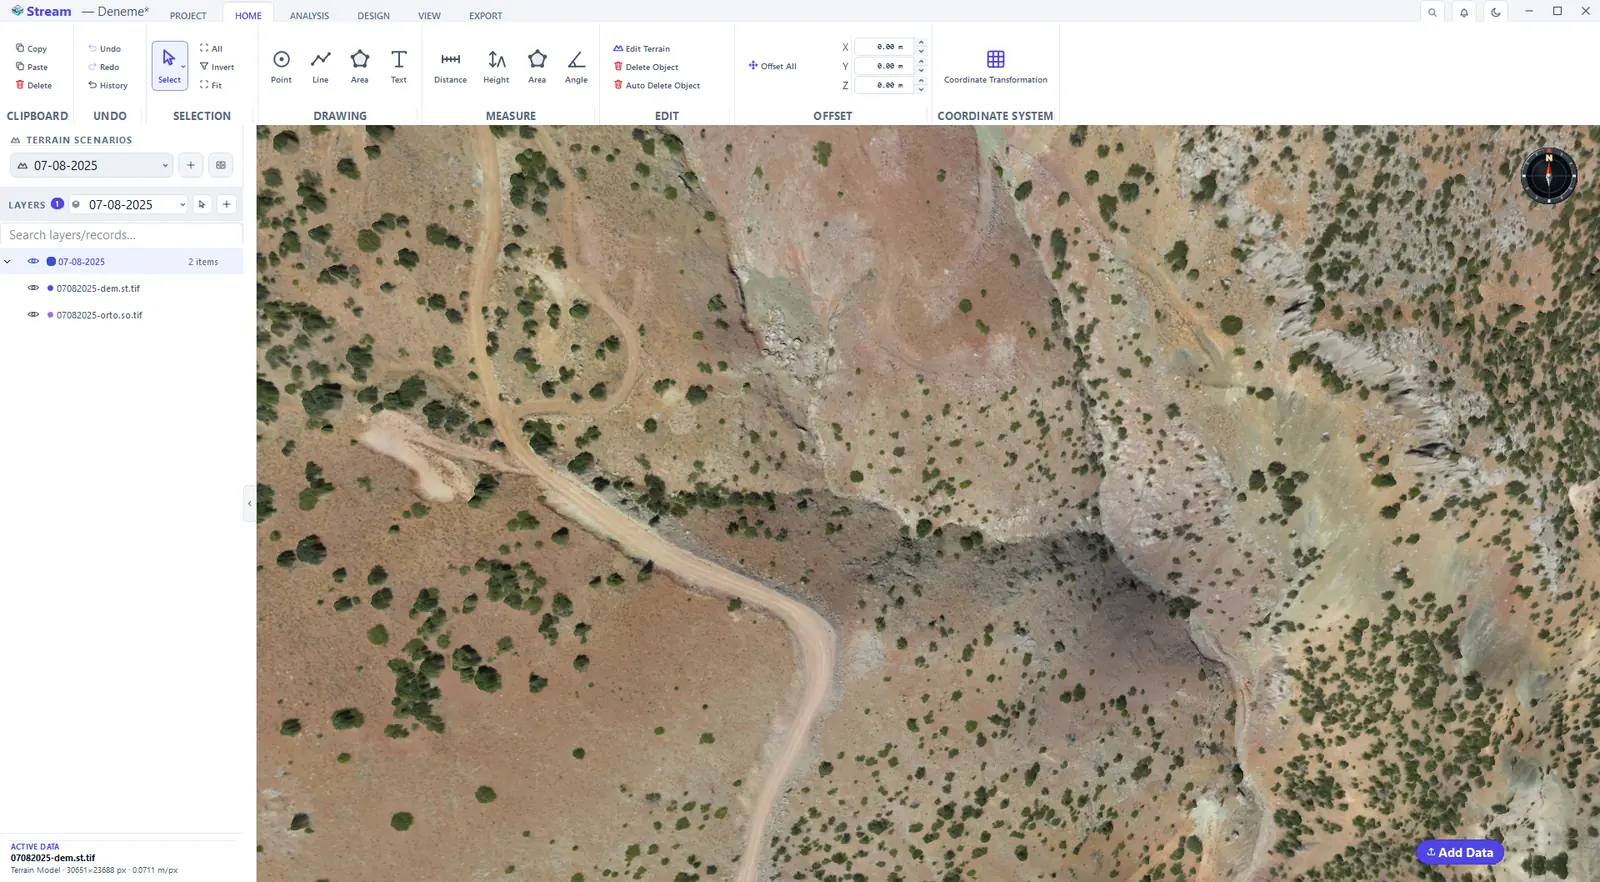
Add a terrain scenario for a new survey date
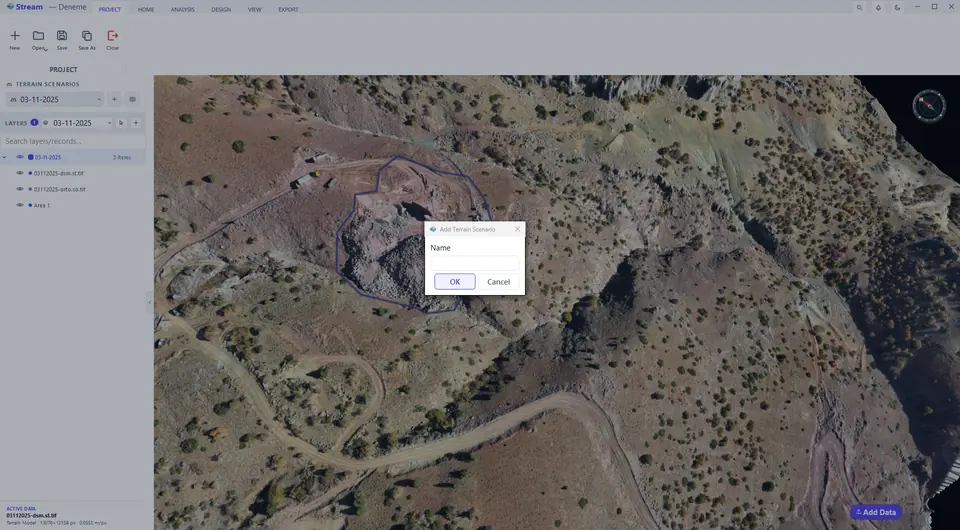
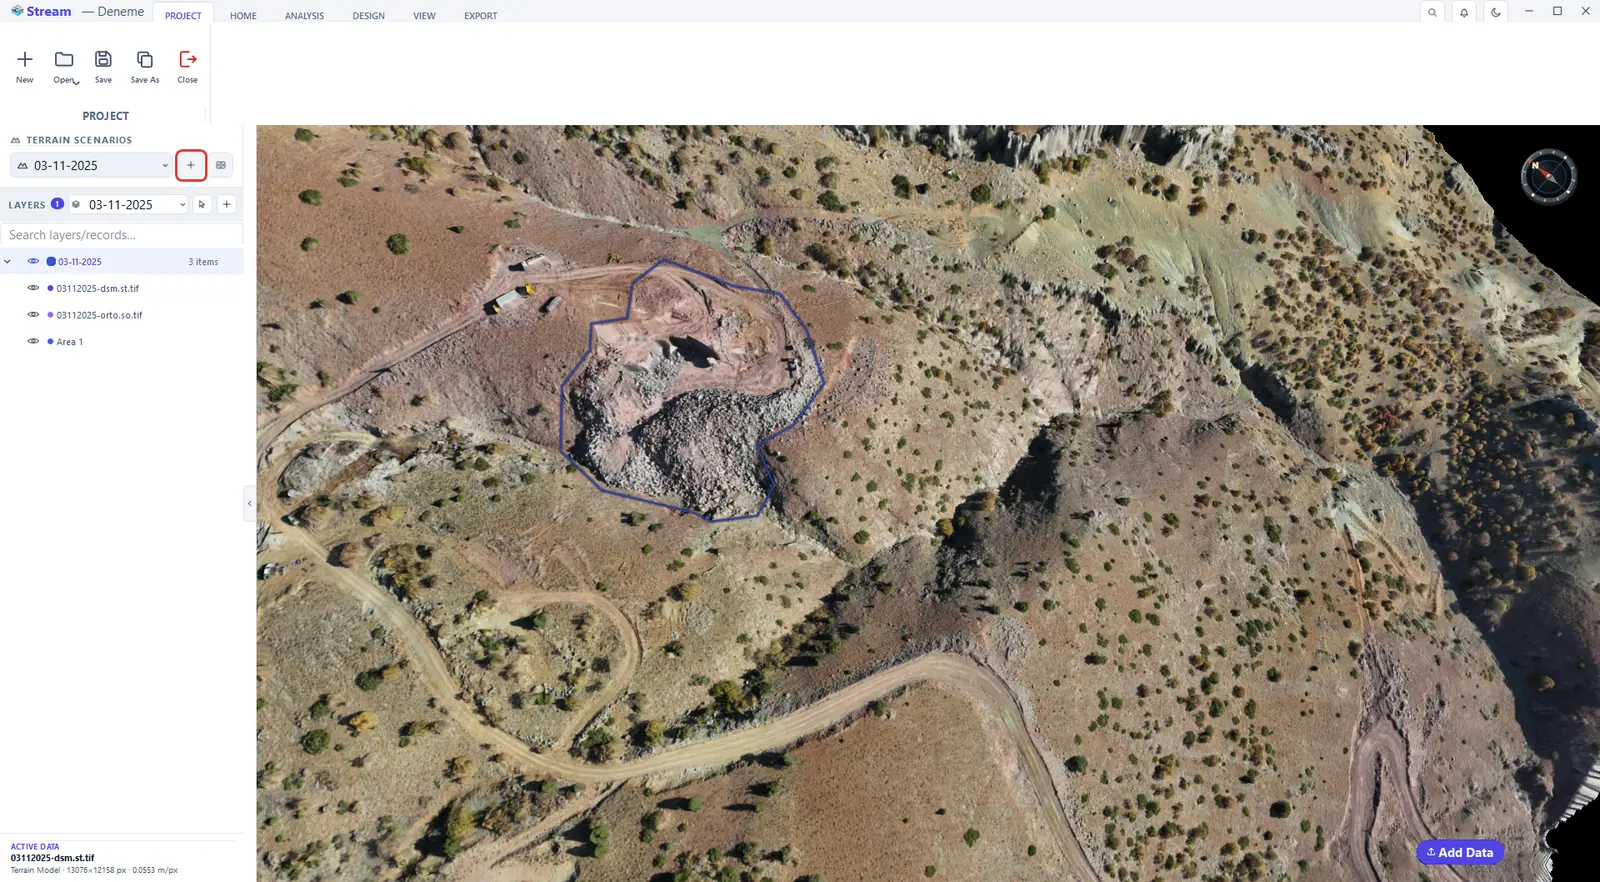
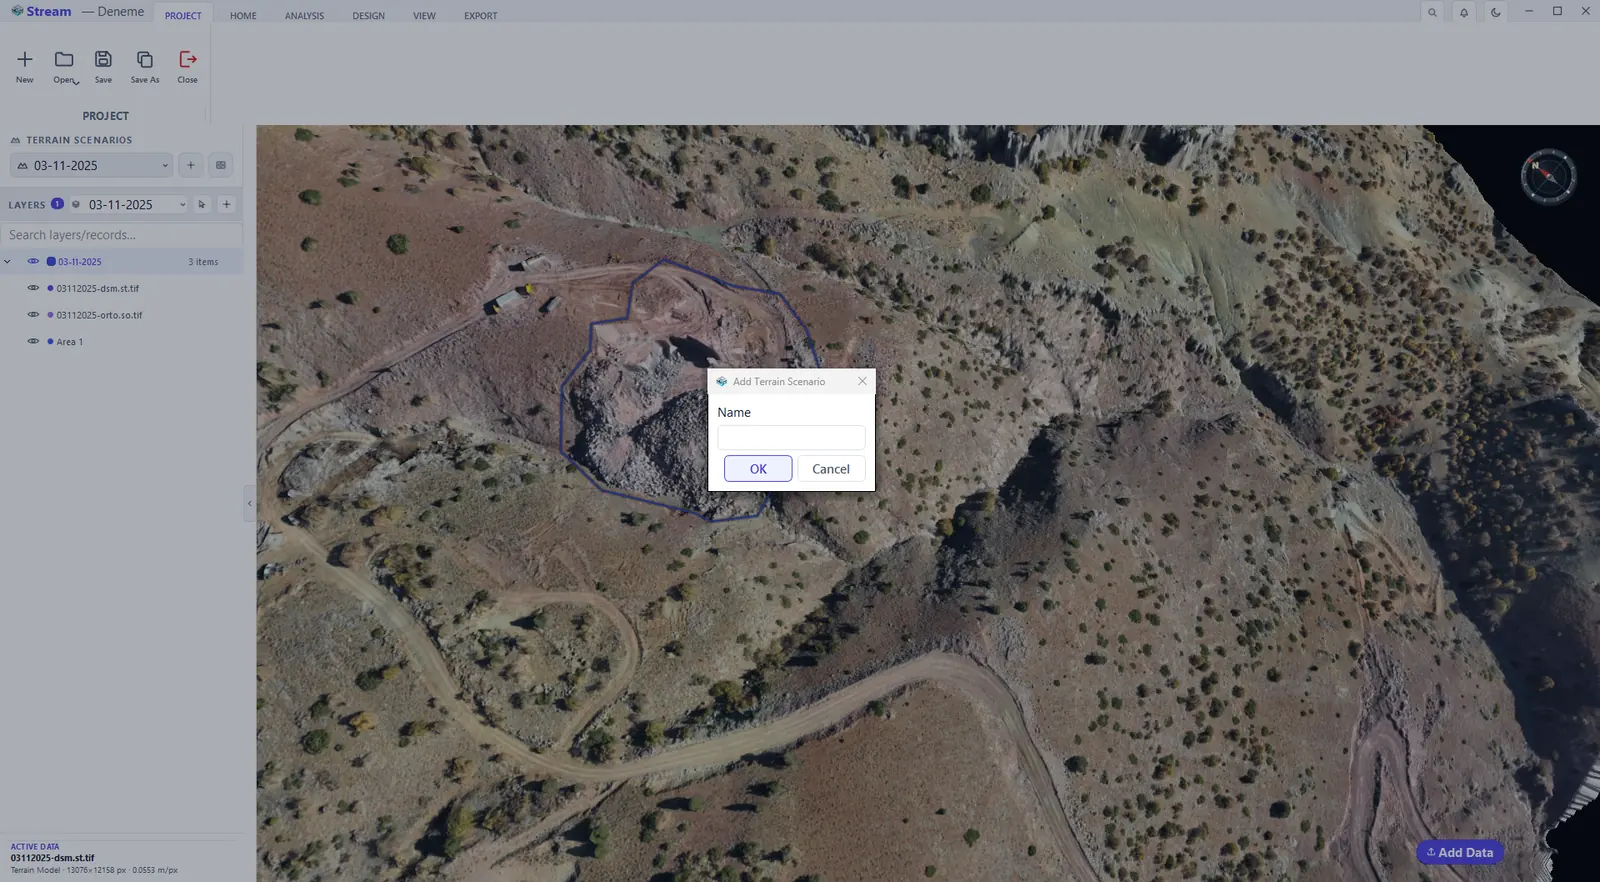
Add Terrain Scenario (the + button next to the list) creates a new, empty scenario: give it a name — a survey date works well — and press OK, then load the next survey into it with Add Data.
Add a scenario for each survey date.
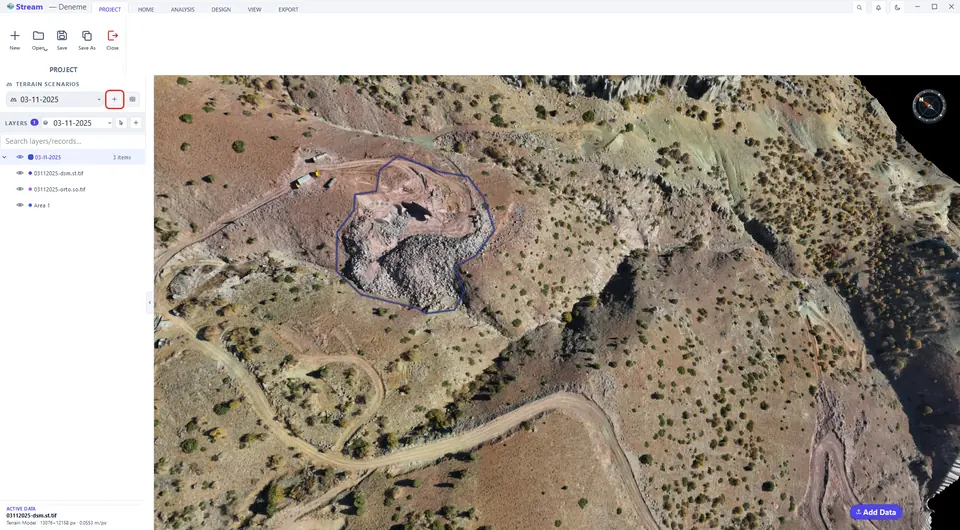
Name the new terrain scenario.
Work with the layer list
The LAYERS tree lists loaded data, drawings and analysis results.
Scenarios and the layer list.
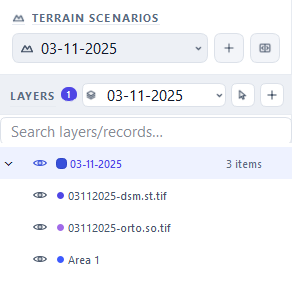
- The eye icon in front of a row shows or hides that layer or record.
- Click a row to select it; Ctrl-click selects several. Clicking a layer name selects everything in the layer.
- Right-click a record for Change Color, Attributes…, Change Layer and other actions.
- Pin a record to make it visible in every scenario; unpinned data is only shown in the scenario where it was created.
- Add Layer (the + button on the LAYERS row) creates a layer; the list next to it chooses the layer new drawings go into.
- Right-click a layer name for Zoom To, Show Only This Layer, Lock (visible and snappable but not selectable), Layer Color… and Export as DXF….
- Search layers/records… filters long lists.
Add a layer
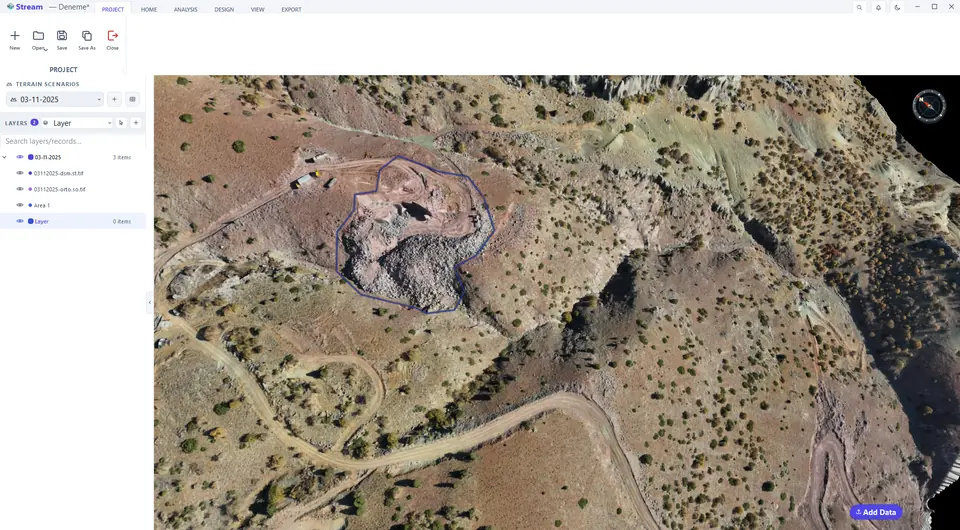
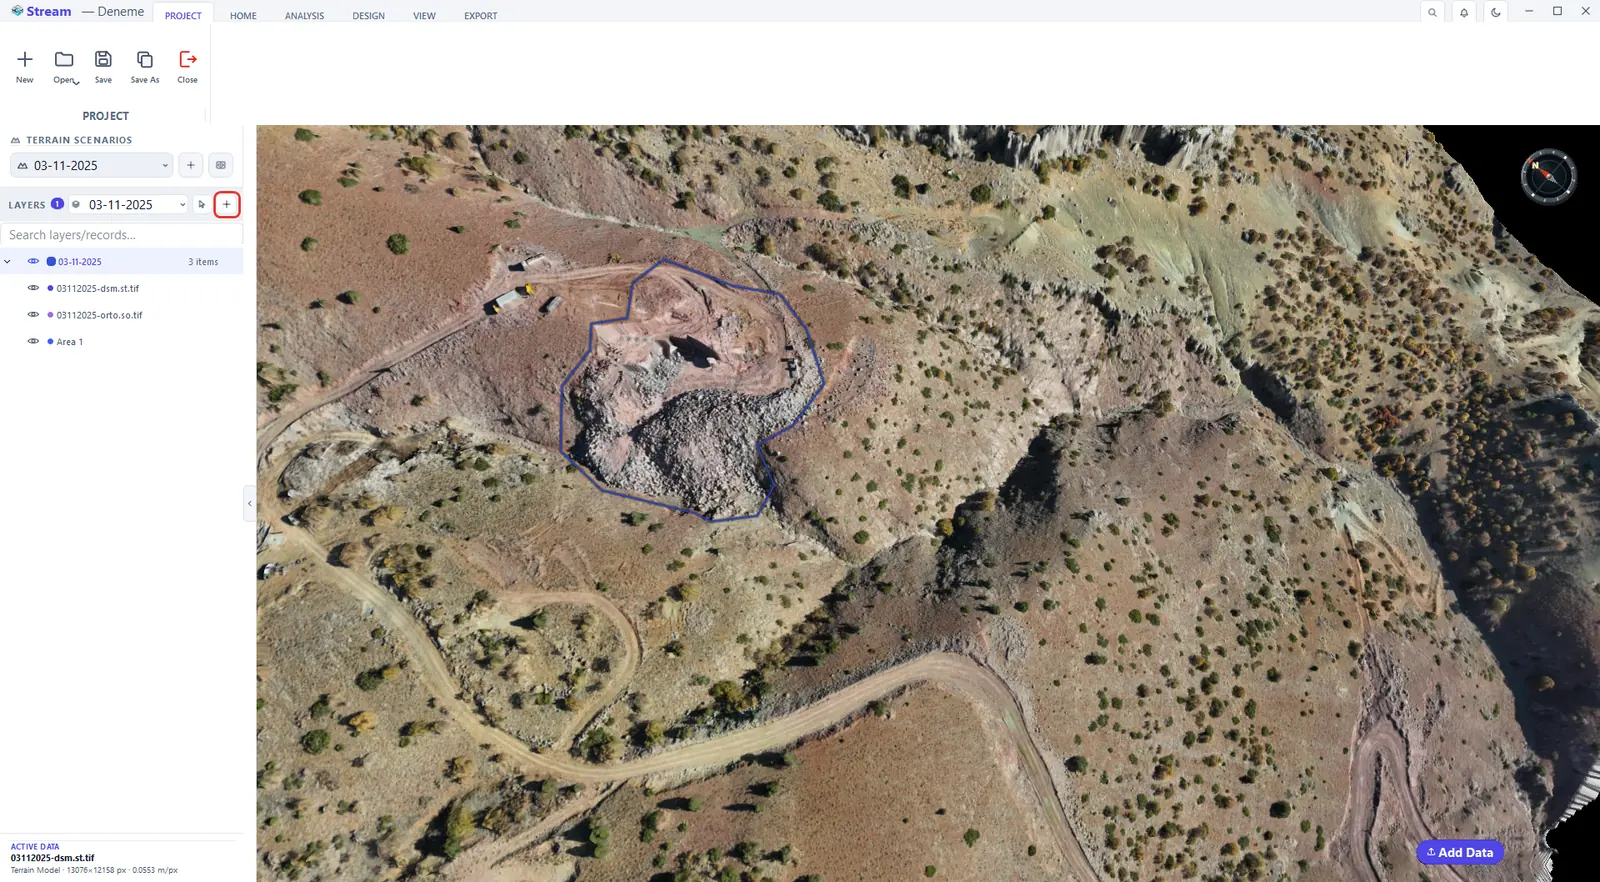
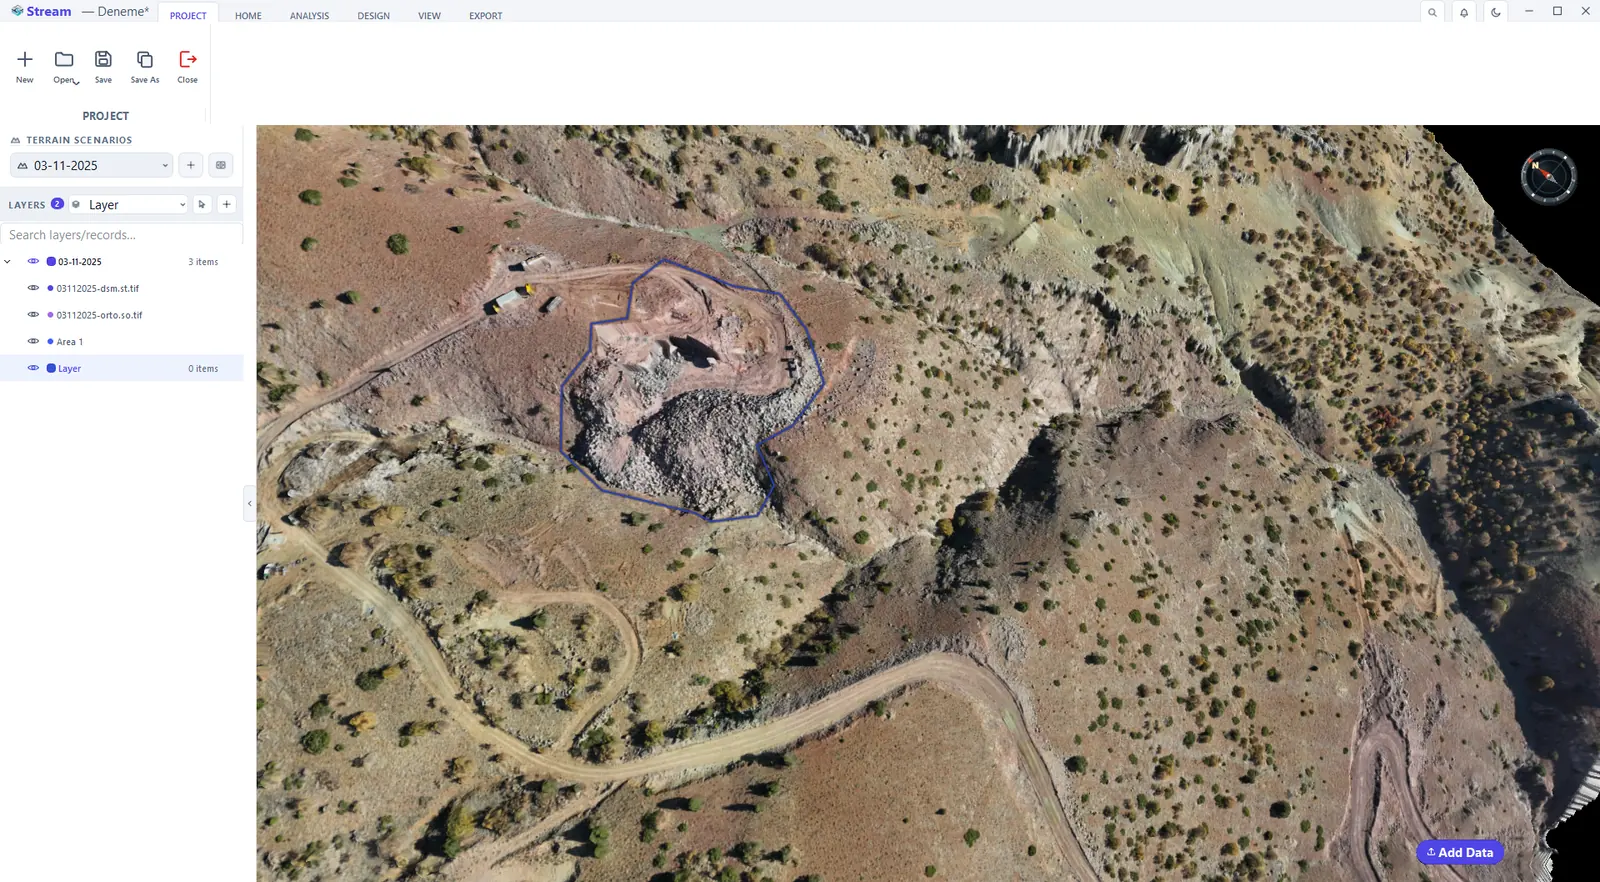
Add Layer (the + button on the LAYERS row) creates a layer that groups your drawings. Name it, press OK, and choose it in the list next to the button: new drawings go into the chosen layer.
Add Layer groups your drawings.
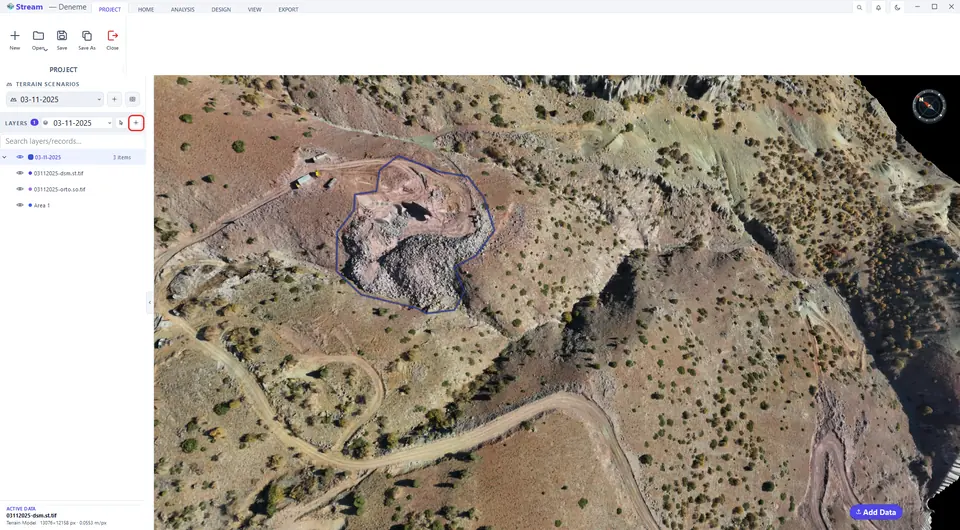
Name the new layer.
Compare two scenarios with the curtain
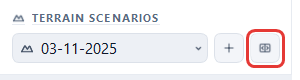
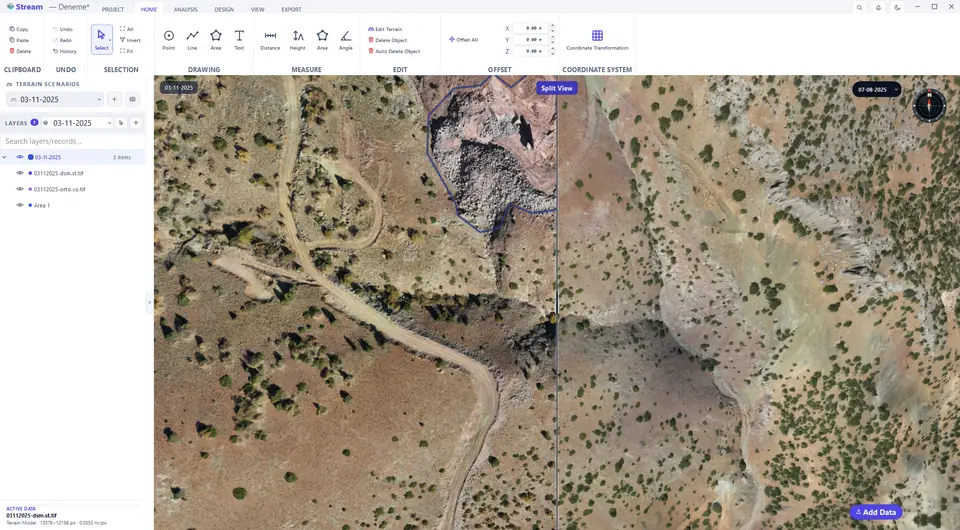
Compare Mode splits the view with a curtain: one scenario on the left, another on the right, same camera.
Open Compare Mode.
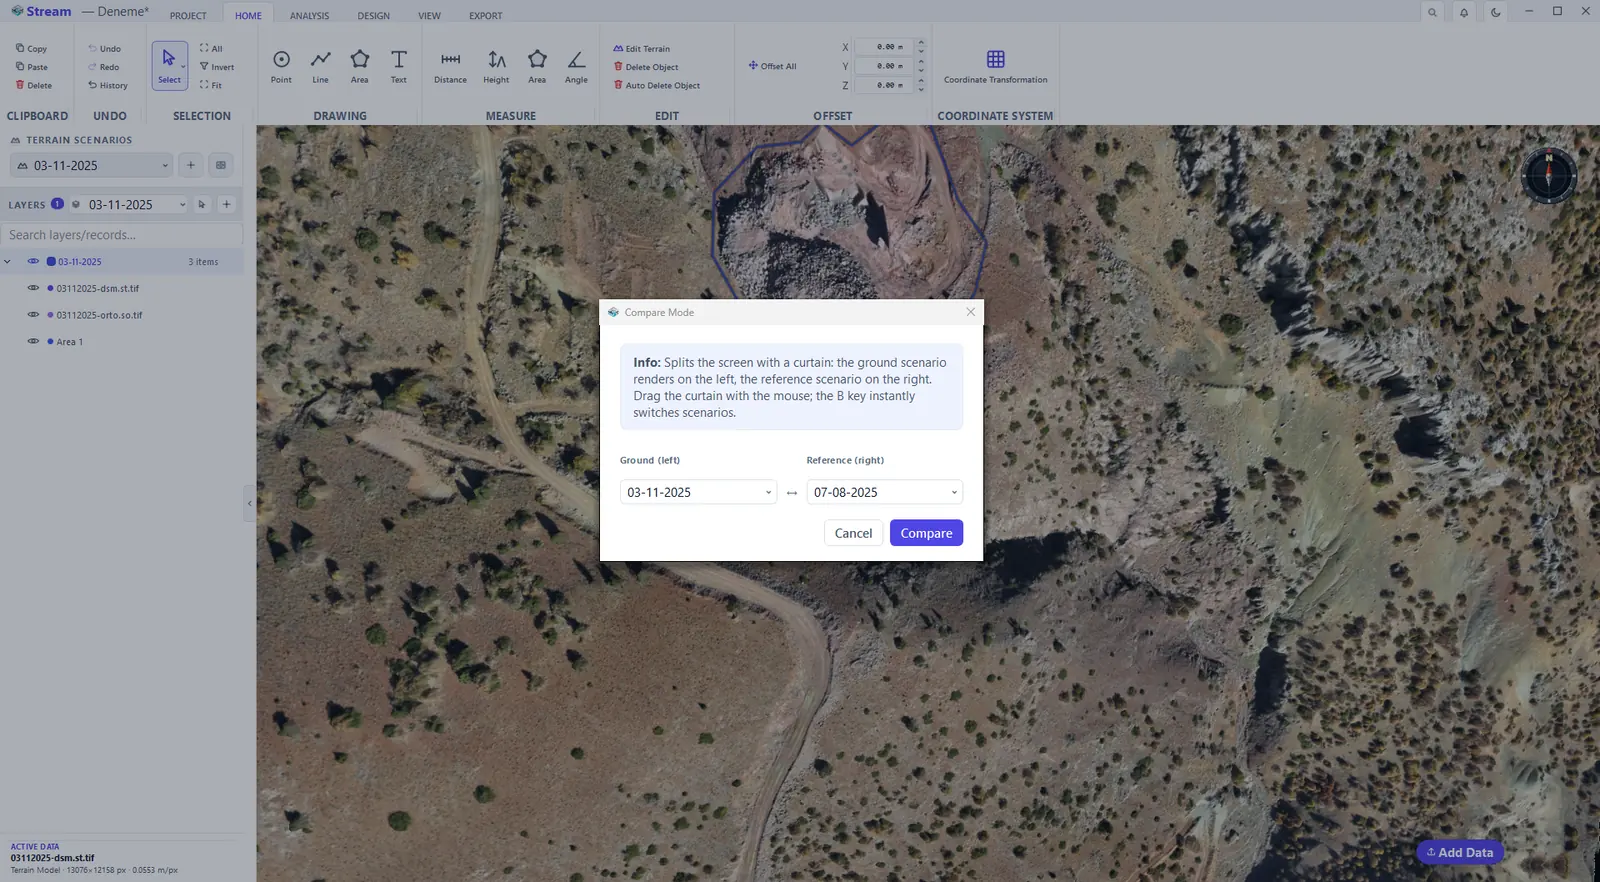
Choose the two scenarios.
Split view with the curtain.
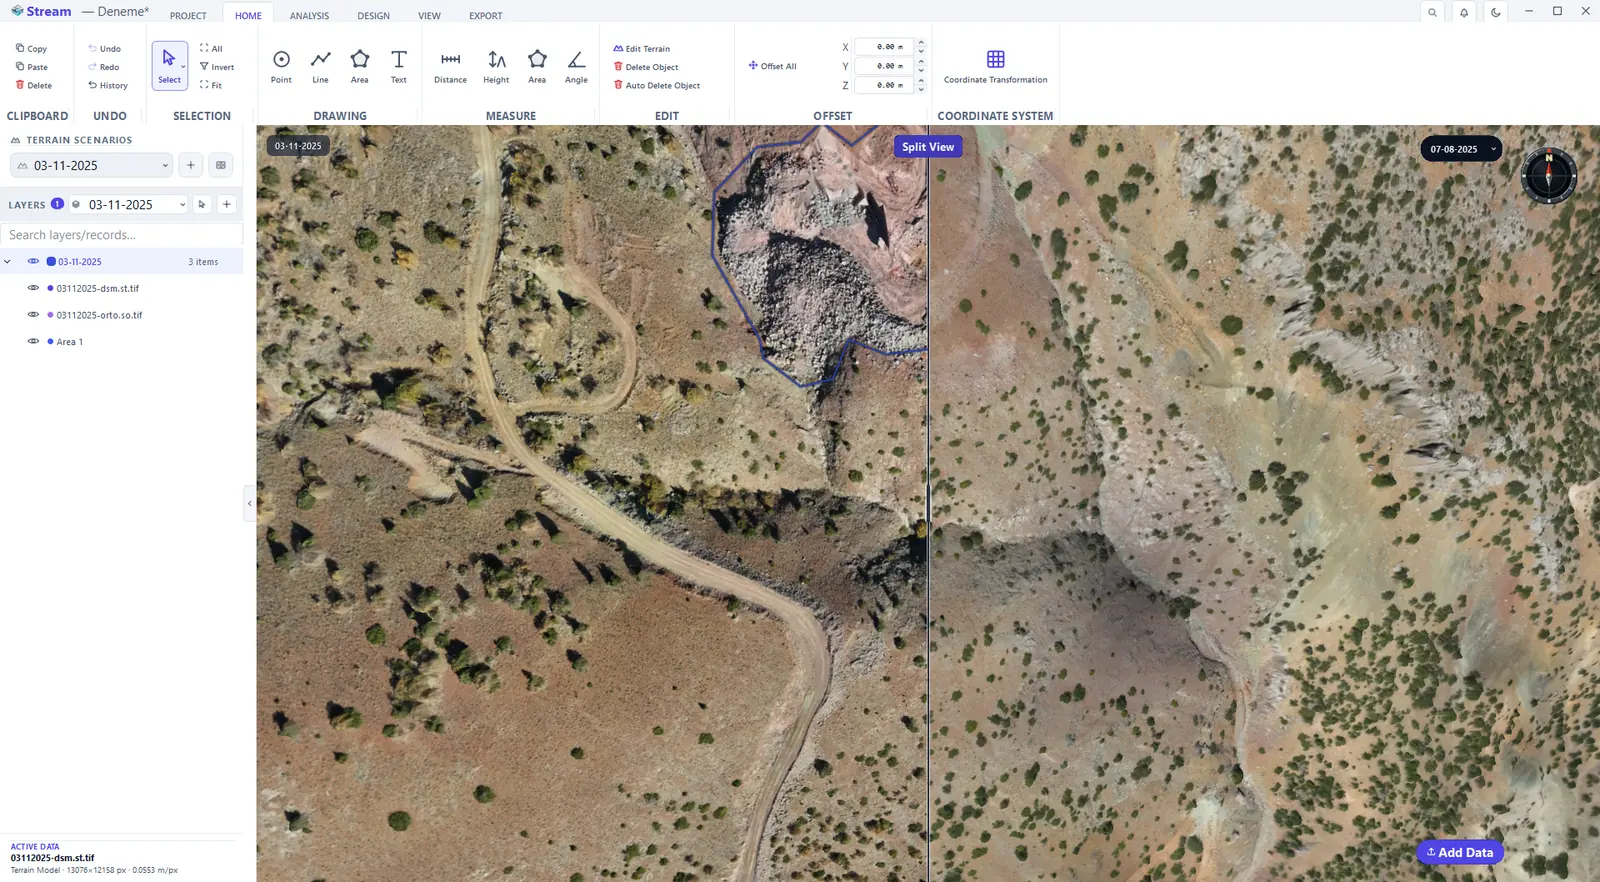
- Click Compare Mode, the button to the right of Add Terrain Scenario.
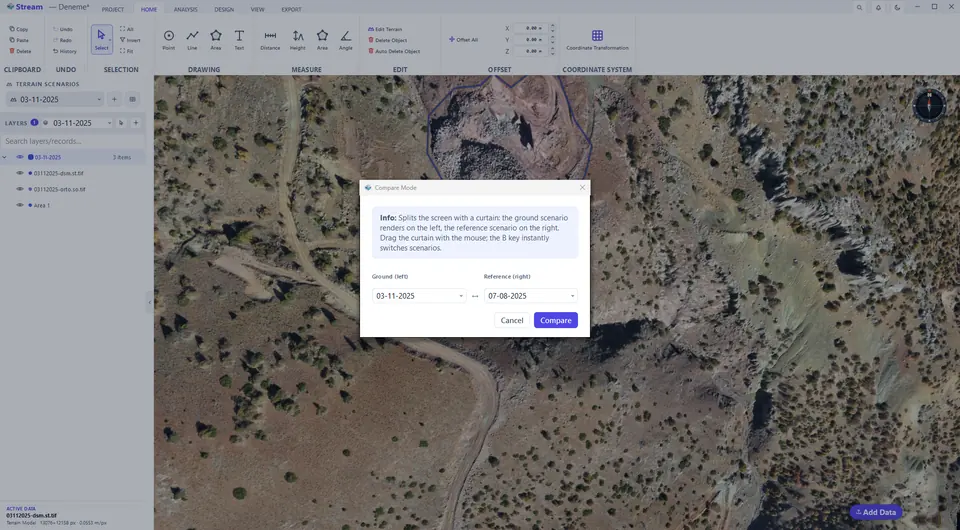
- Choose the scenario for the left side (Ground) and for the right side (Reference), then press Compare.
- Drag the divider left or right. The camera stays where it is while the curtain moves. Press B to swap the two sides.
- Click Compare Mode again to close the curtain.
Next: Points.
Related features
What each capability does, which formats it reads and writes, and answers to common questions: