
Add text to the plan
Use HOME ▸ DRAWING ▸ Text for your own annotation: Level 1570 — bench 3, no blasting here. Press Text, click the map where the text should sit, type it in the Text dialog and press OK. Leaving it empty or cancelling creates nothing.
Pick Text, click the map and type.
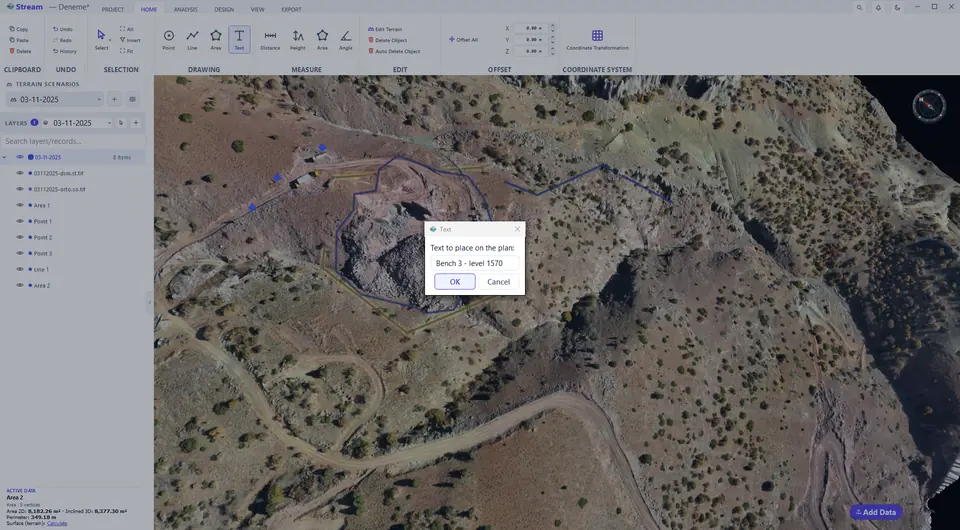
The text on the plan.
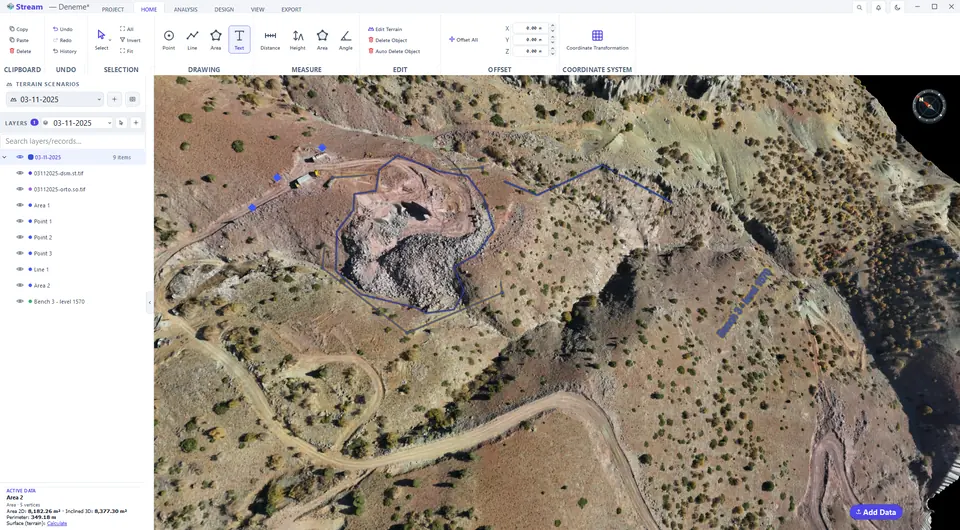
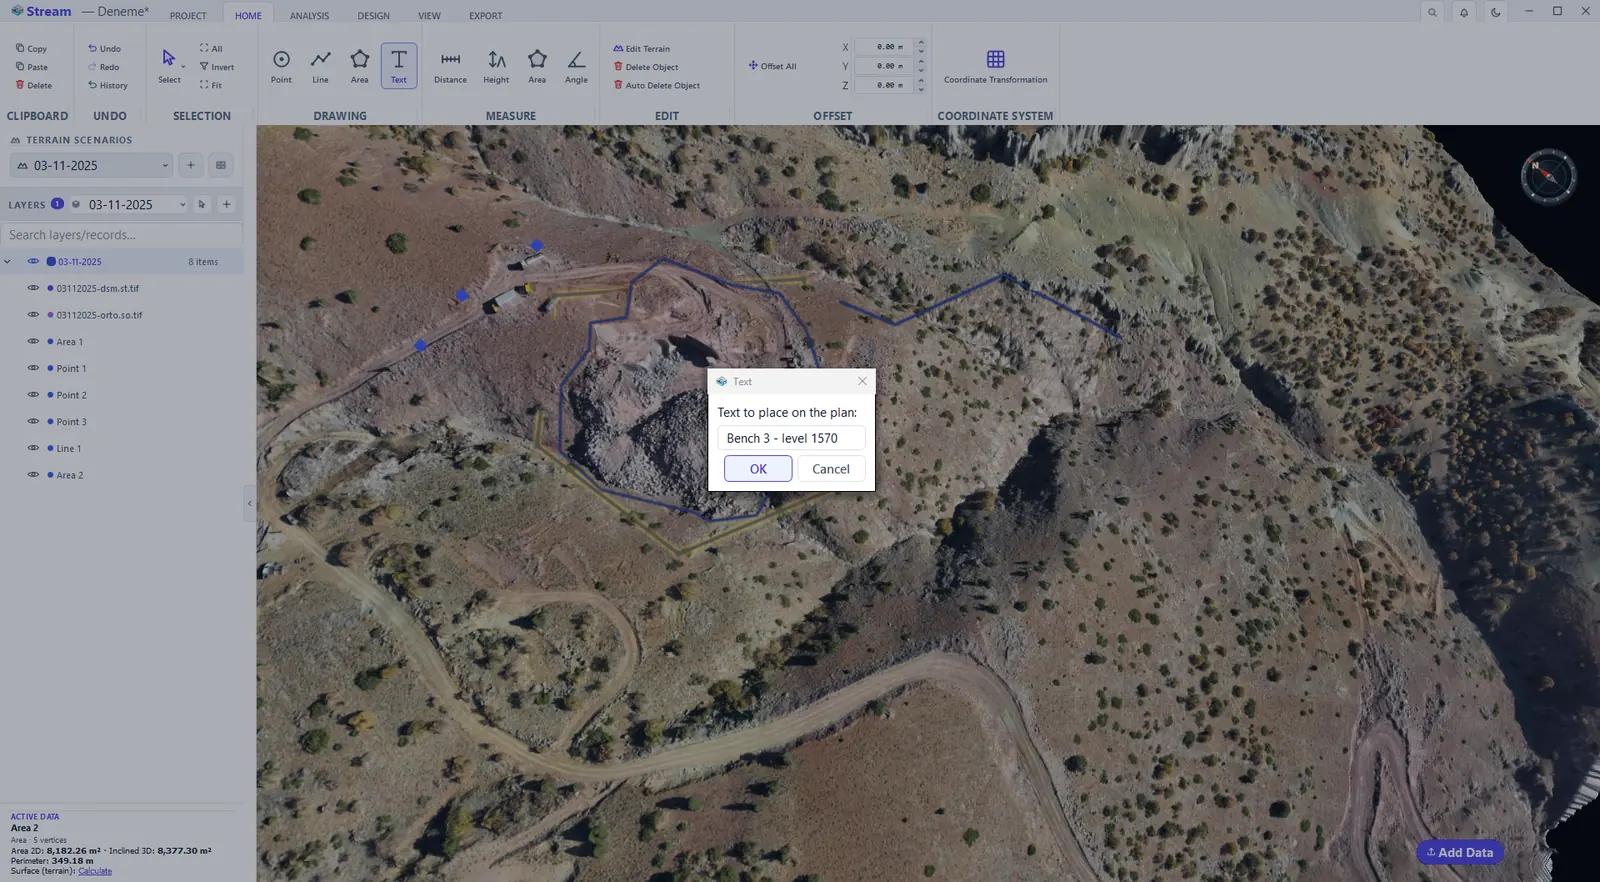
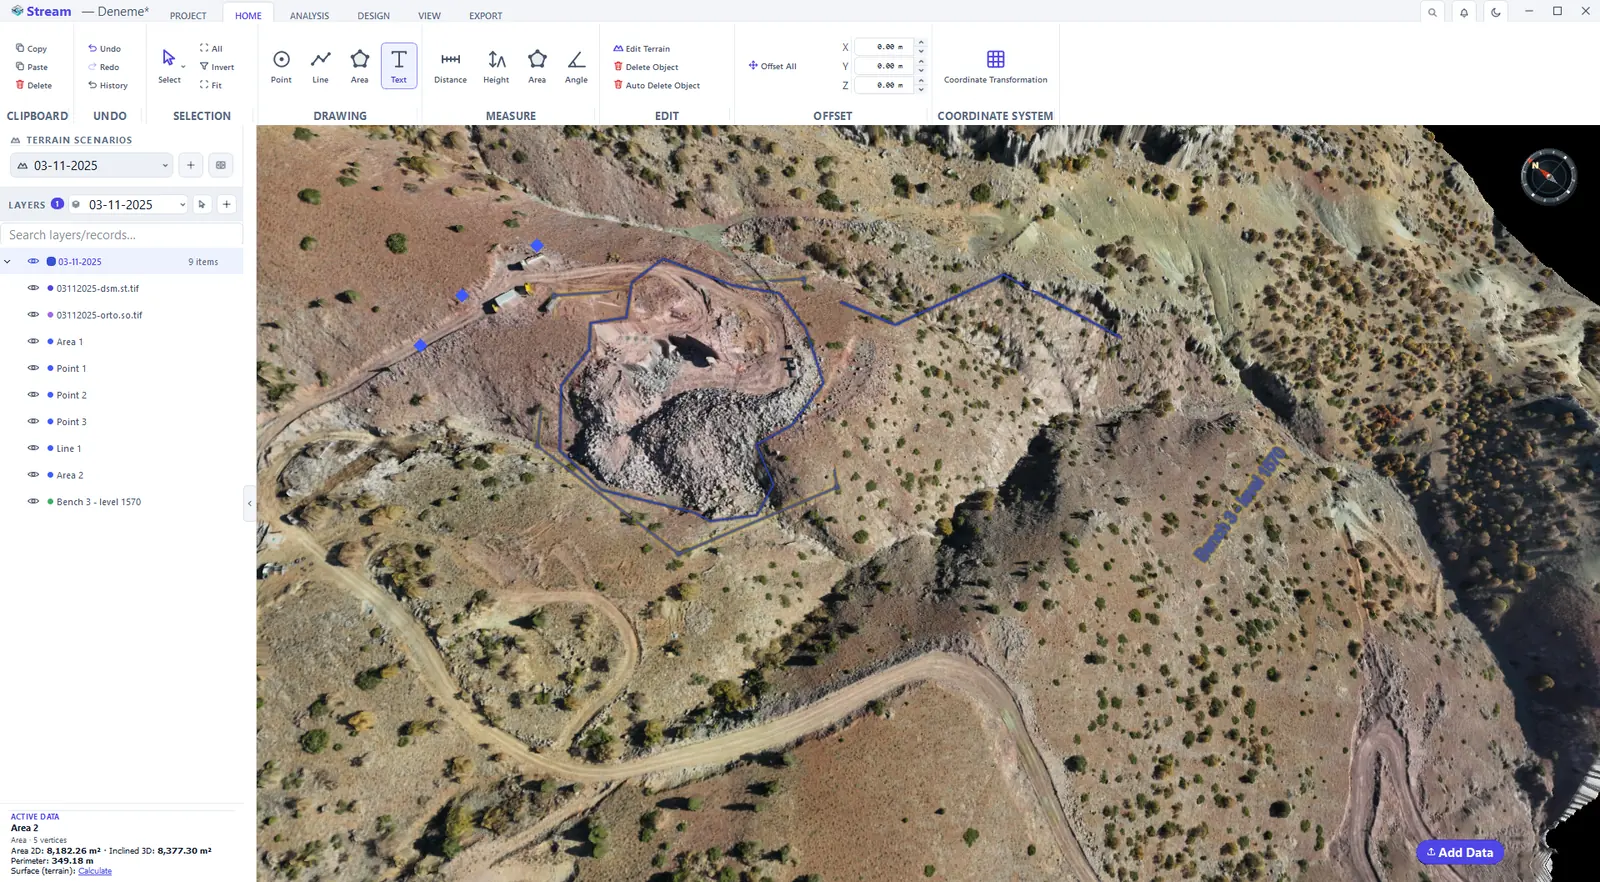
The text lies on the terrain, follows it when the ground moves, and gets its own row in LAYERS: hide it with the eye, rename it or delete it. Texts leave as DXF TEXT entities, so they open as editable text in AutoCAD or Civil 3D.
Set text height and angle
Text has no ribbon tab of its own. While a text is selected, a TEXT group appears on the Selection tab:
Height and angle on the Selection tab.

- Edit Text changes the wording.
- Height is in metres, not pixels: it grows as you zoom in and obeys the sheet scale — on a 1:1000 sheet a 5 m text prints 5 mm tall.
- Angle rotates the text in plan (0° = east, counter-clockwise); the same angle is written to DXF.
- What you set is remembered: the next text inherits it.
Select objects
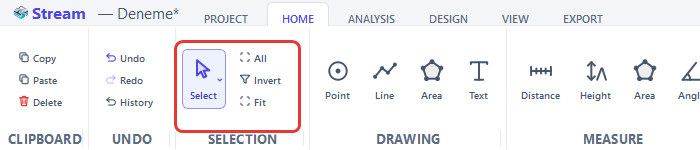
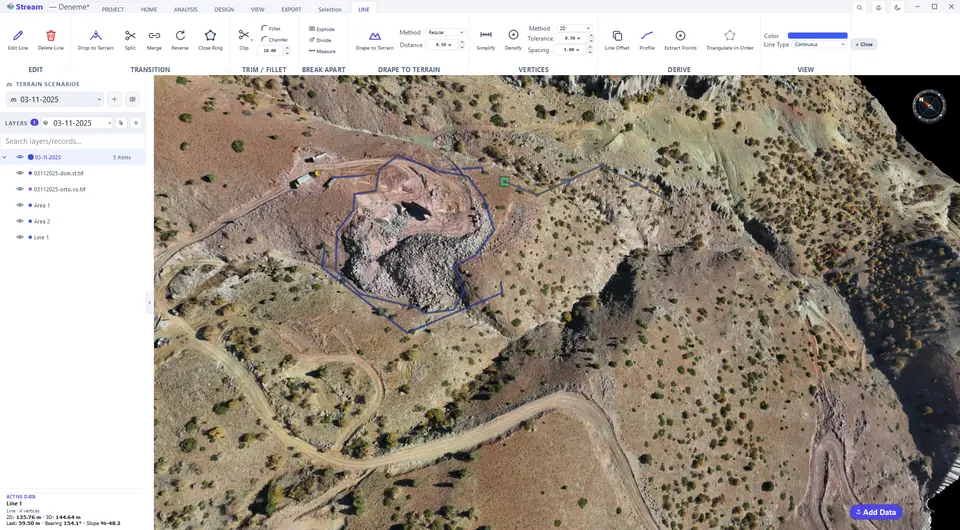
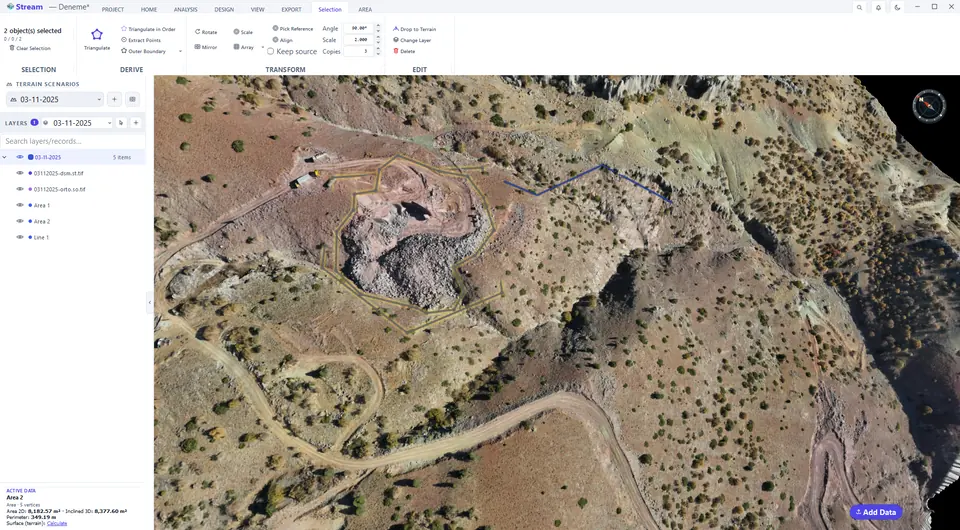
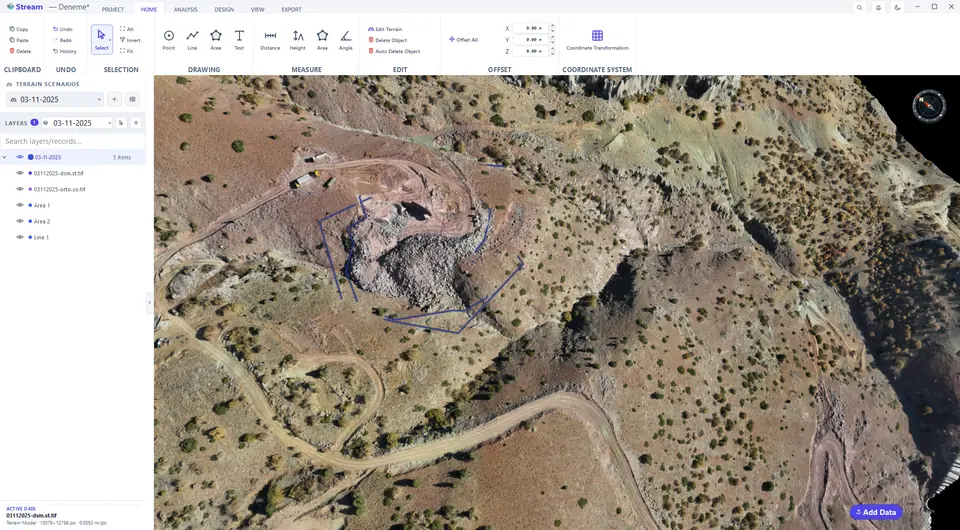
With no tool active, click an object to select it; Ctrl-click adds to the selection. All selects every point, line and area, Invert swaps the selection and Fit frames all loaded data on screen — the quickest way out when you are lost. The Select button's arrow adds marquee select (drag a rectangle) and lasso select (draw a freehand outline).
Select, All, Invert and Fit on the Home tab.
Click an object to select it.
Invert swaps the selection.
Select All opens the Selection tab.
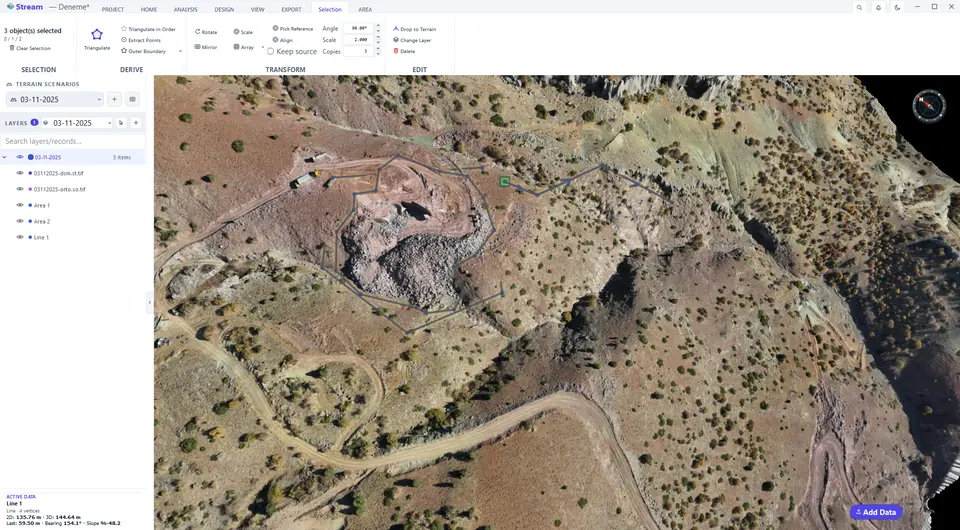
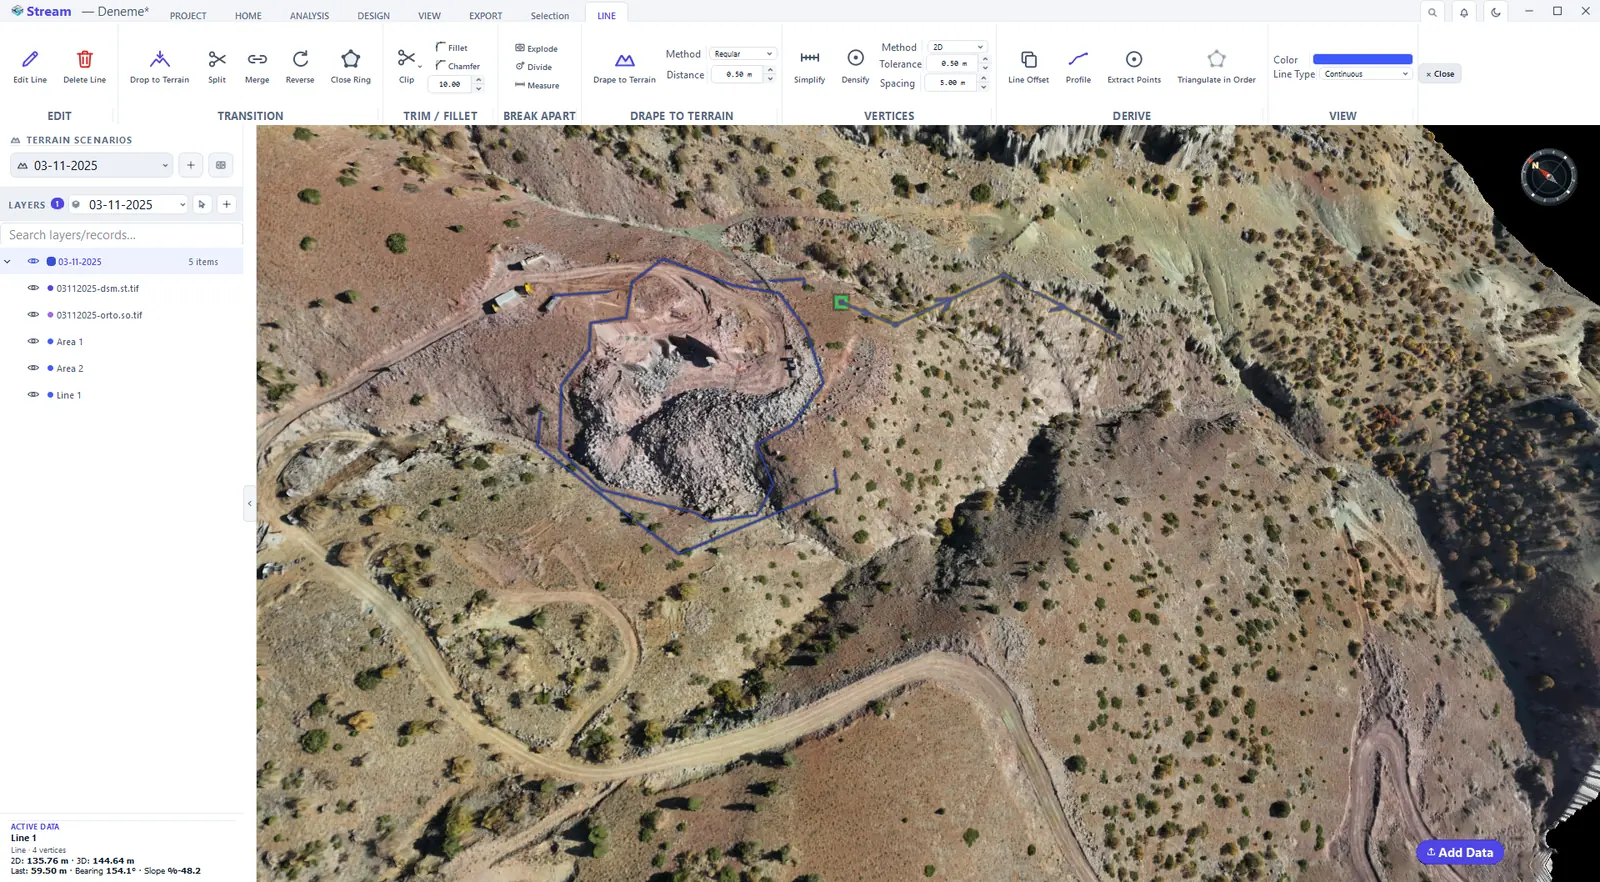
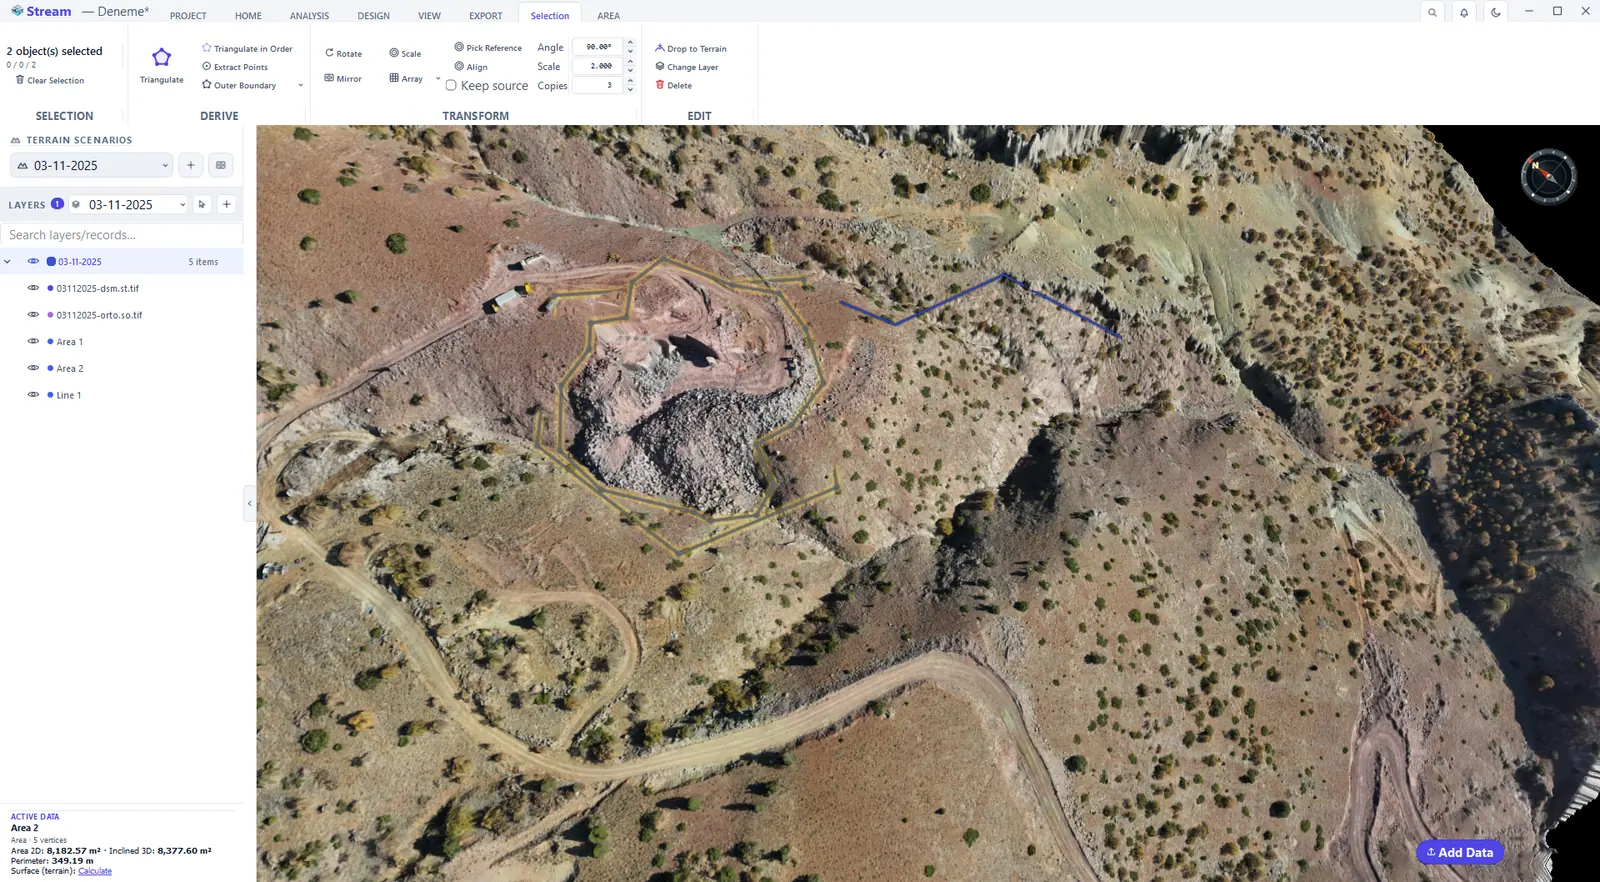
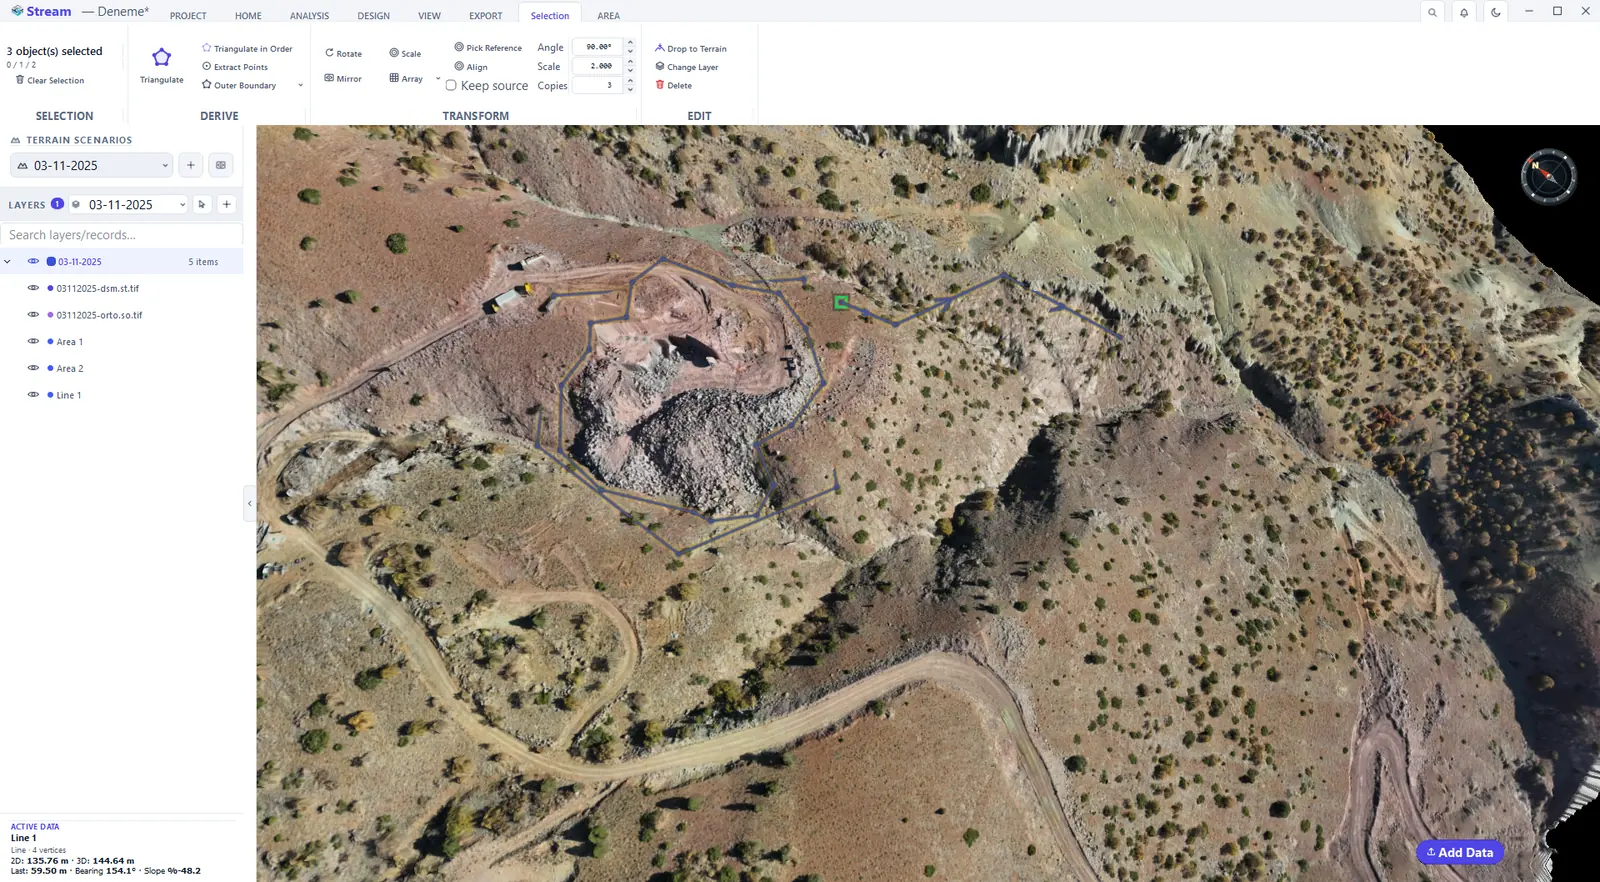
As soon as at least one object is selected, the Selection tab appears with its groups: Selection (count, clear, drop to terrain), Derive (triangulate, extract points, outer boundary), Transform (rotate, mirror, scale, array, align), Edit (change layer, delete).
Rotate objects
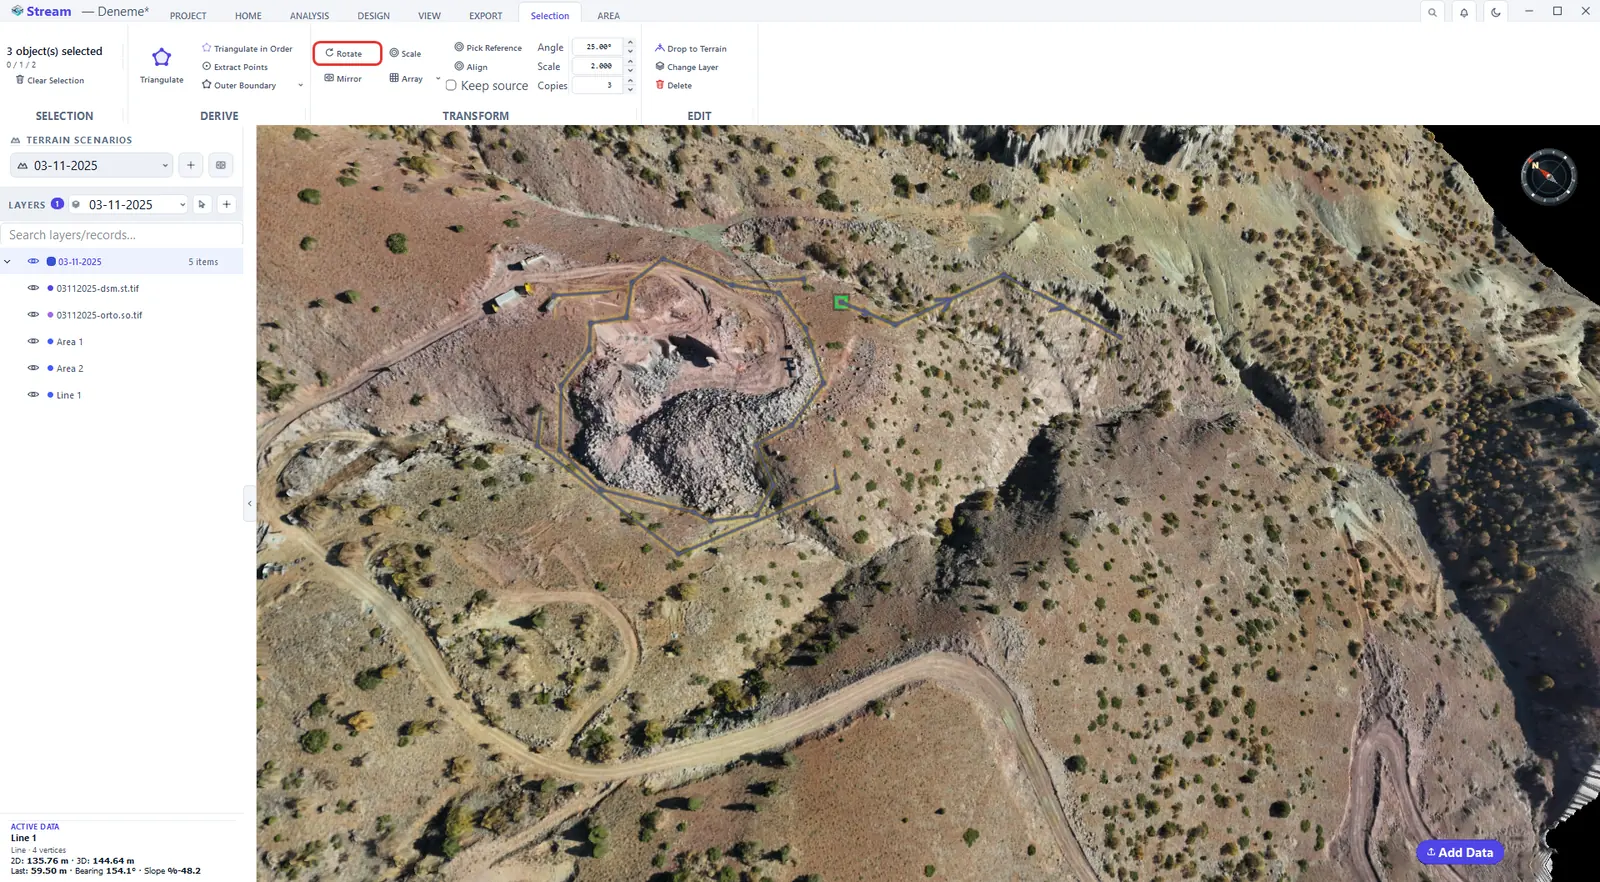
Type the Angle in the transform box and press Rotate. Tick Keep source to rotate a copy and leave the original where it is.
Set the angle and press Rotate.
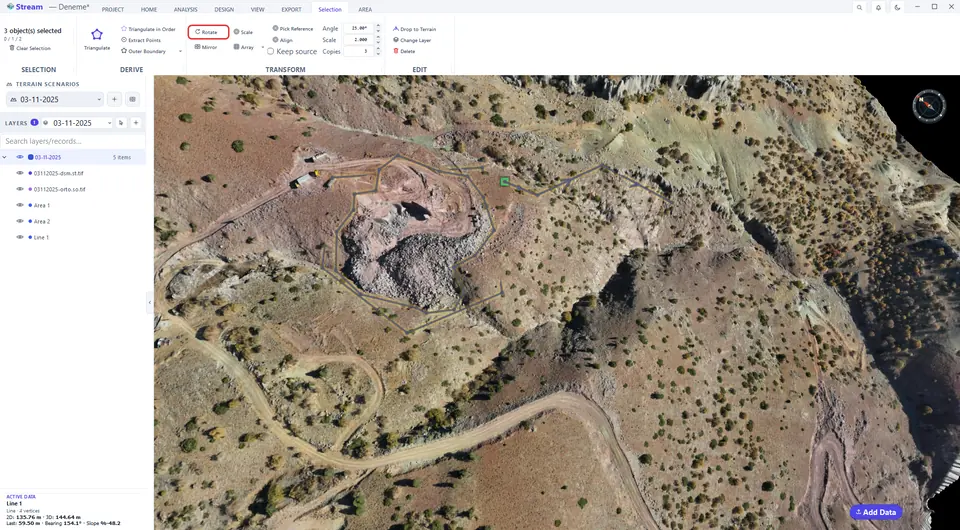
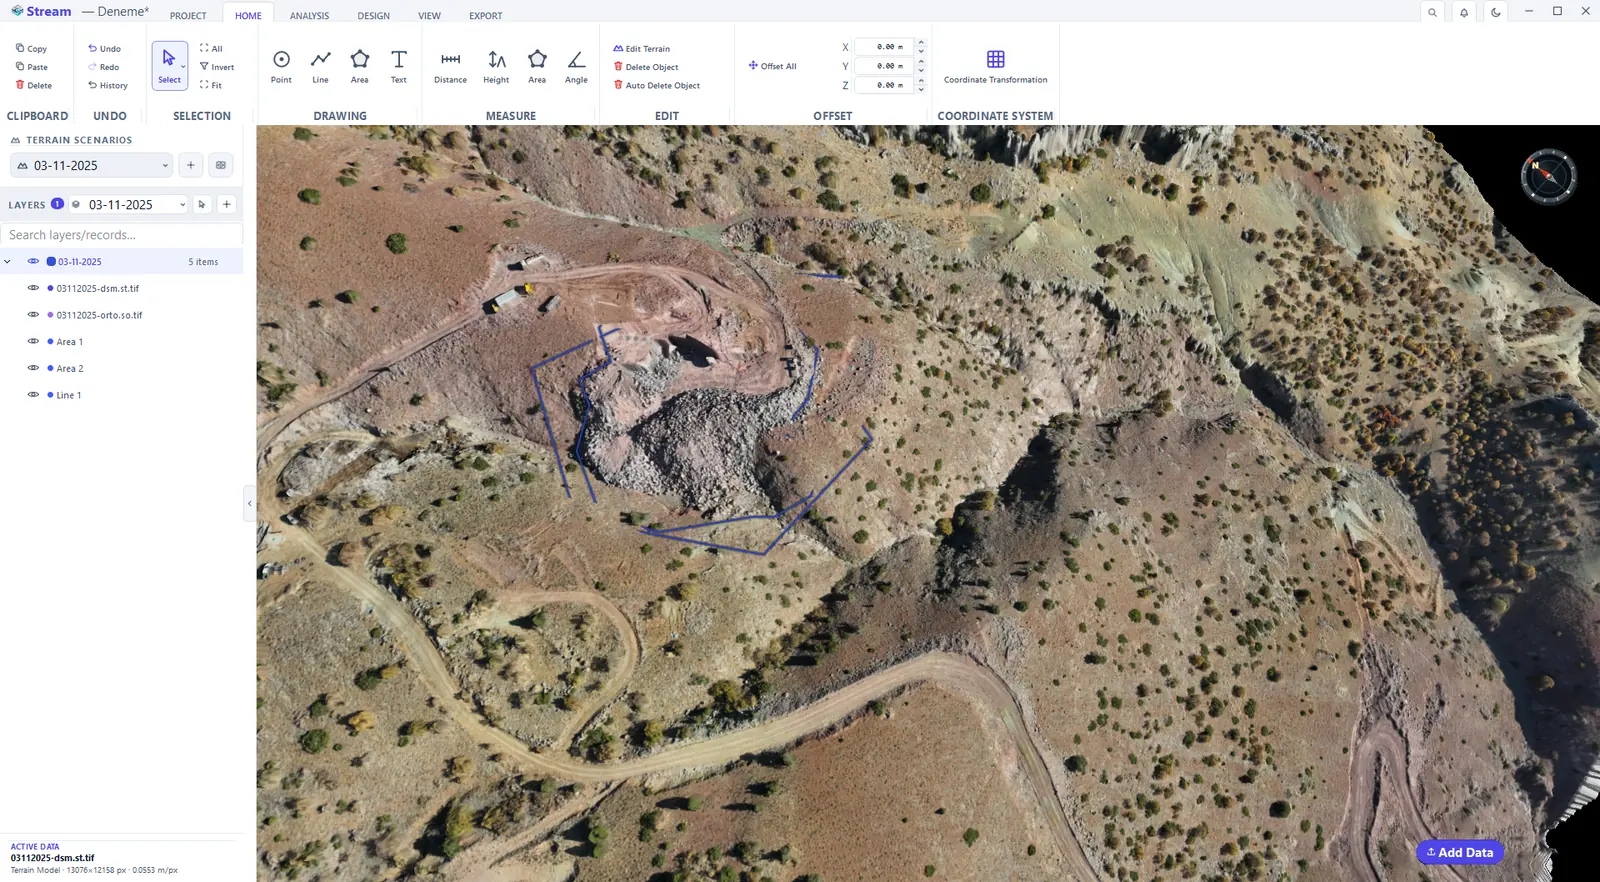
Rotated around the picked point.
Mirror, scale, array and align
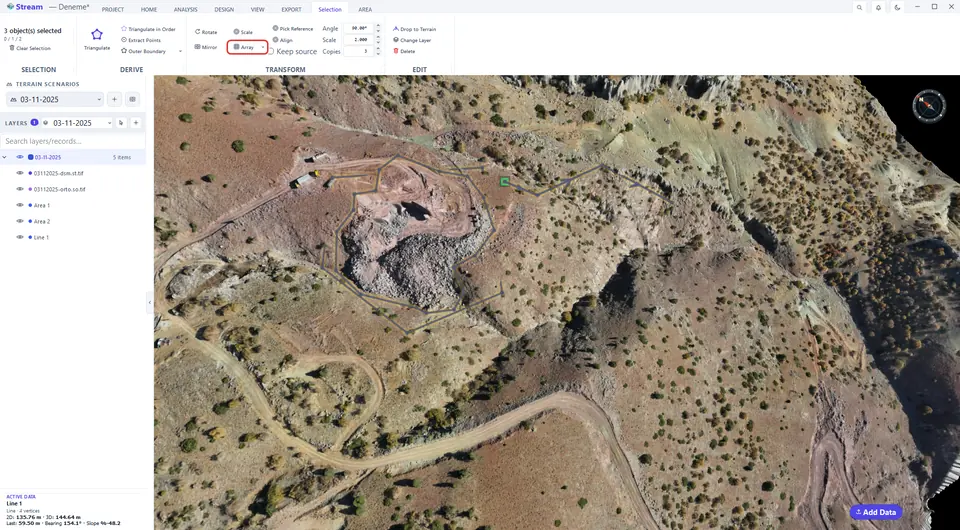
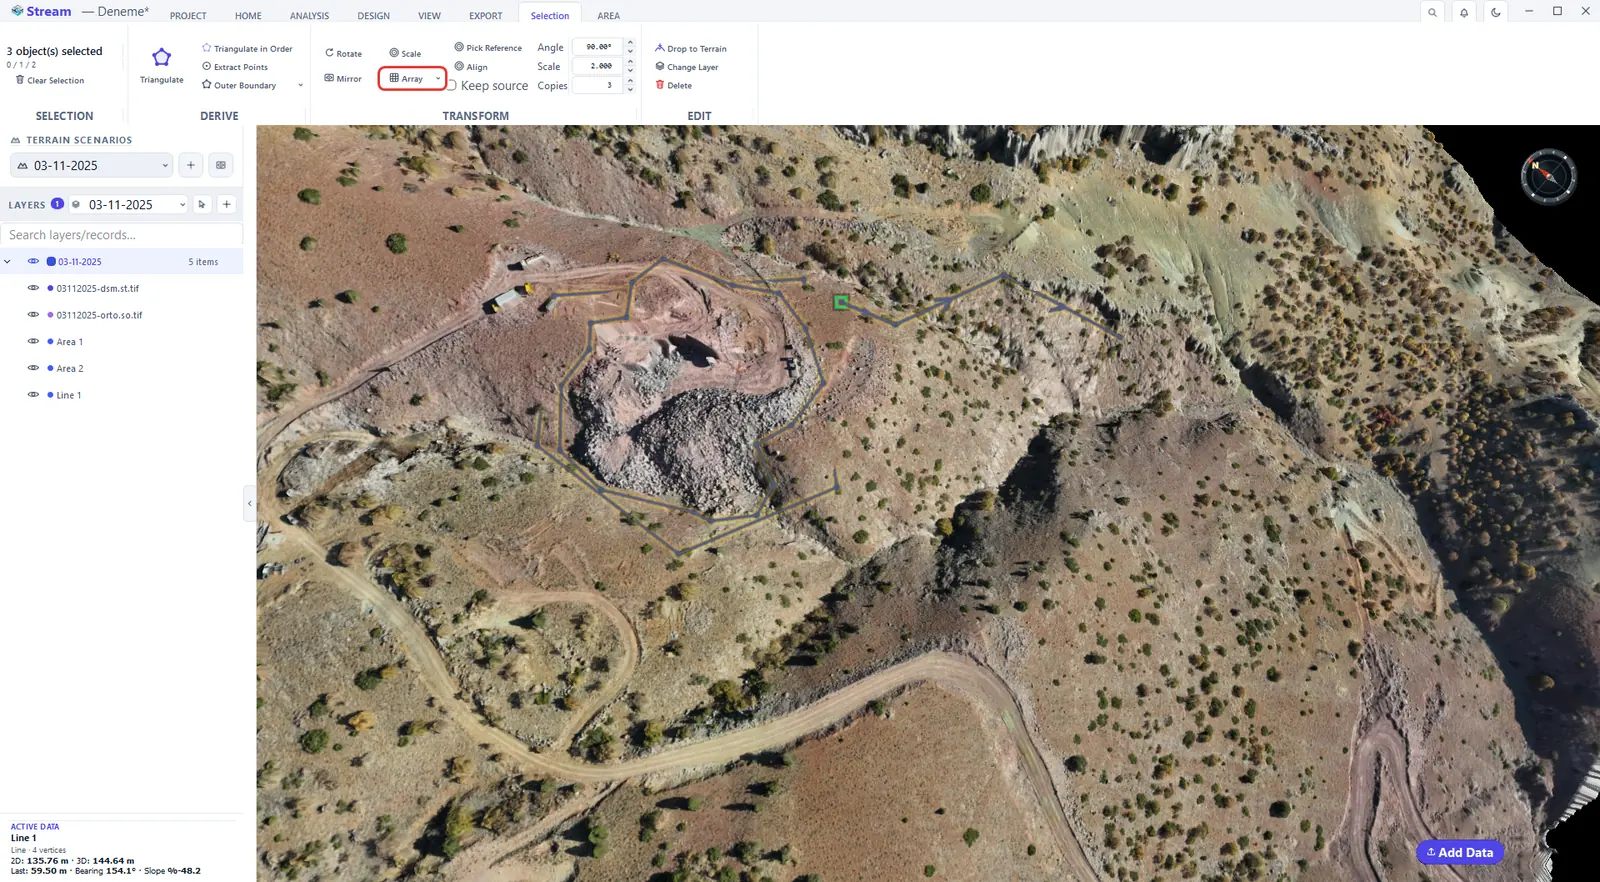
The same Transform group holds Mirror, Scale and Array. The three boxes next to it provide the input: Angle (rotation angle or array direction), Scale (scale factor, or the step length of a linear array) and Copies (number of copies). Array makes evenly spaced copies — linear along a direction, or polar around the centre of the selection. Align fits the selection into place with two point pairs.
Transform tools on the Selection tab.

Array makes evenly spaced copies.
Copy, paste and delete
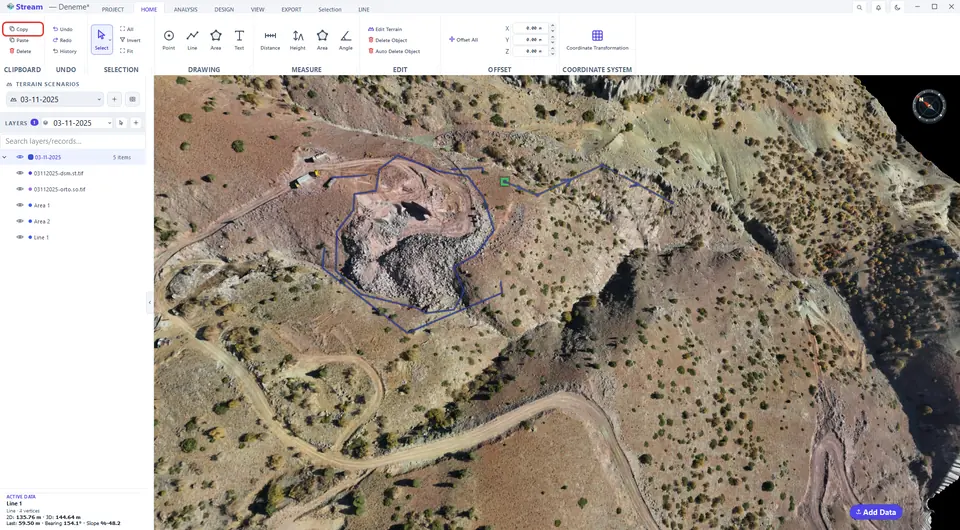
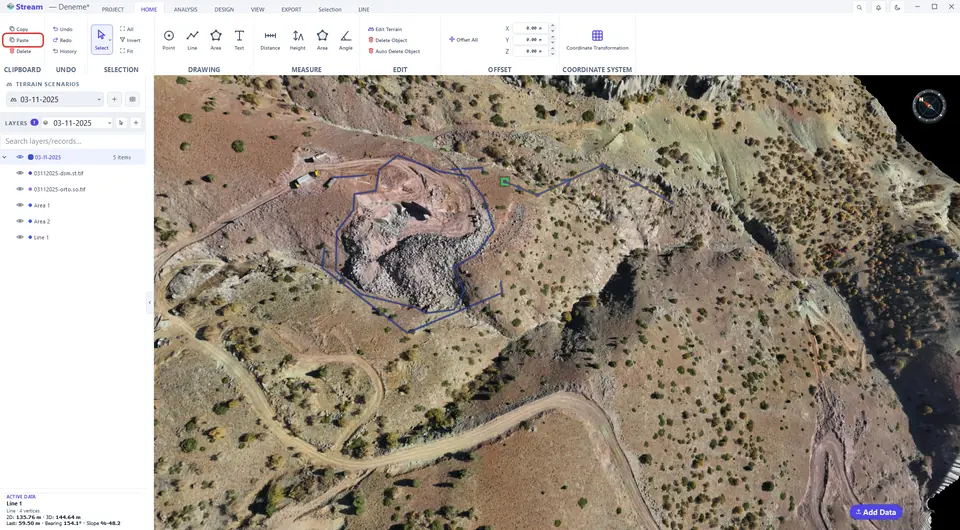
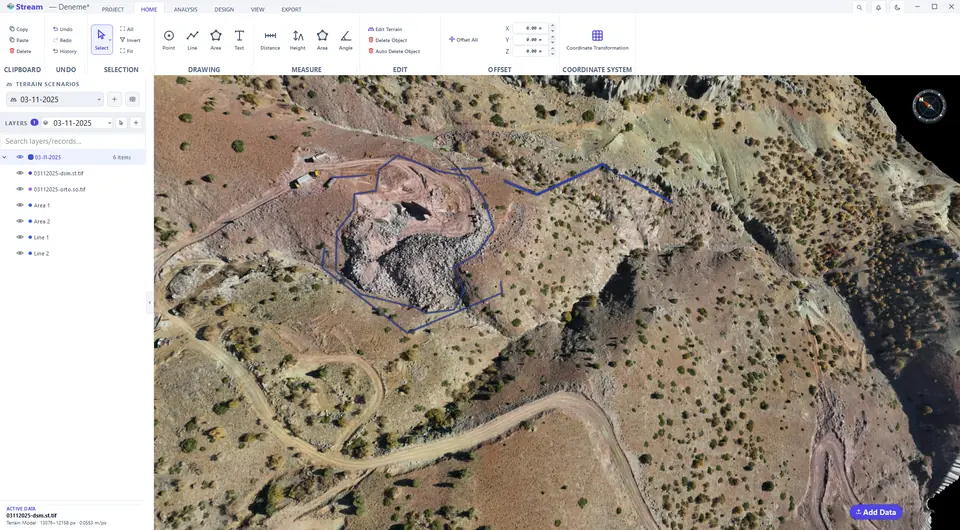
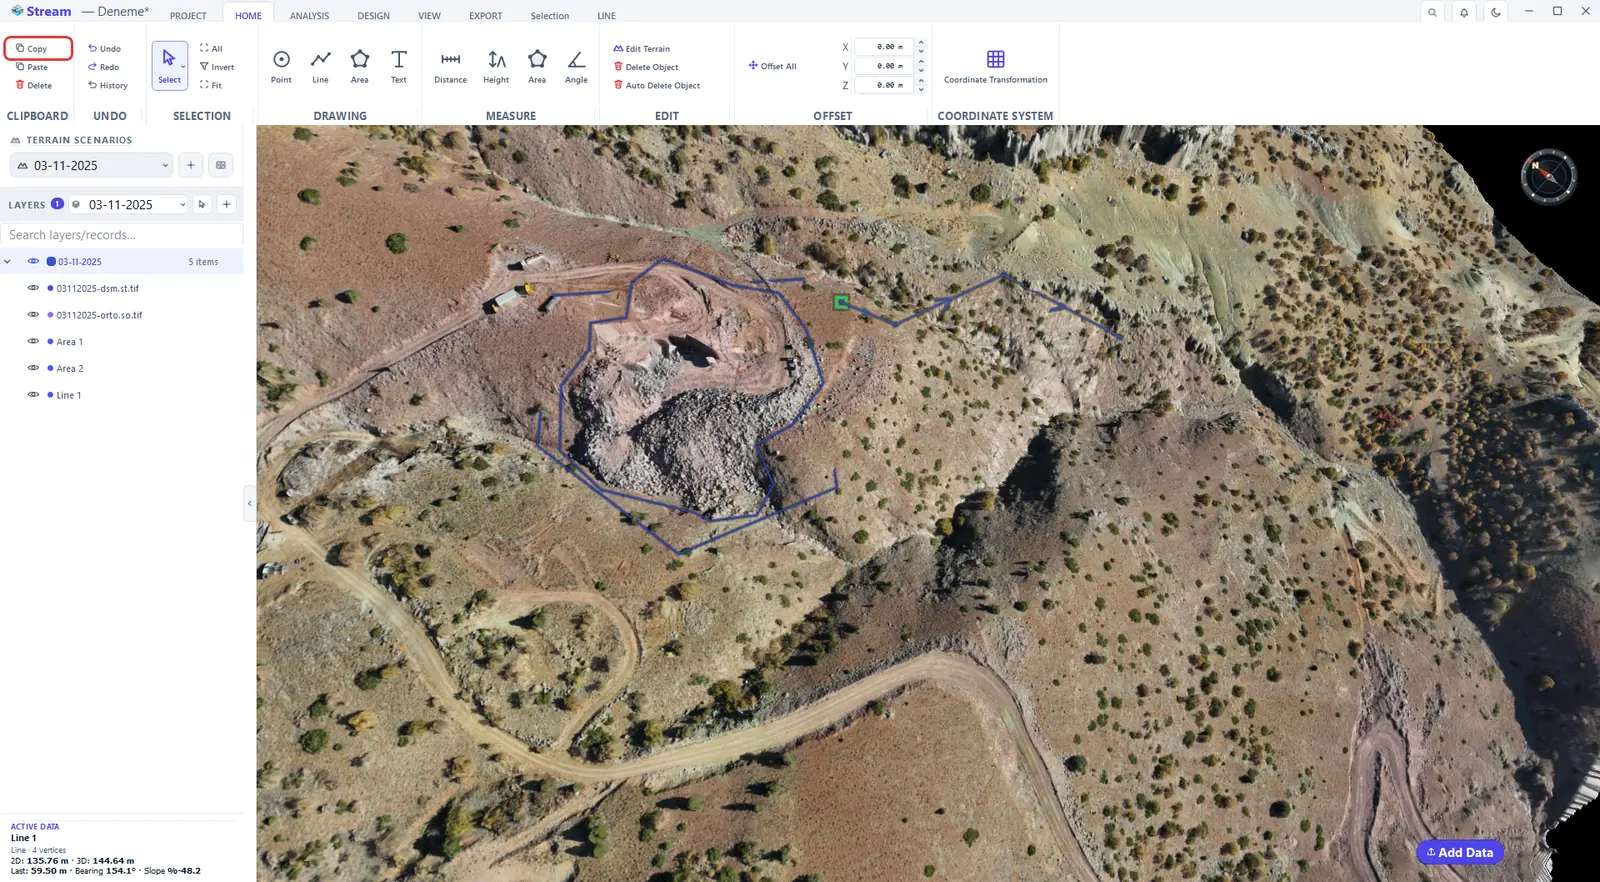
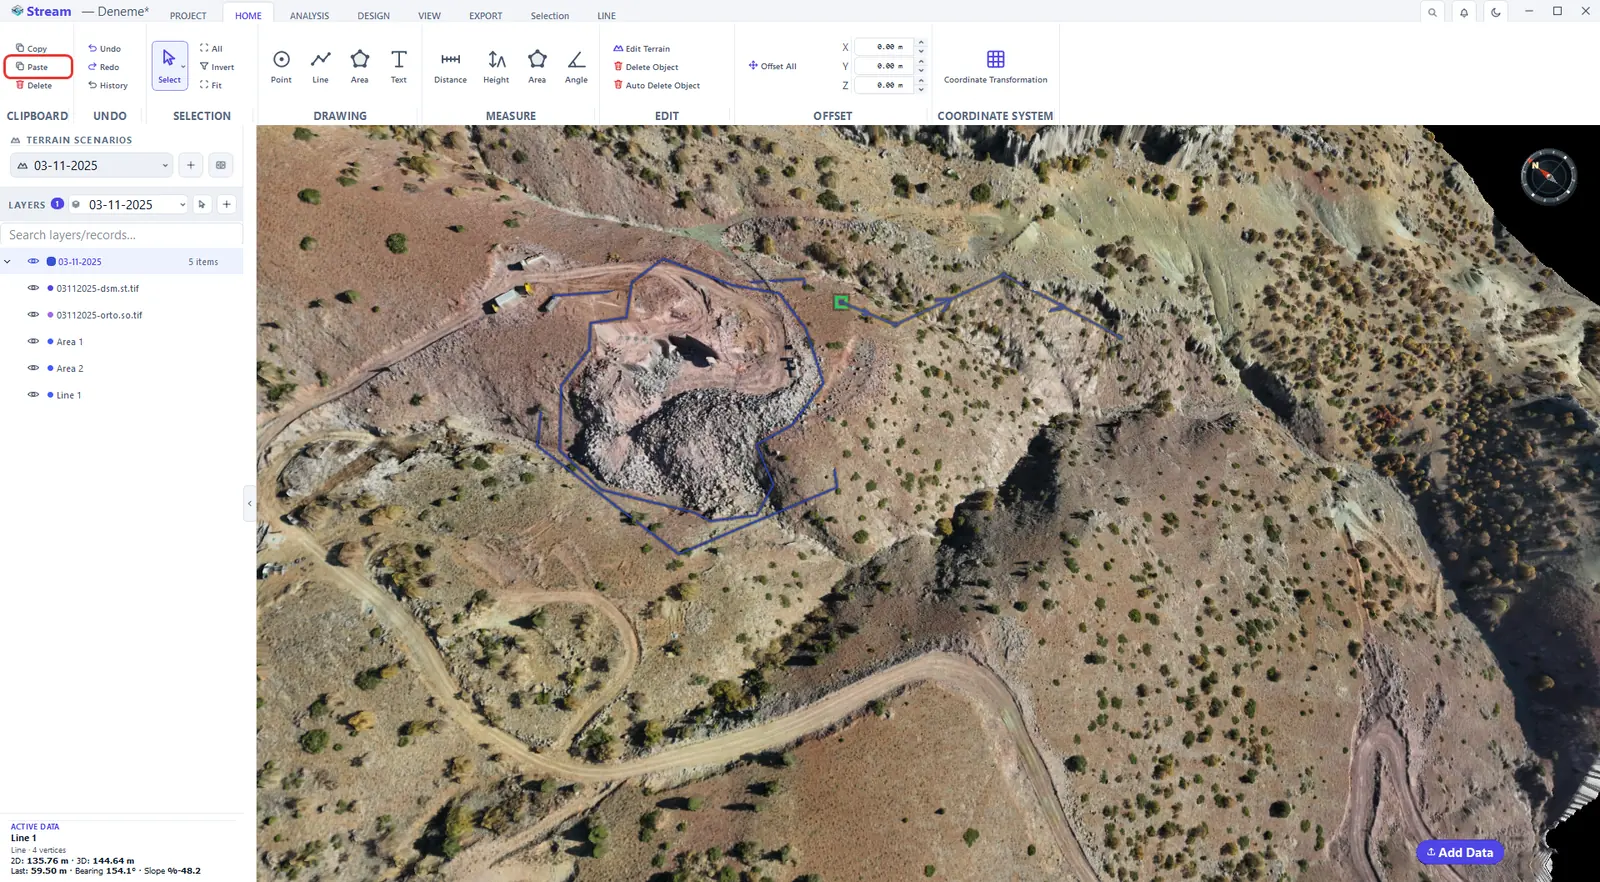
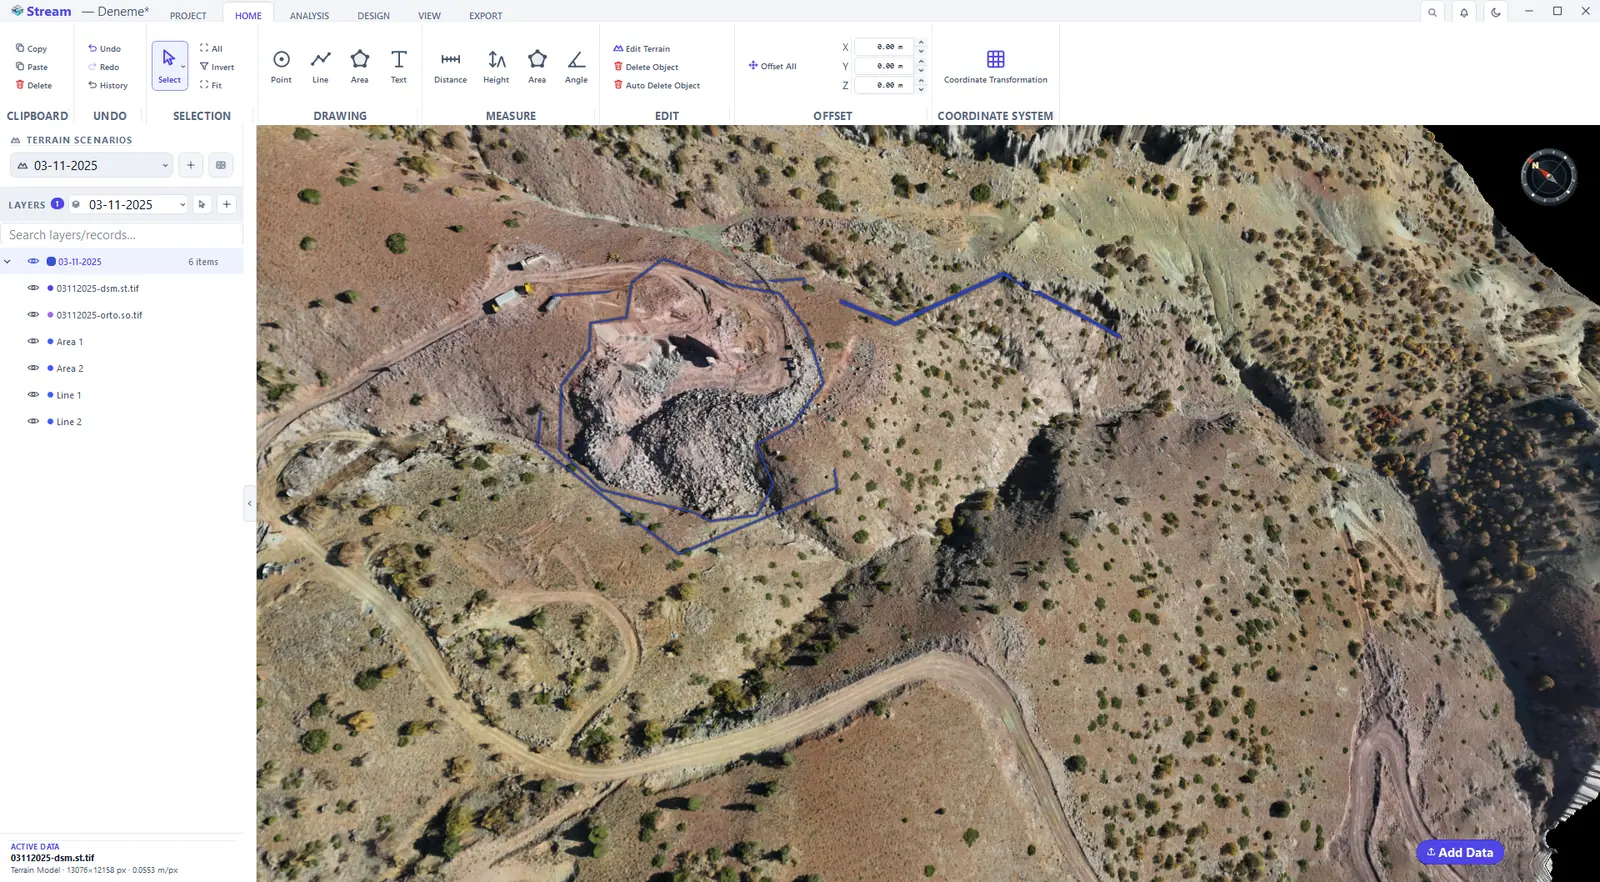
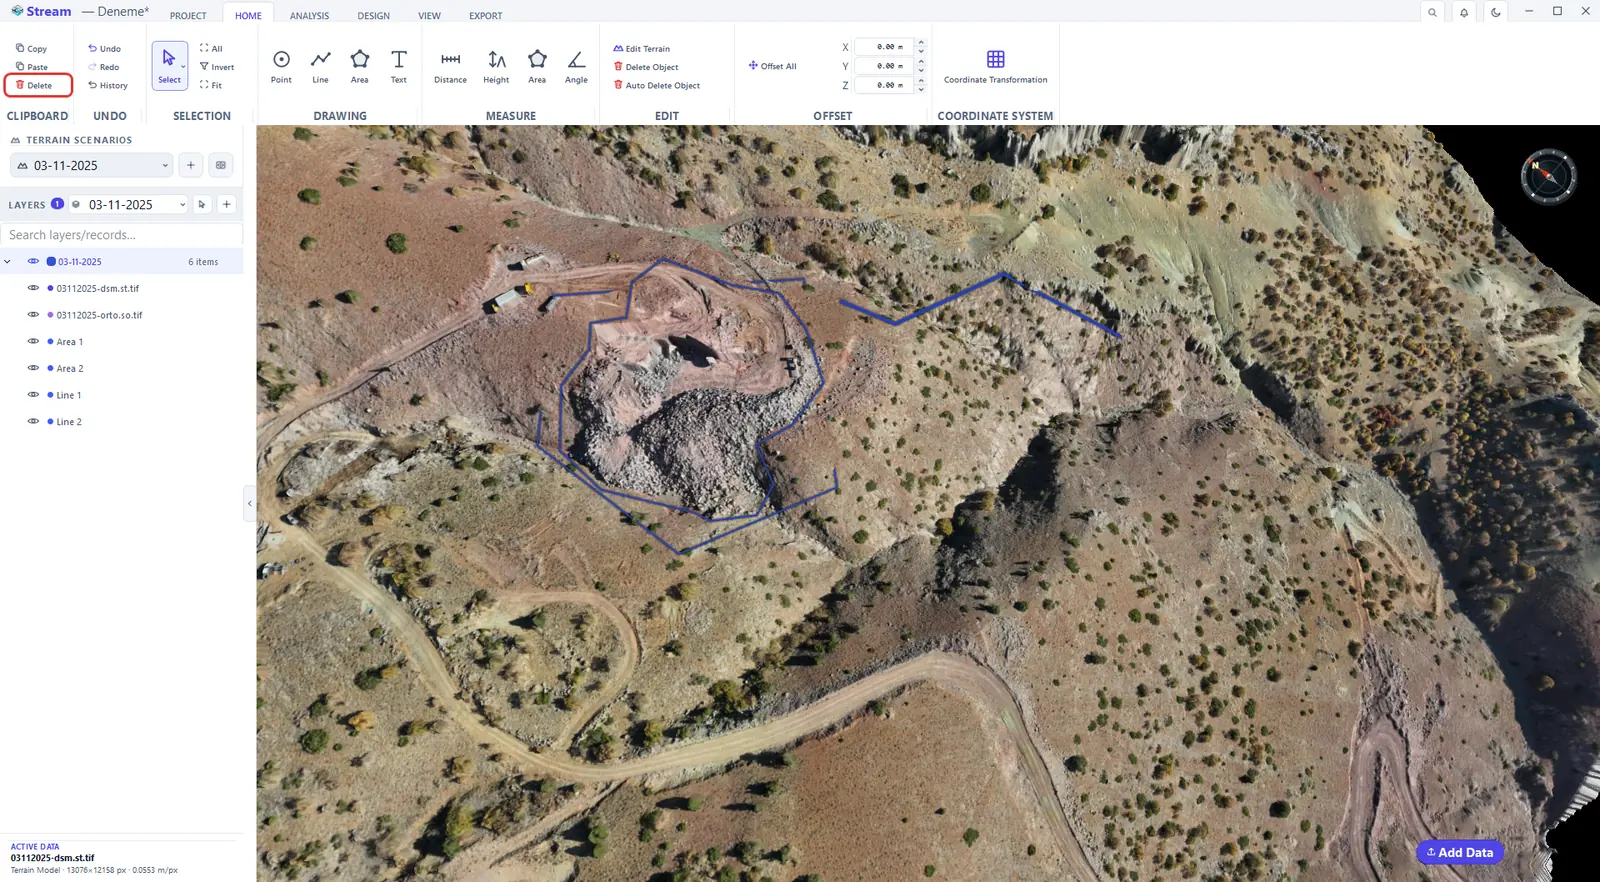
Select an object and press Copy (Ctrl+C), then Paste (Ctrl+V): a copy lands on the active layer. Delete (Del) removes the selected object from the map and from the layer list.
Select an object and press Copy.
Press Paste.
A copy of the line is added.
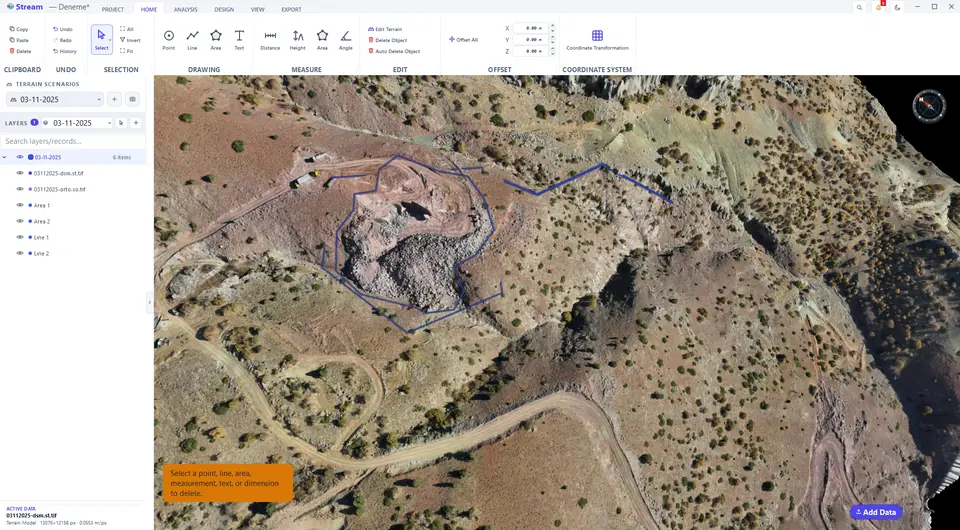
Delete removes the selected object.
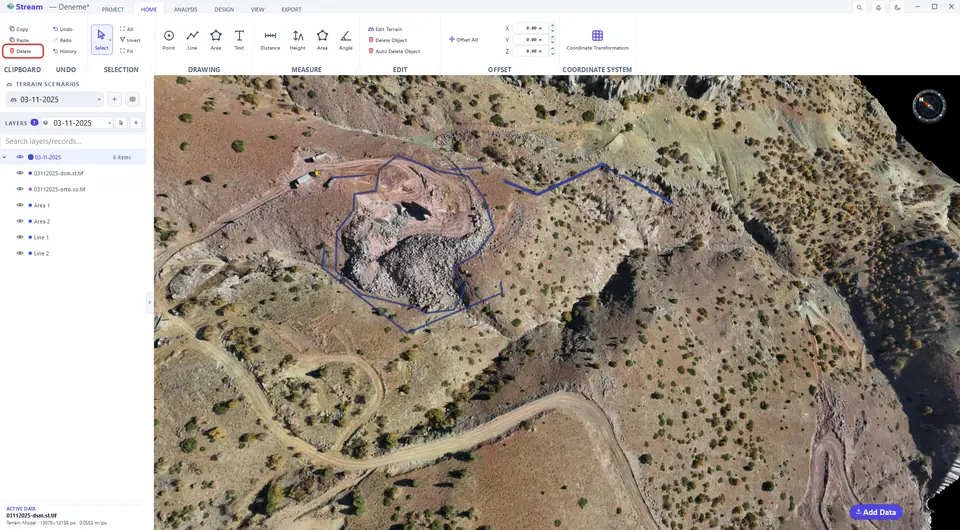
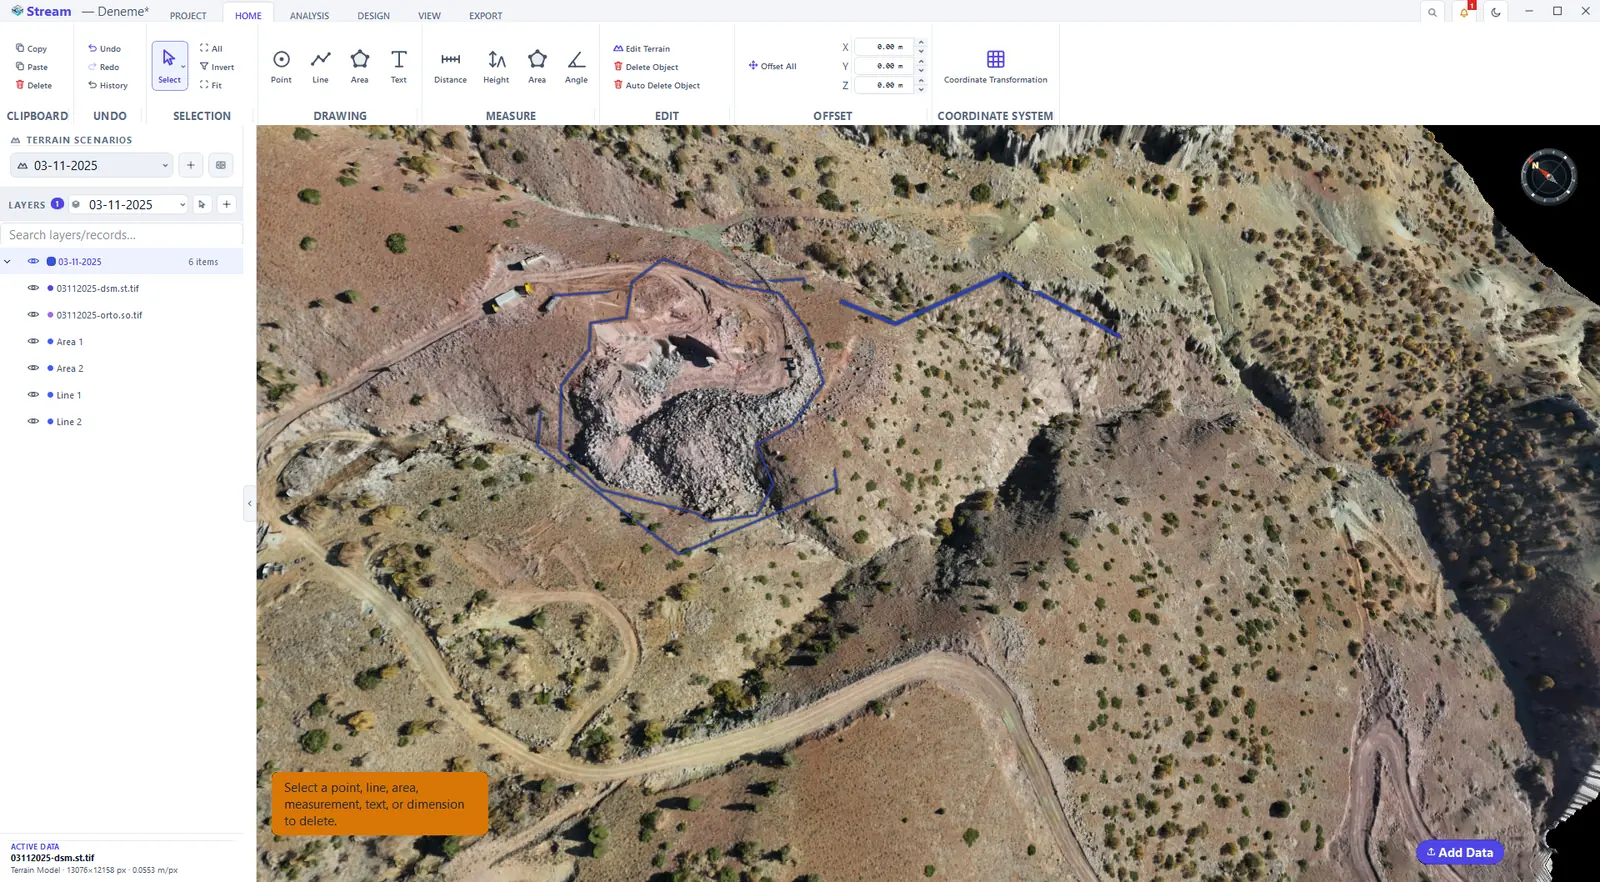
With nothing selected, Delete only shows a hint: select the object first.
Undo, redo and history
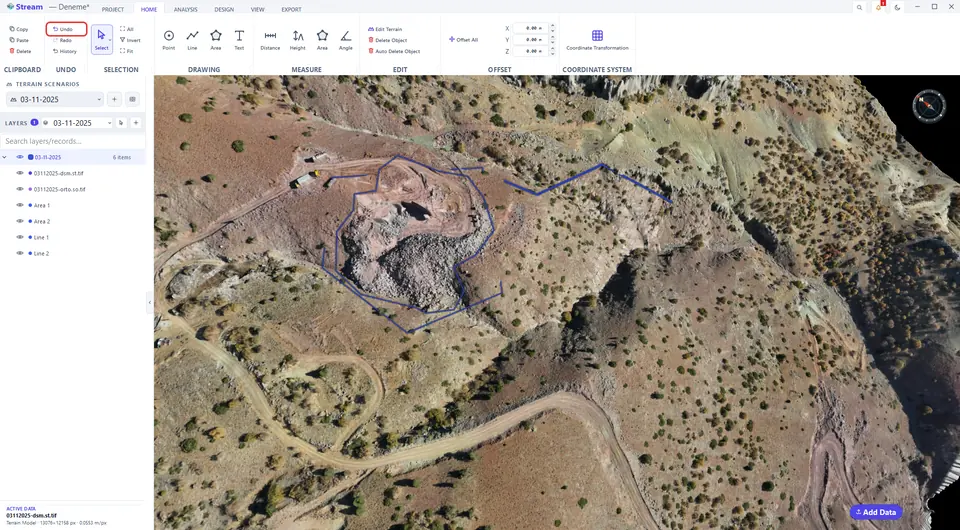
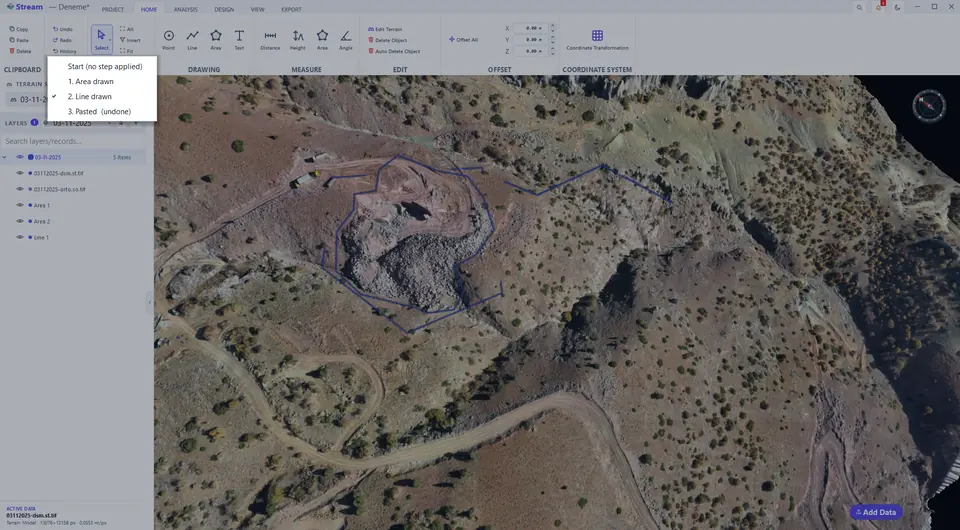
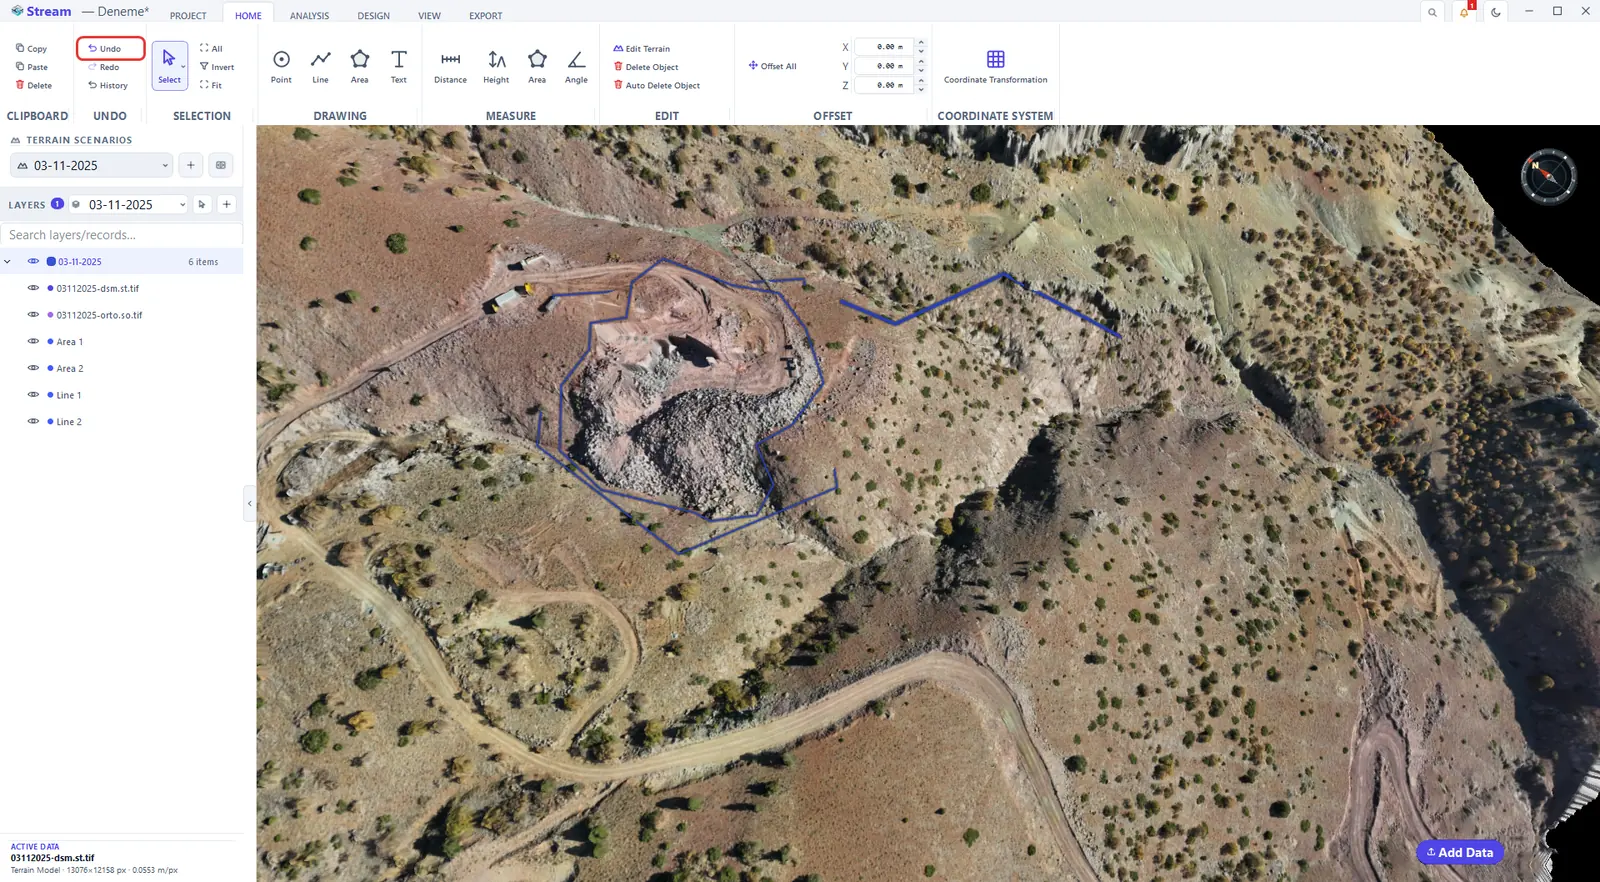
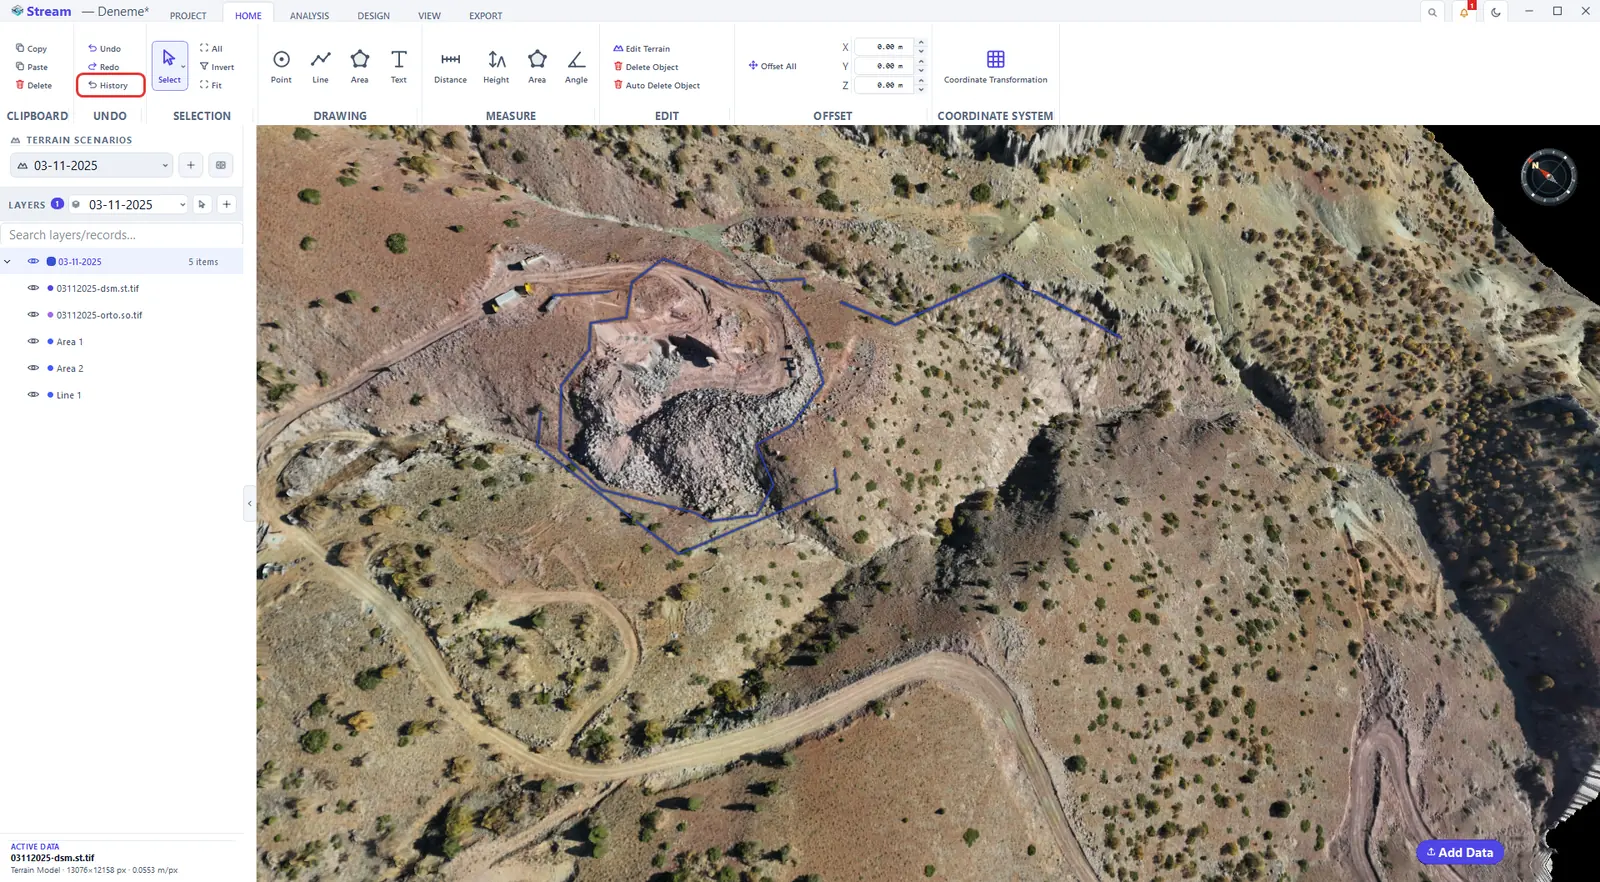
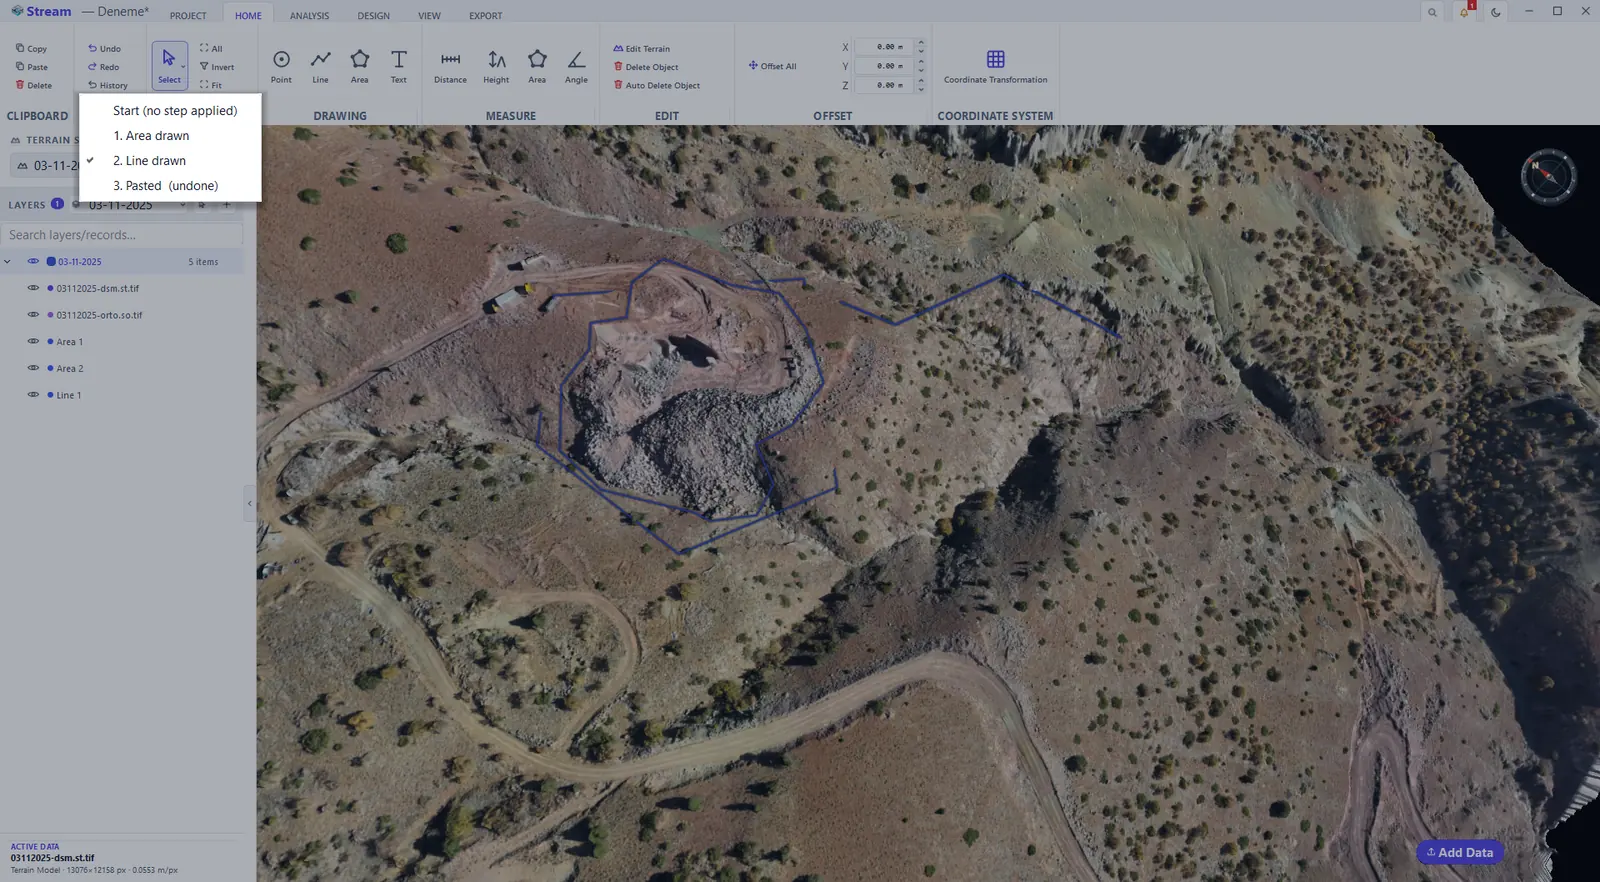
Undo (Ctrl+Z) steps back one change and Redo (Ctrl+Y) brings it back. History lists every change of the session; pick a step to go back to it. One action is one undo step — a drawing, a transform or an analysis result is never split into several.
Undo steps back one change.
History lists every change.
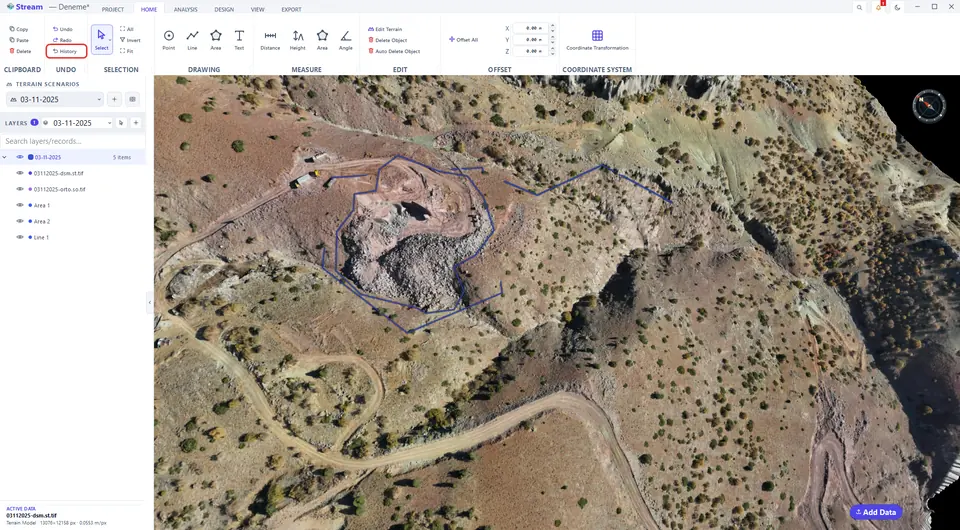
Pick a step to go back to.
Next: Measure.
Related features
What each capability does, which formats it reads and writes, and answers to common questions: