Draw a line
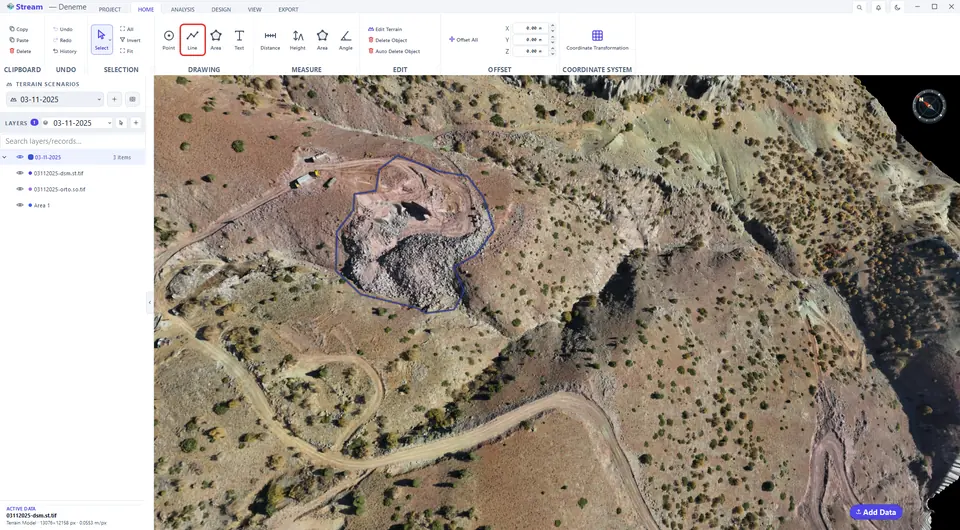
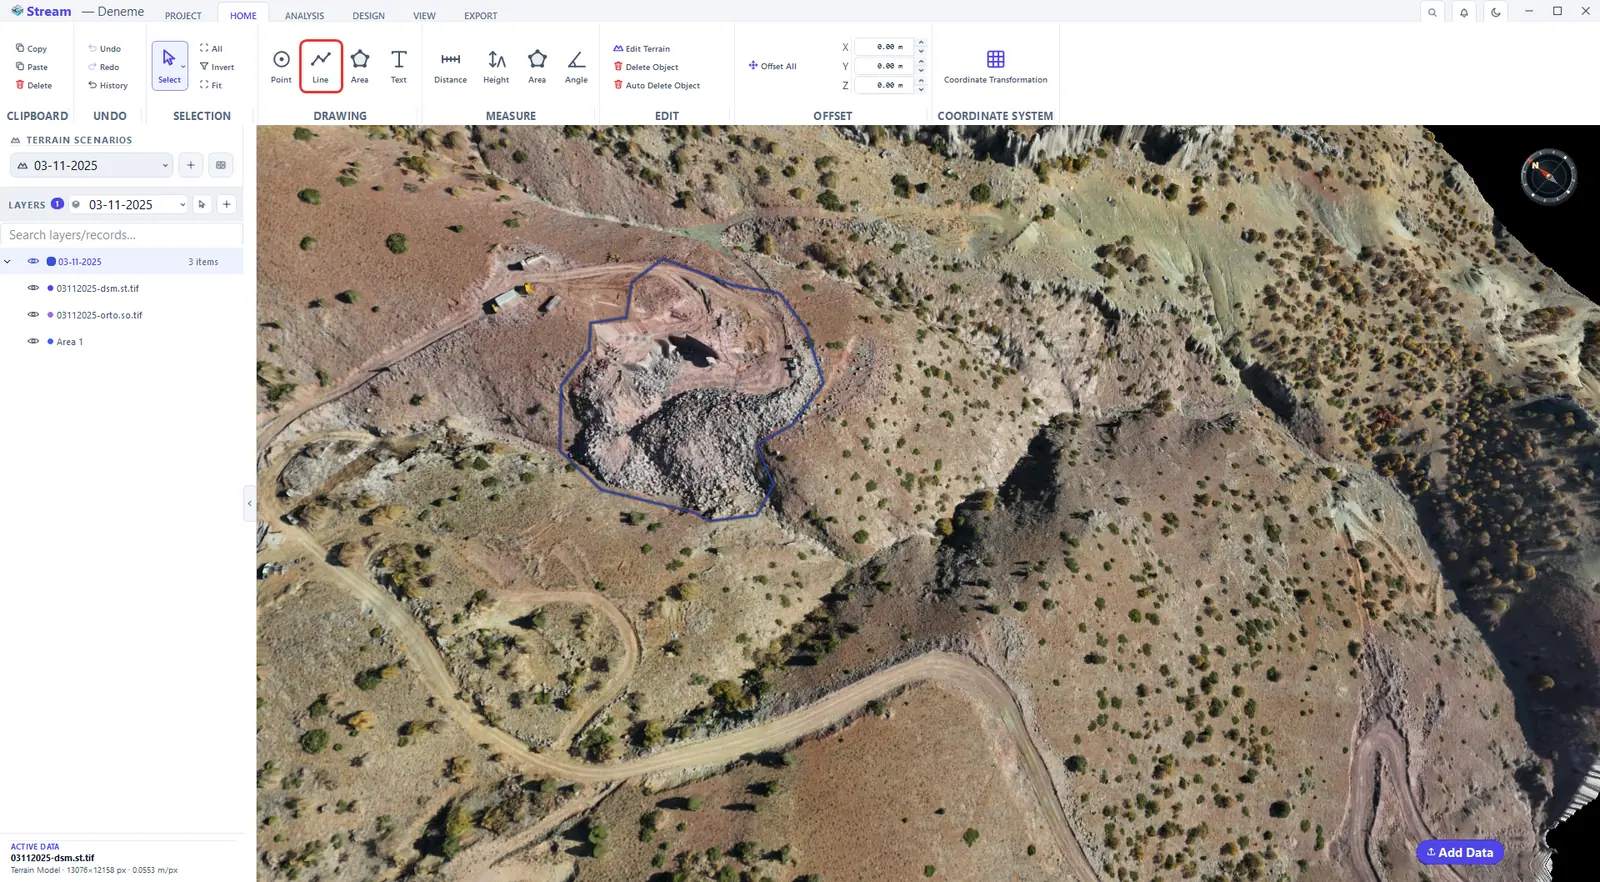
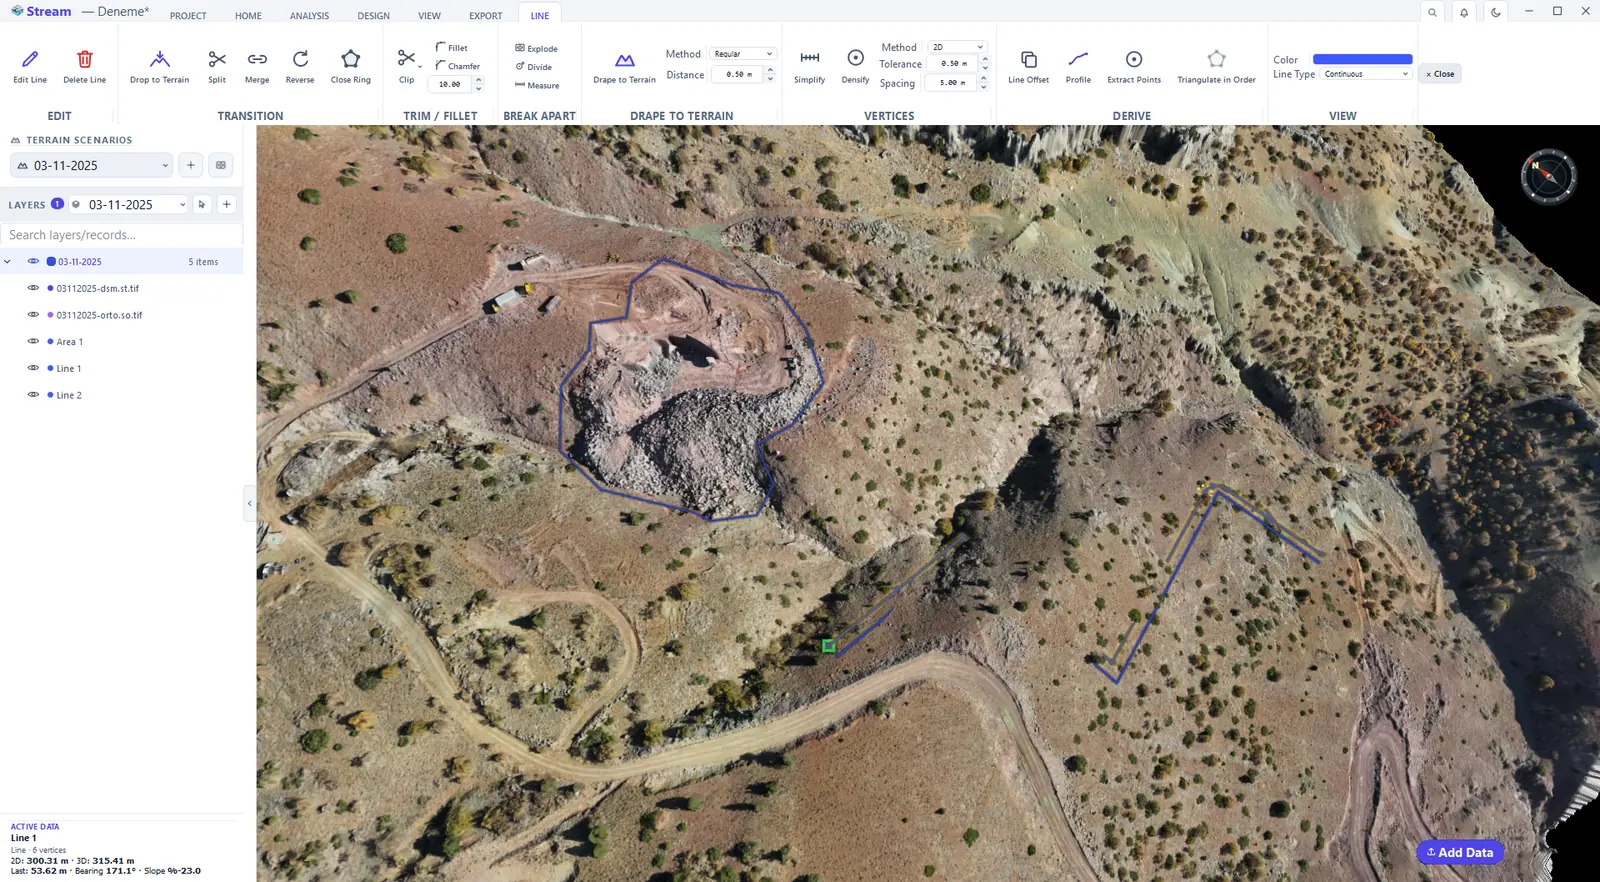
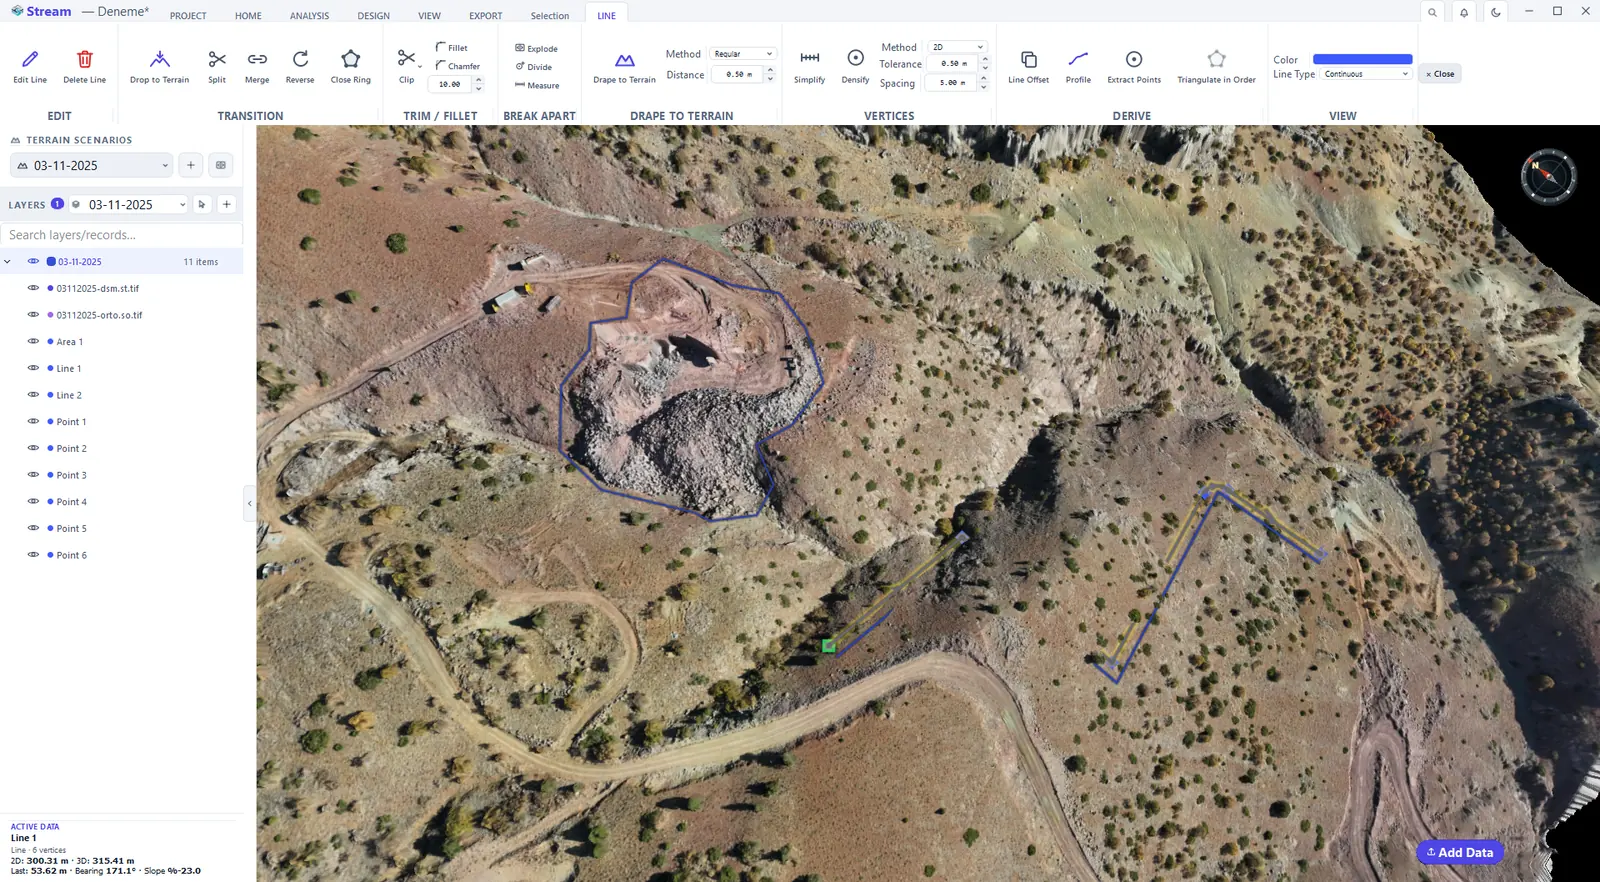
Click HOME ▸ DRAWING ▸ Line, then click the terrain vertex by vertex. Right-click to finish: the line is selected, the LINE tab opens and ACTIVE DATA shows its 2D and 3D length, the bearing and the slope of the last segment.
Pick the Line tool on the Home tab.
Click each vertex on the terrain.
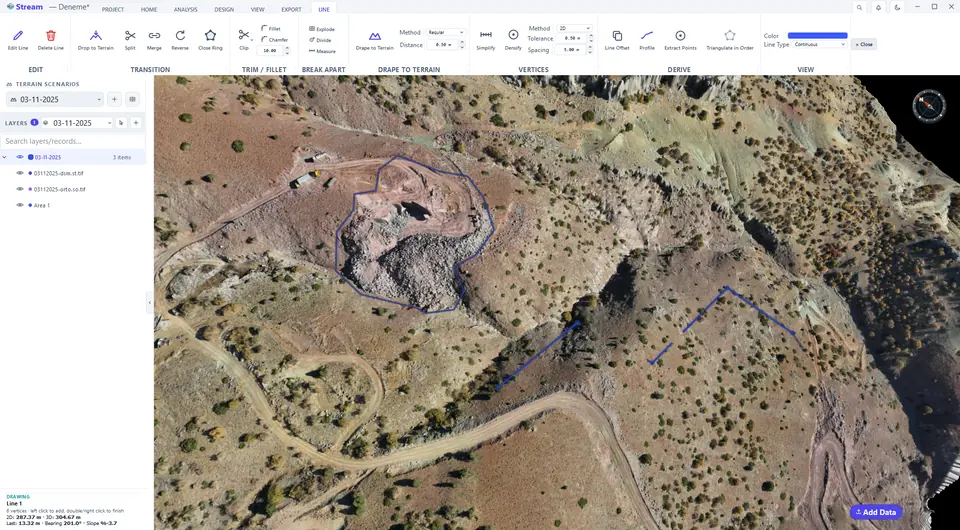
Right-click to finish, the Line tab opens.
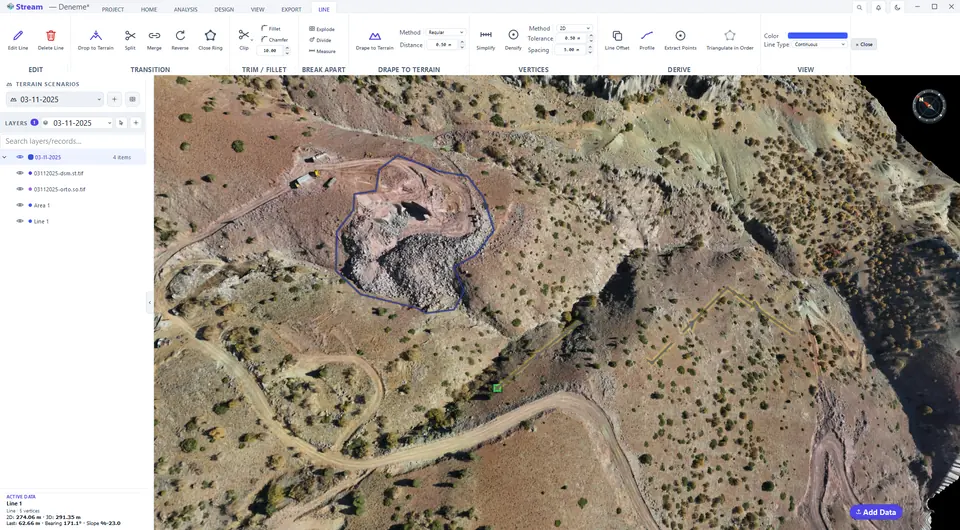
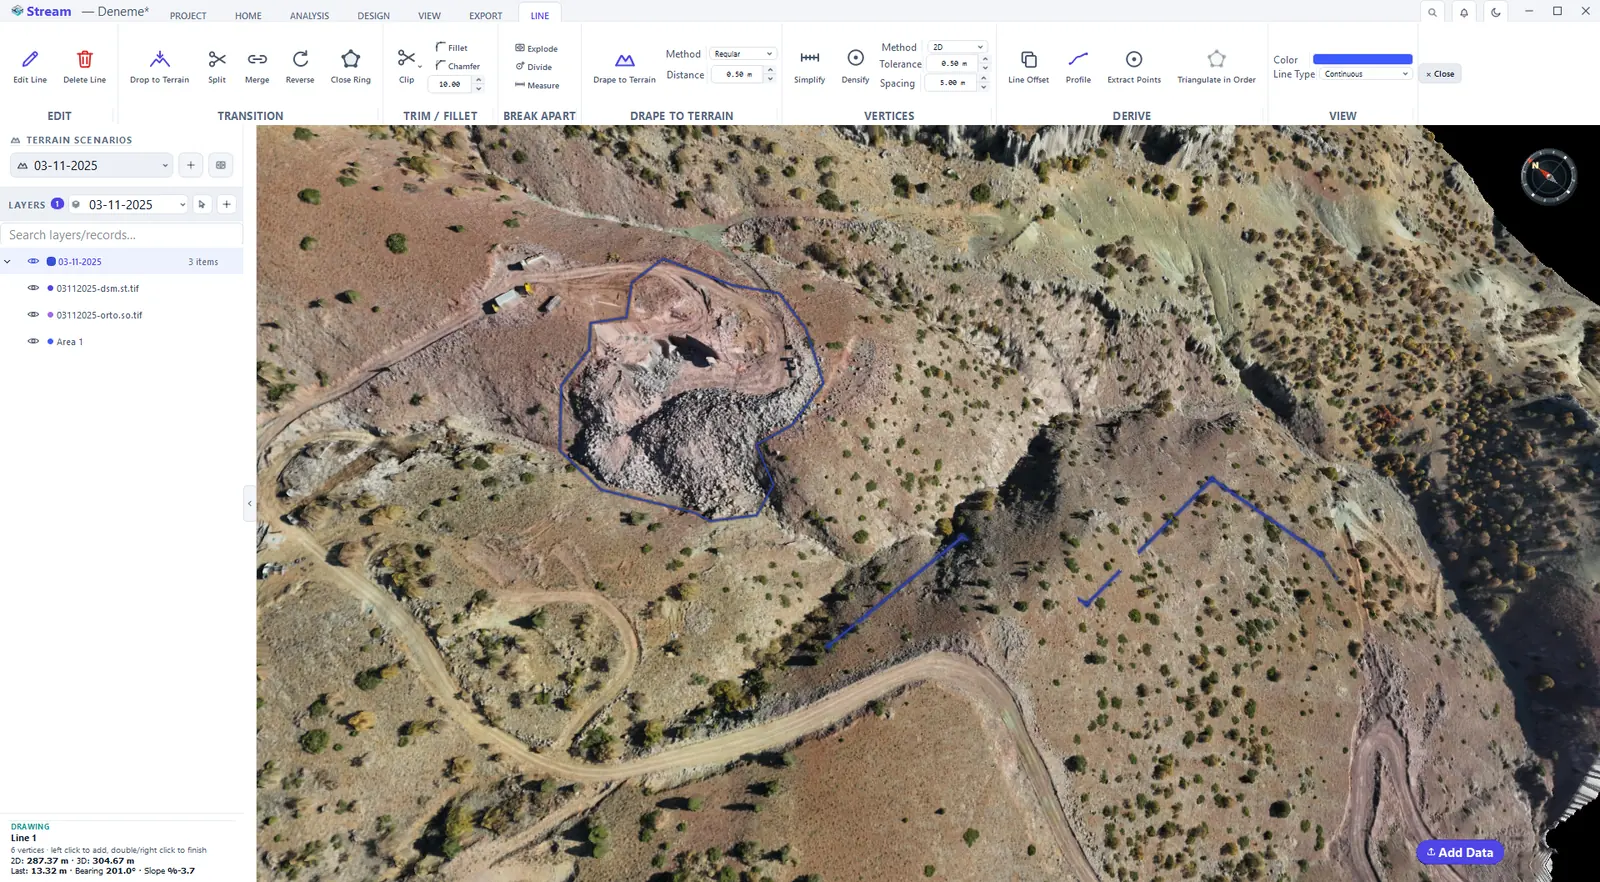
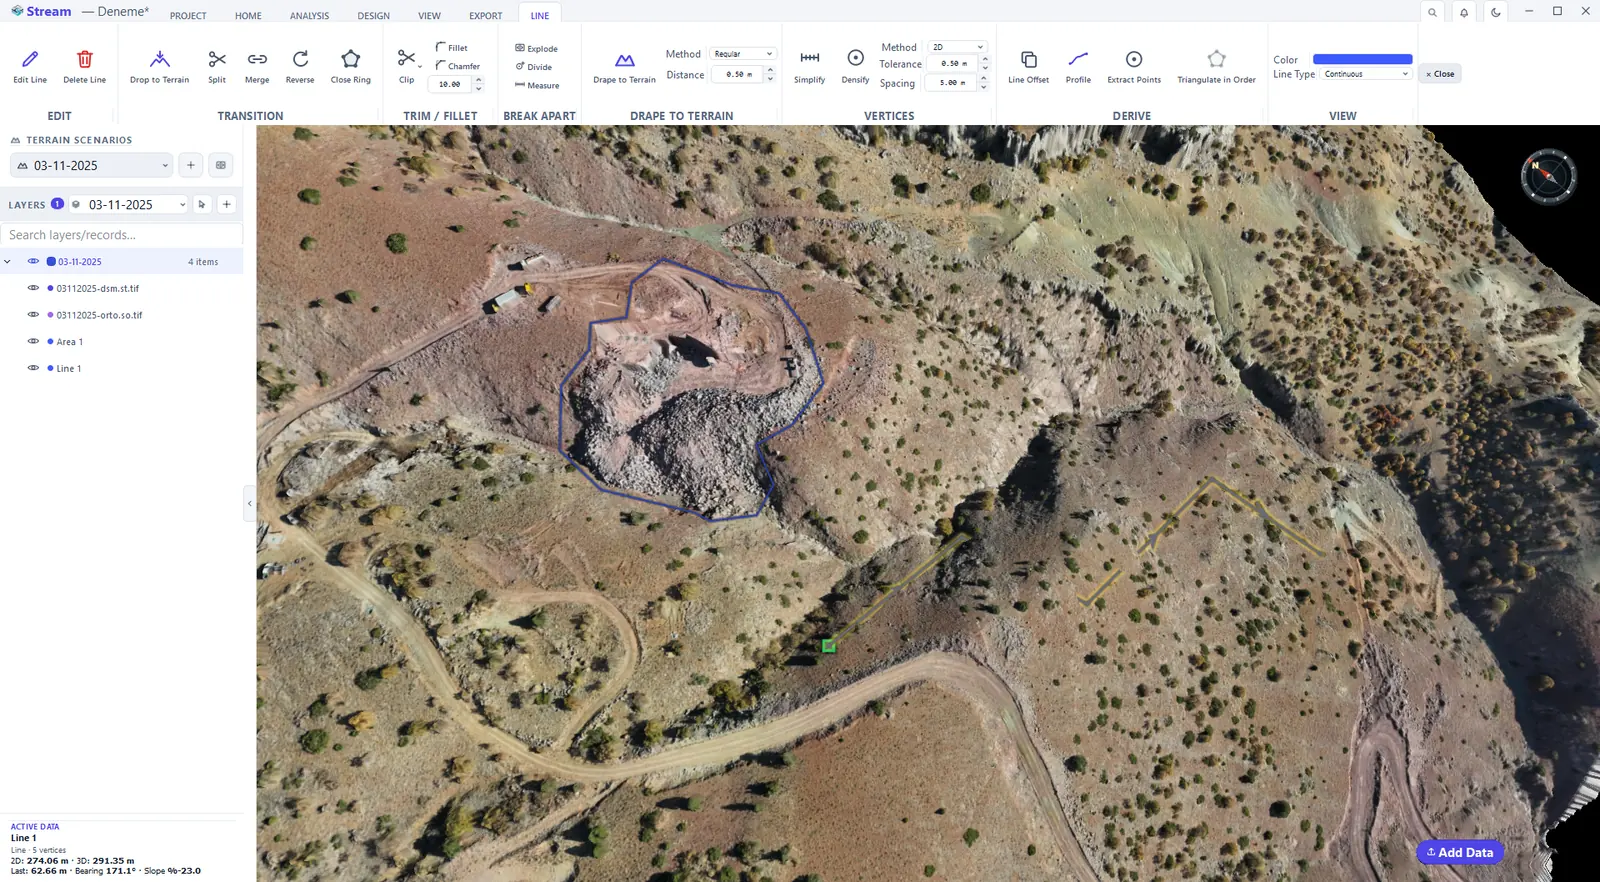
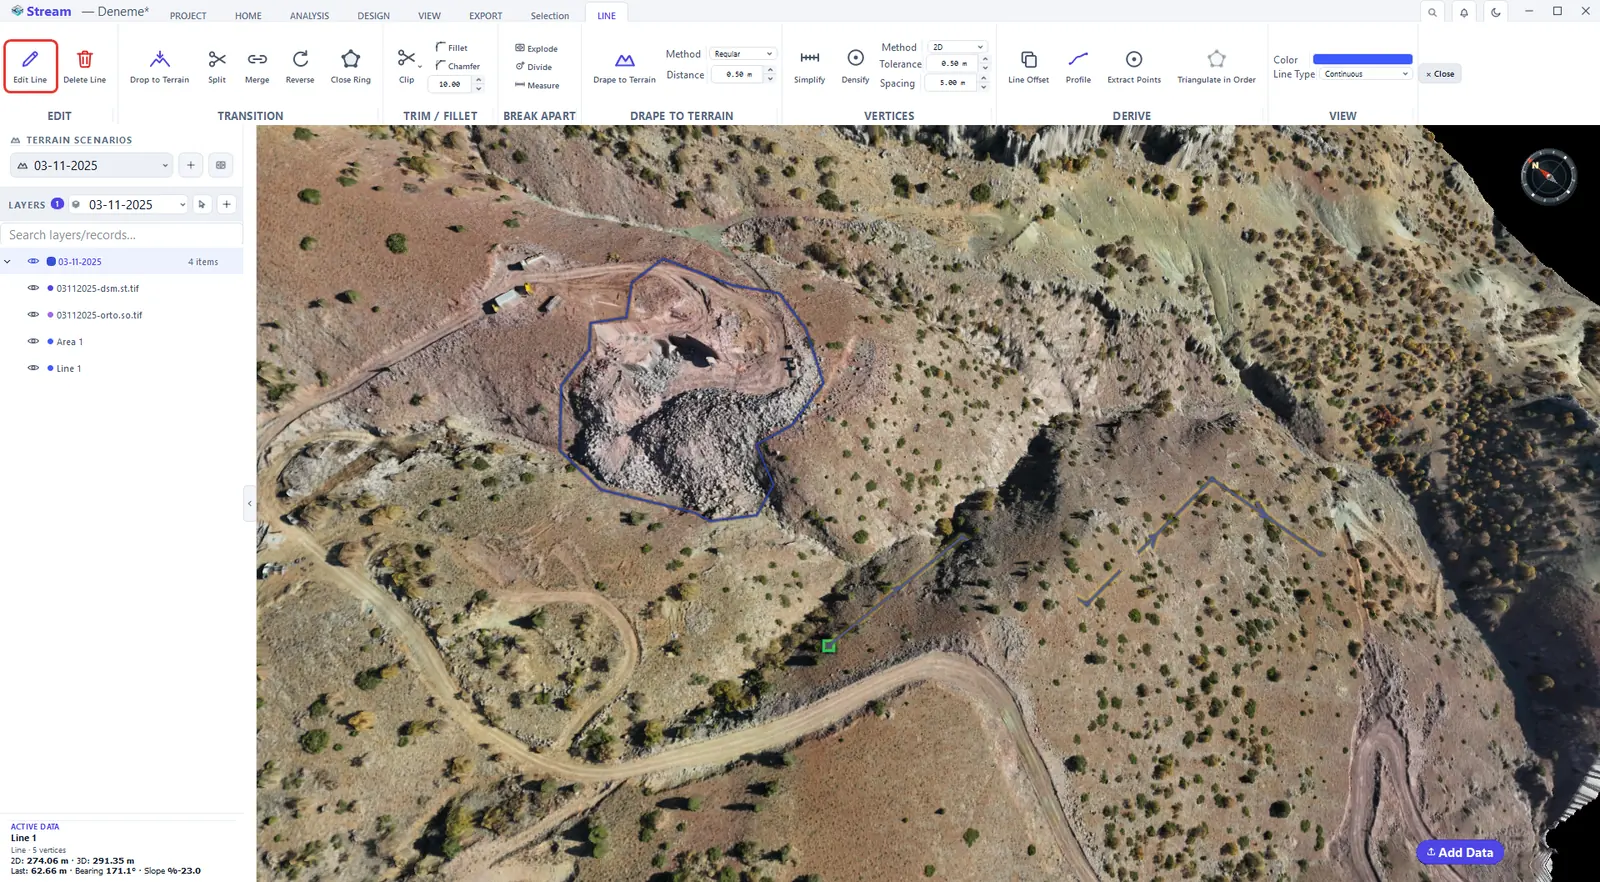
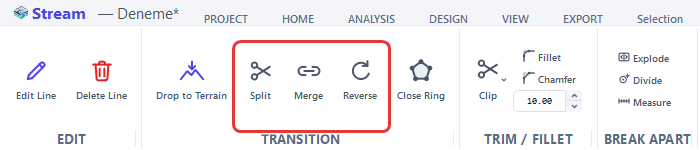
The LINE tab groups everything you can do next: EDIT (edit or delete), TRANSITION (split, merge, reverse, close ring), TRIM / FILLET, BREAK APART (explode, divide, measure), DRAPE TO TERRAIN, VERTICES (simplify, densify), DERIVE (line offset, profile, extract points) and VIEW (color and line type).
Drape a line onto the terrain
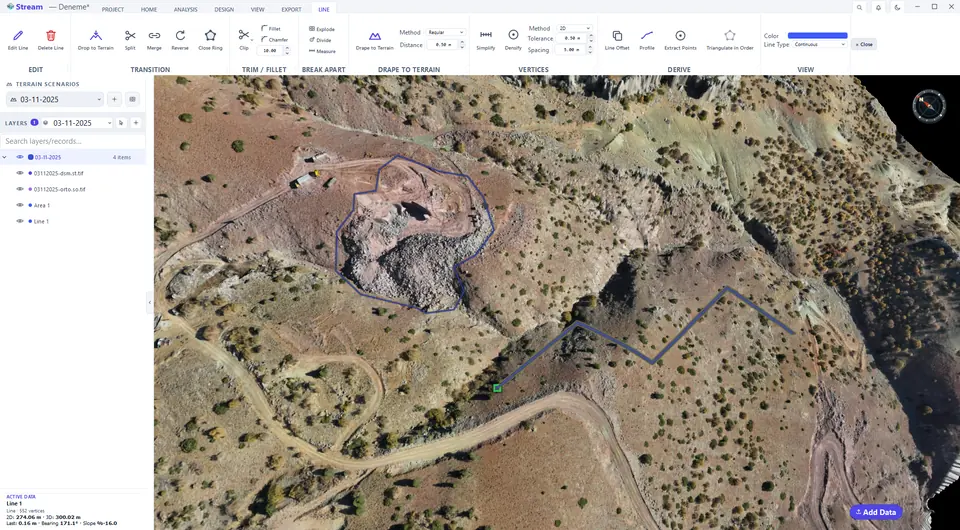
A line is a straight 3D segment between its vertices. Drape to Terrain beds it onto the surface by sampling the terrain at the Distance you set, so the line follows the ground like a long section. The 3D length grows because the line now climbs and falls with the relief.
Set the sampling distance.
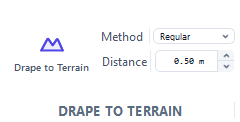
Press Drape to Terrain.
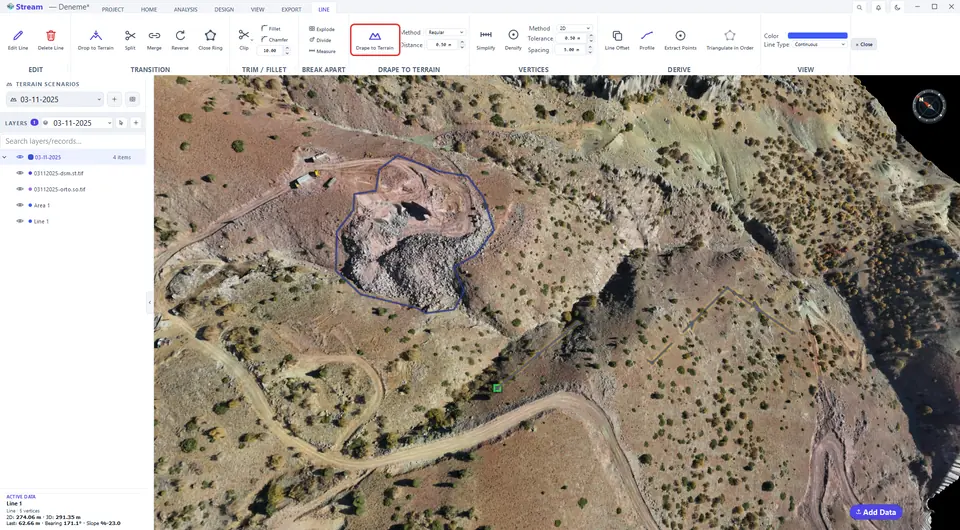
The line now follows the ground.
Edit vertices
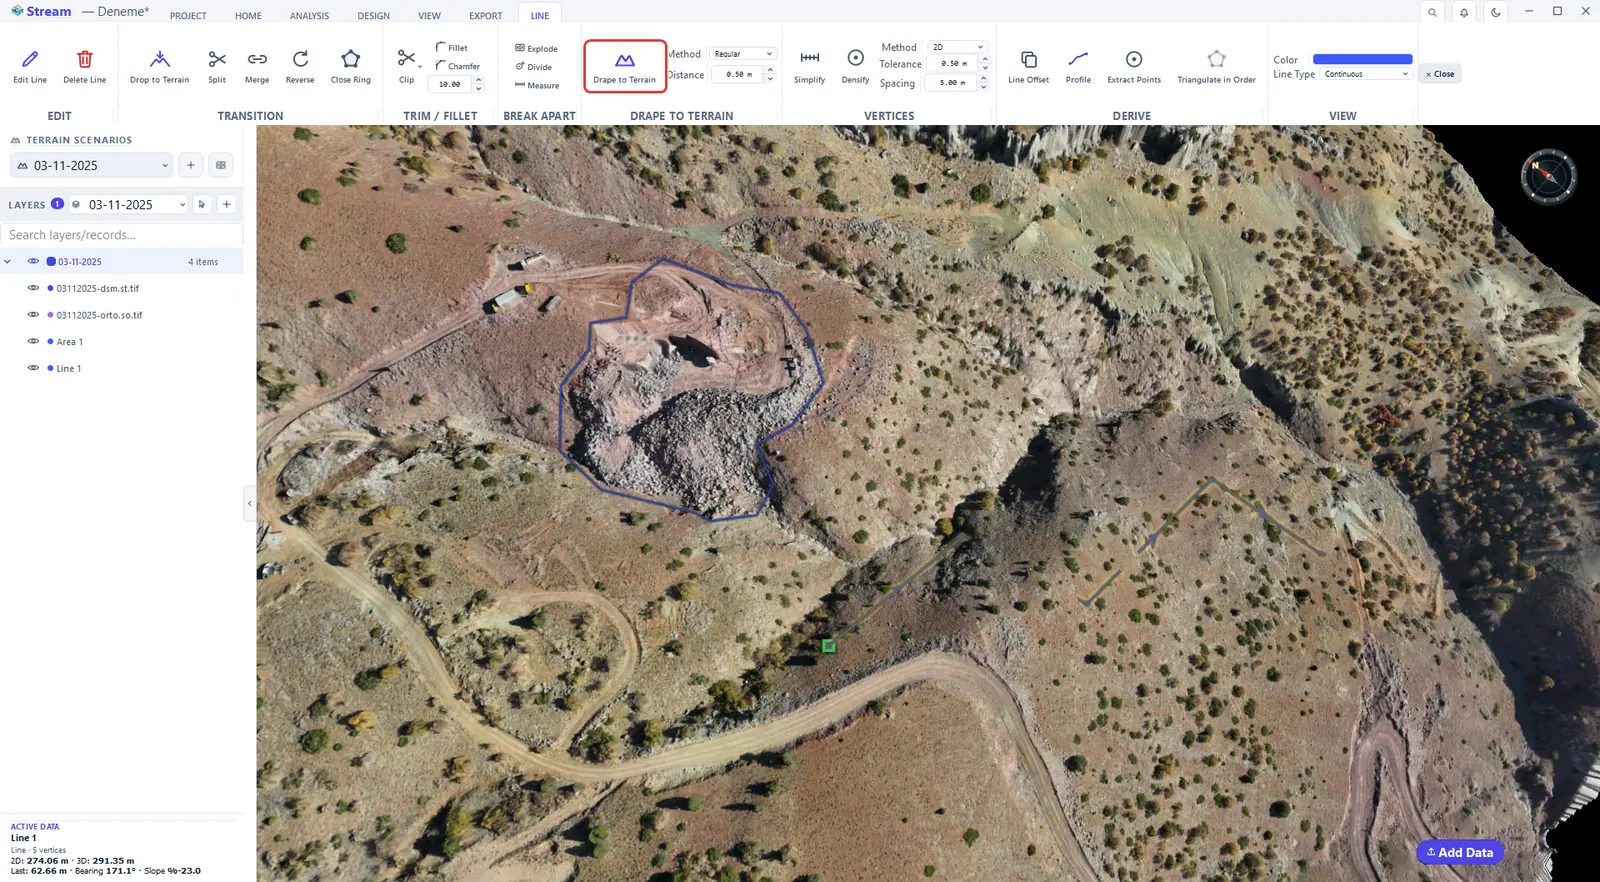
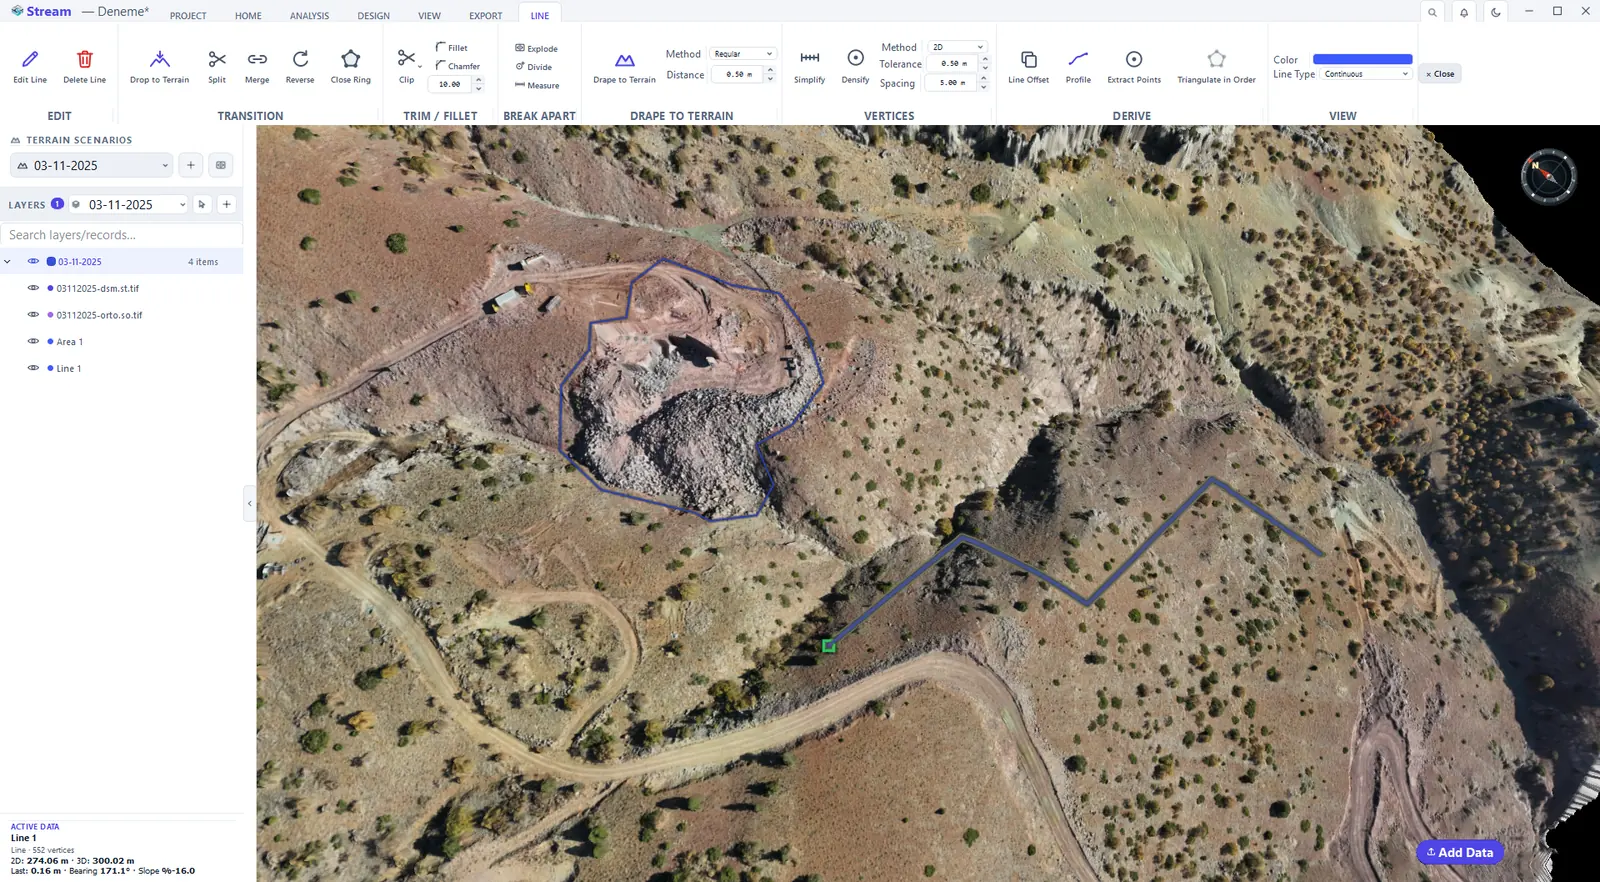
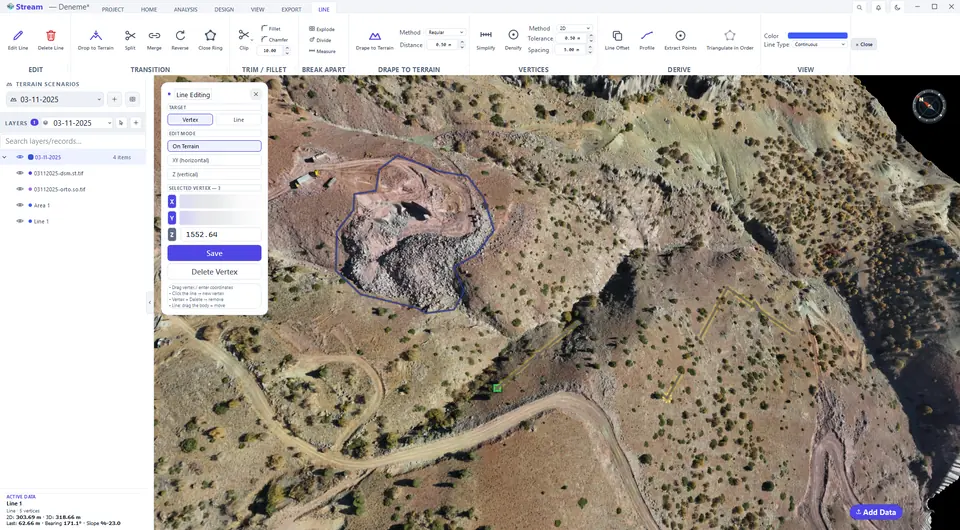
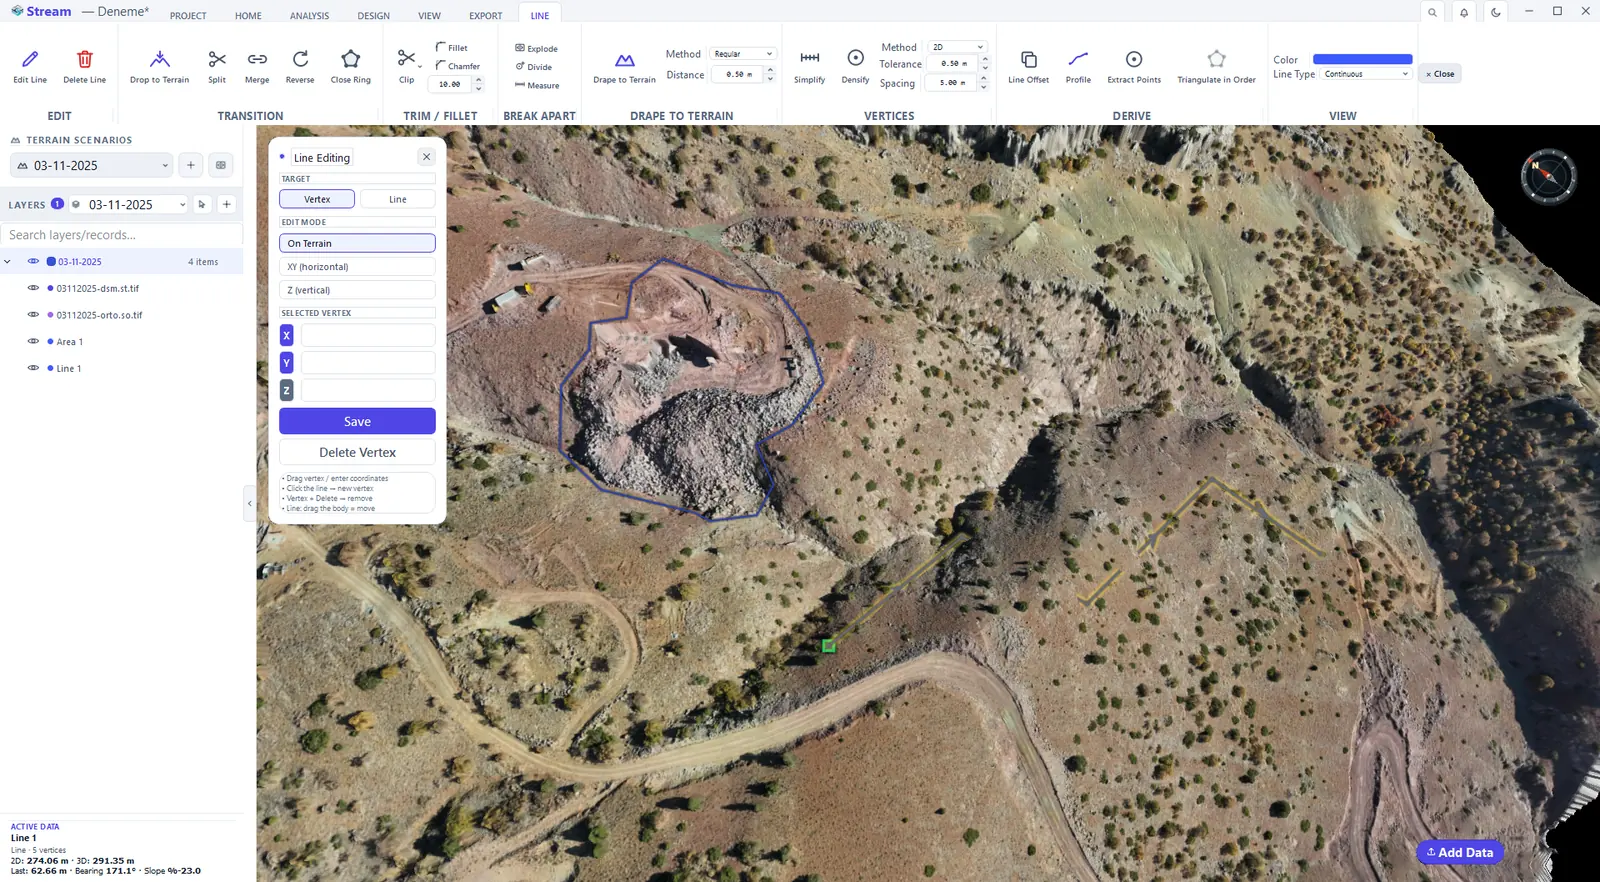
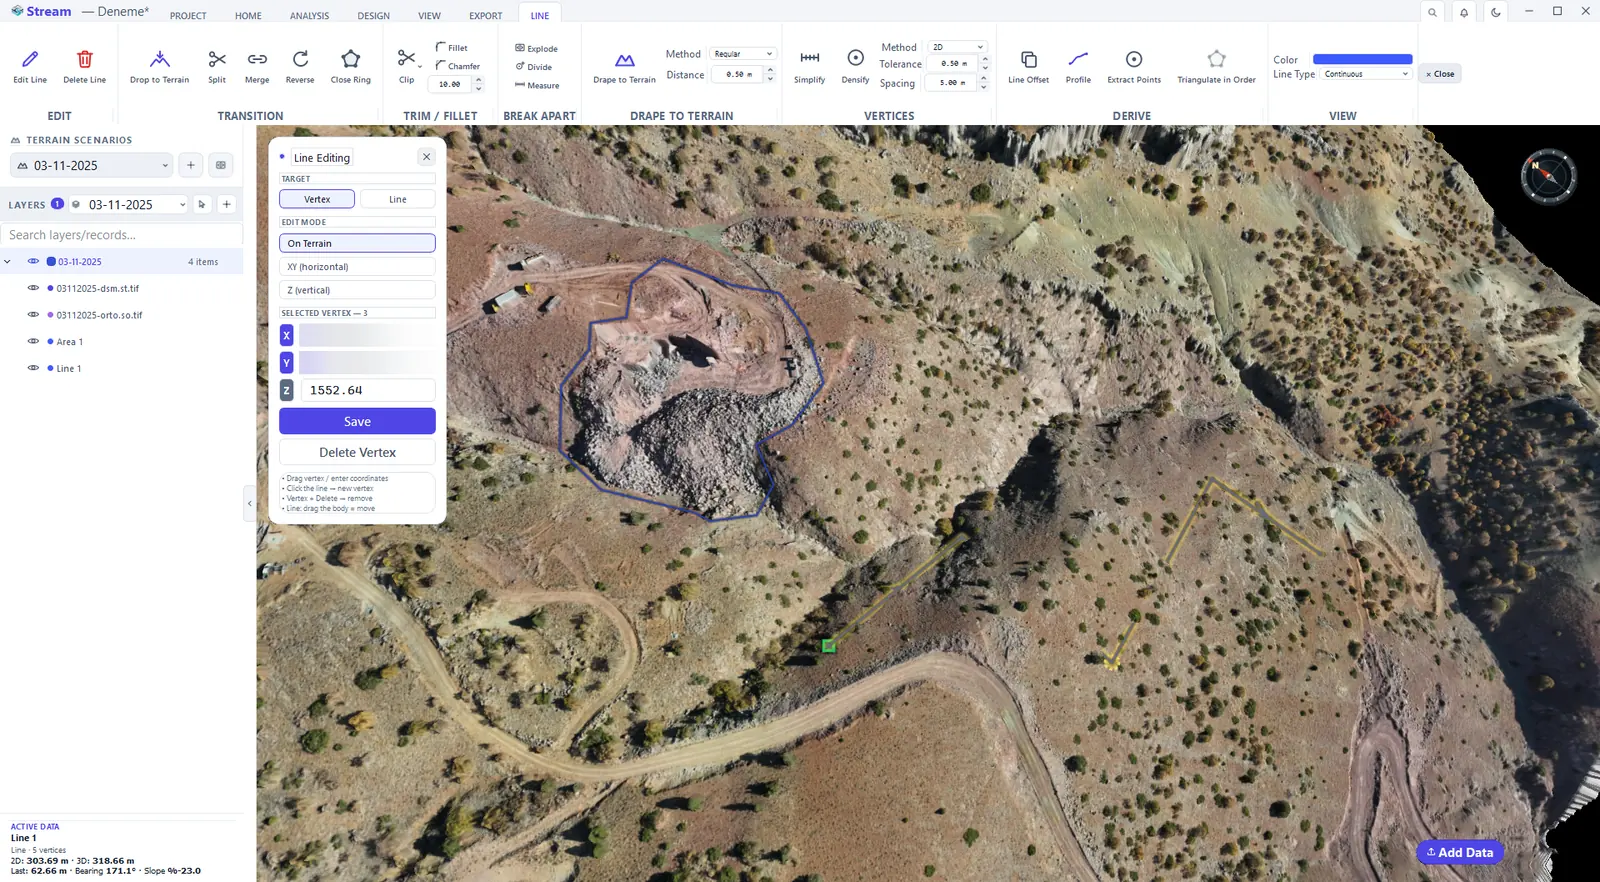
Edit Line opens the Line Editing window. Drag a vertex to a new place, click on the line to add a vertex, select a vertex and press Delete Vertex, or type exact X, Y and Z values and Save. The On Terrain mode keeps the vertex on the surface while you drag.
Press Edit Line.
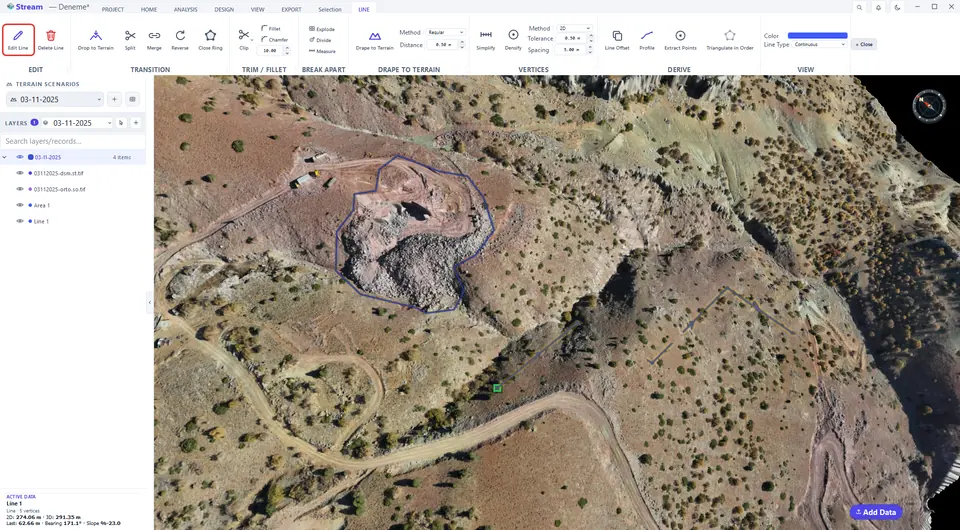
Vertices can be dragged, added or removed.
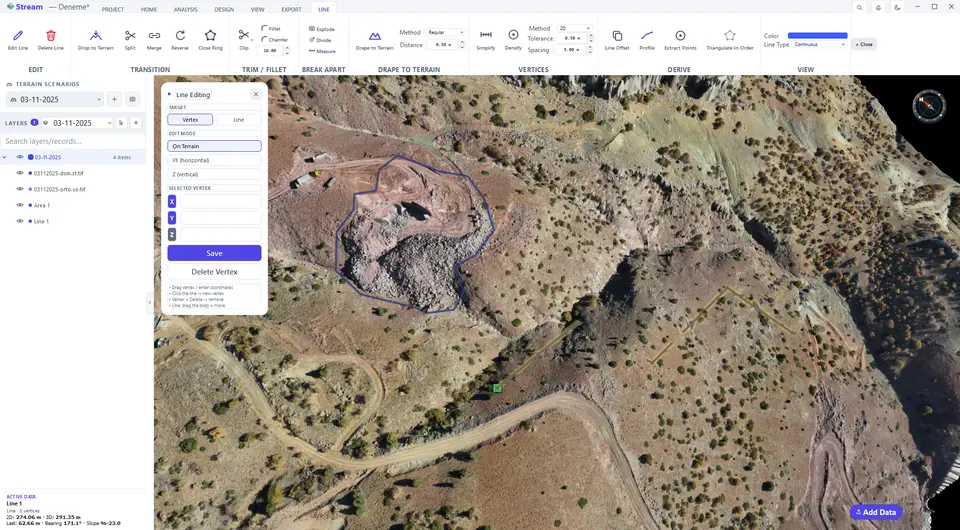
Drag a vertex to its new place.
Densify and simplify
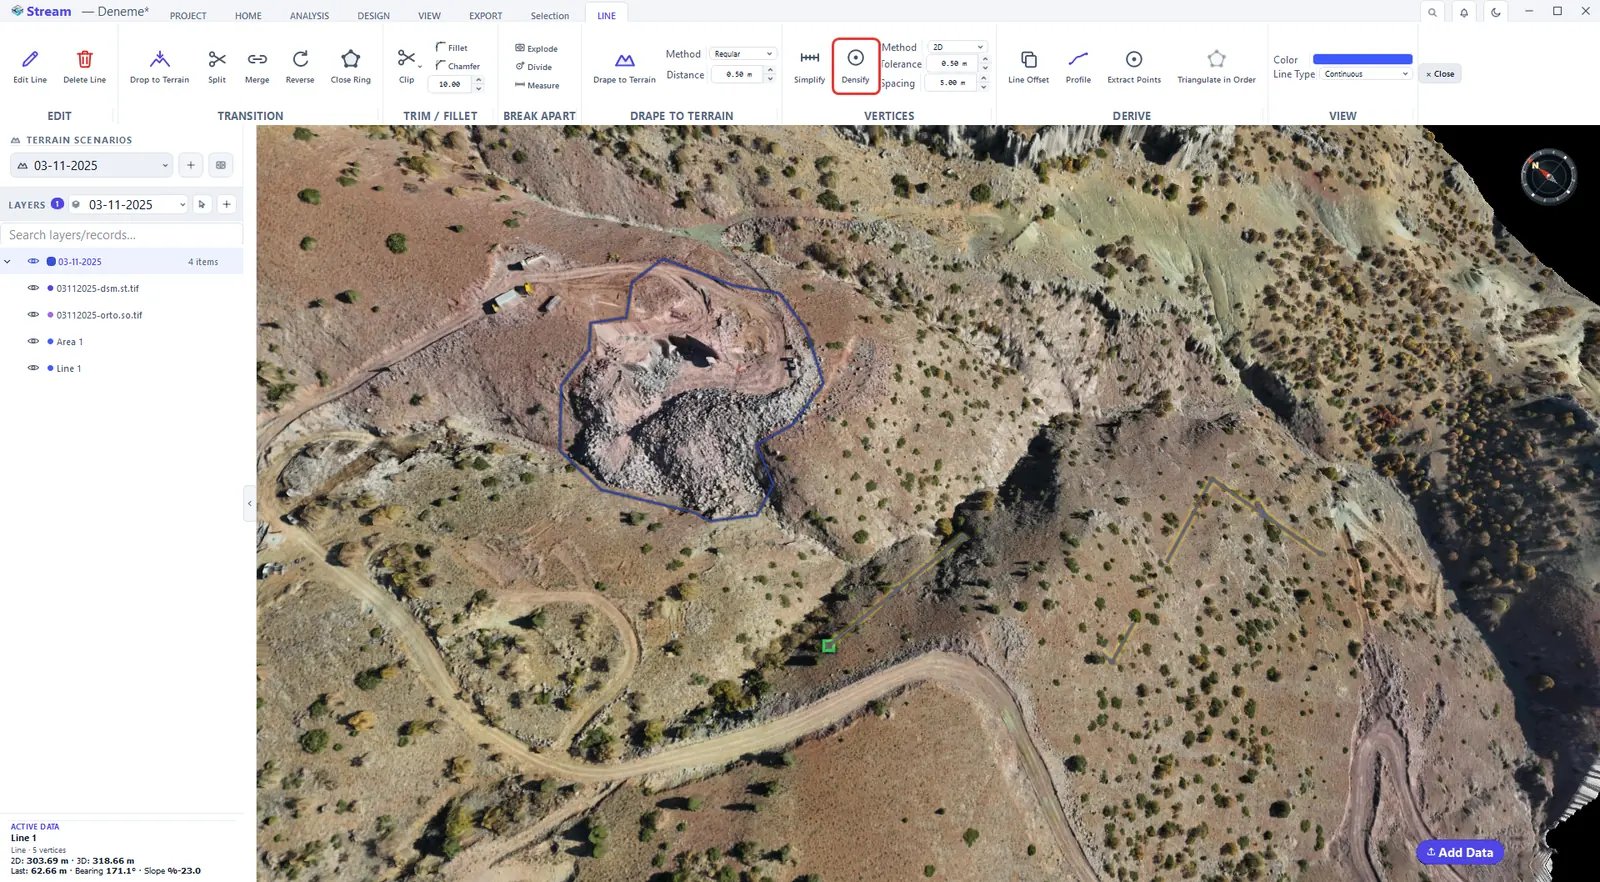
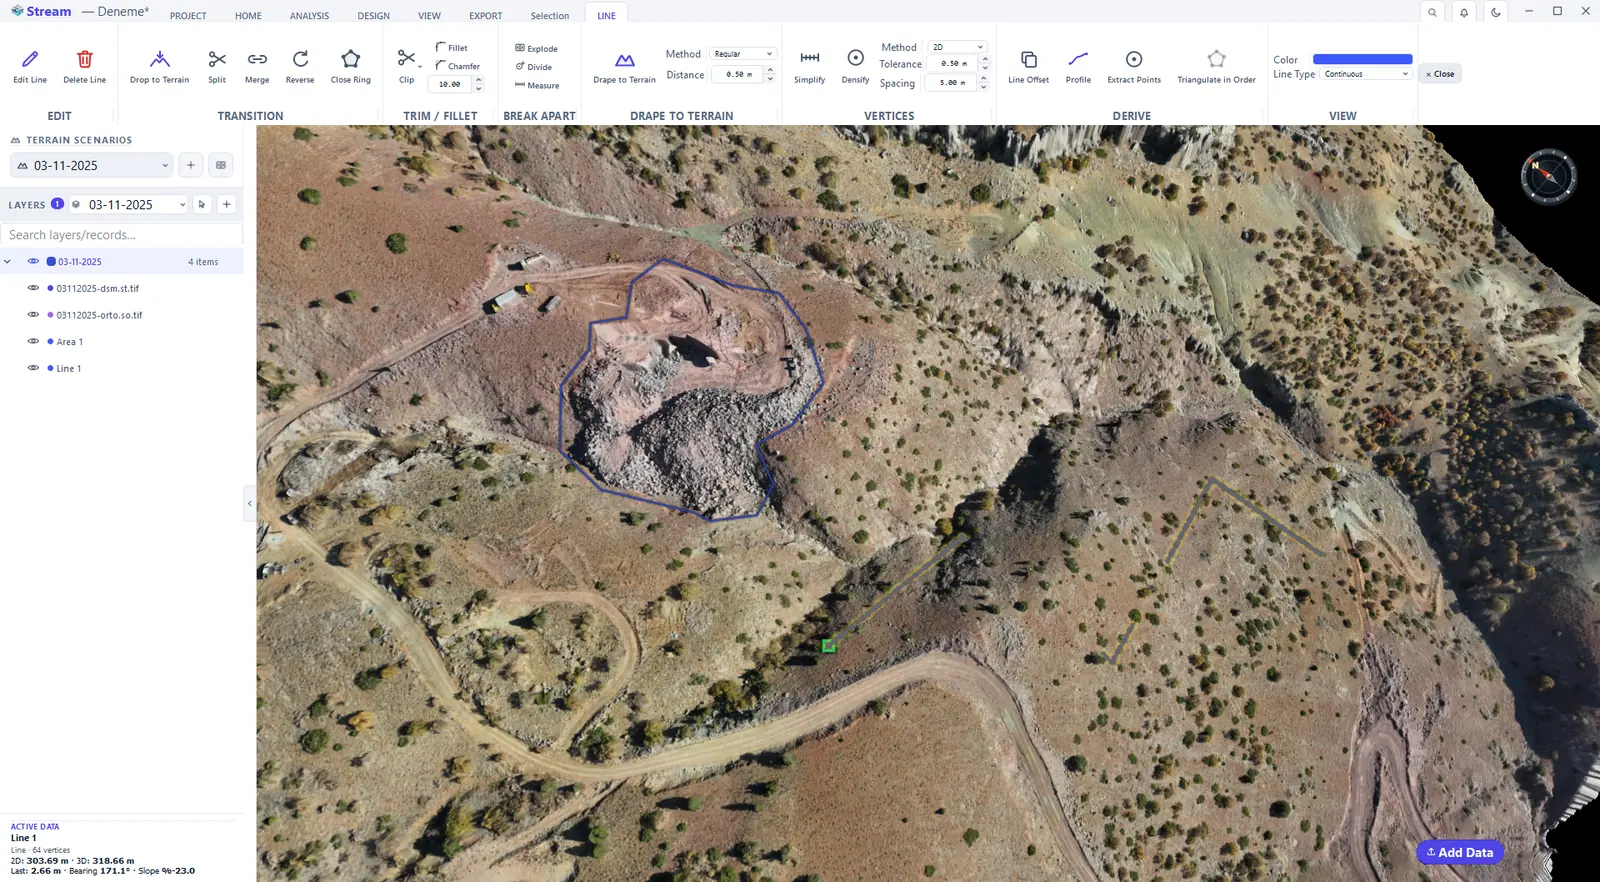
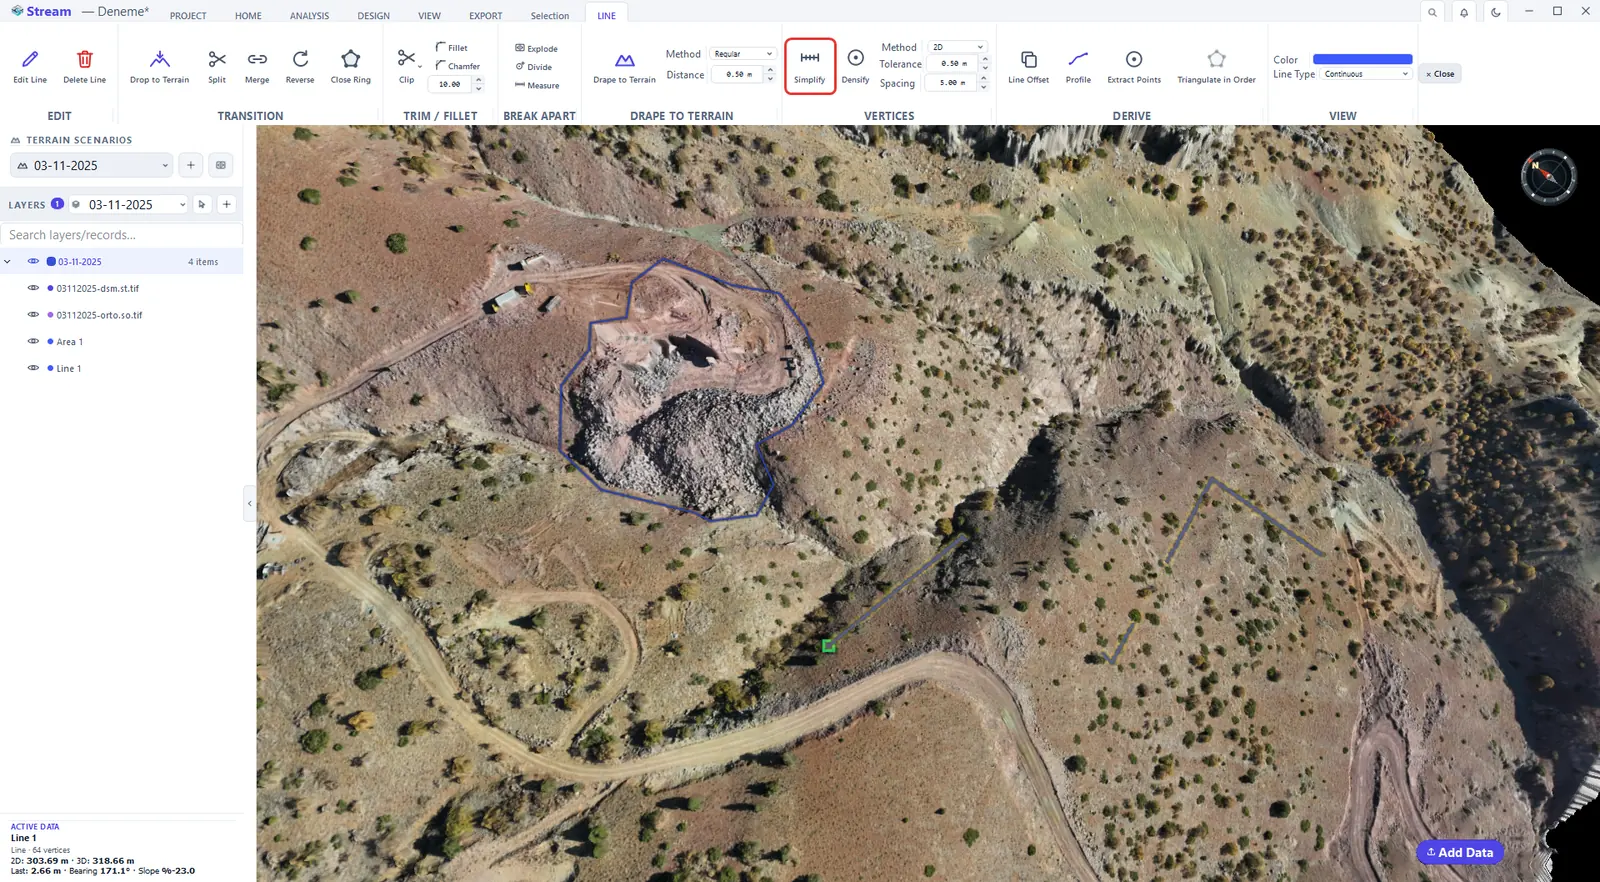
Densify keeps the existing vertices and inserts new ones at the given Spacing — useful before draping and for CAD or TIN exports that need dense vertices. Simplify is the opposite: it removes unnecessary vertices within the Tolerance. The ACTIVE DATA card shows the vertex count after each operation.
Tolerance and spacing for vertices.
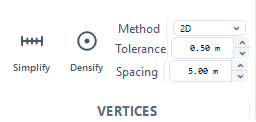
Densify adds vertices at a fixed spacing.
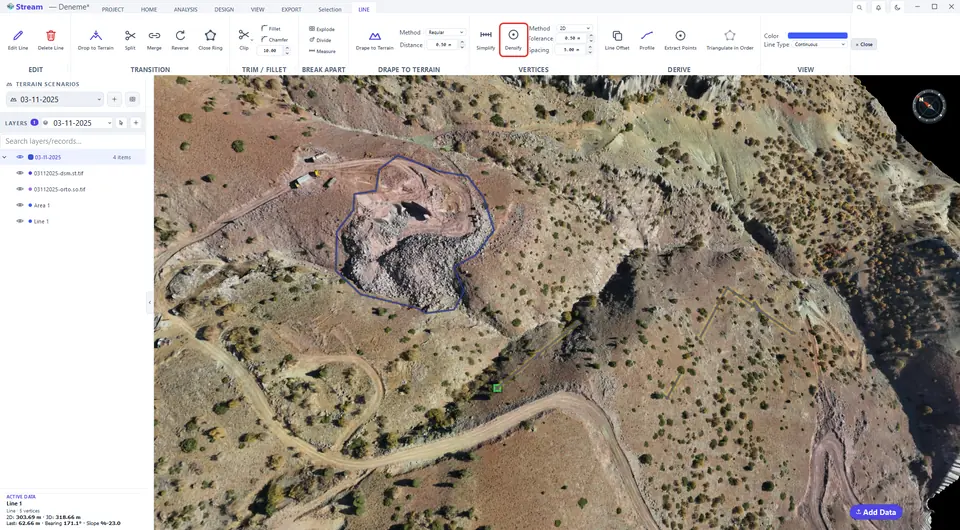
The densified line, the card shows the vertex count.
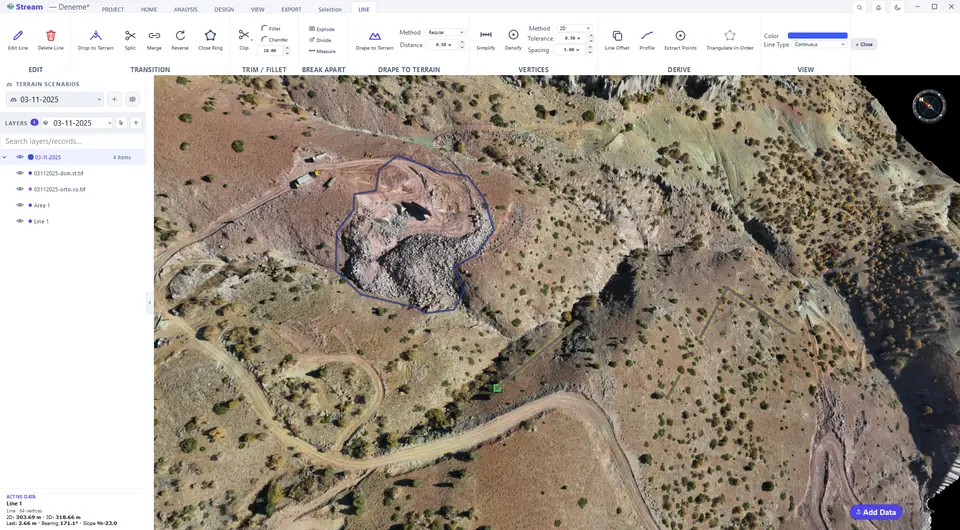
Simplify removes vertices within the tolerance.
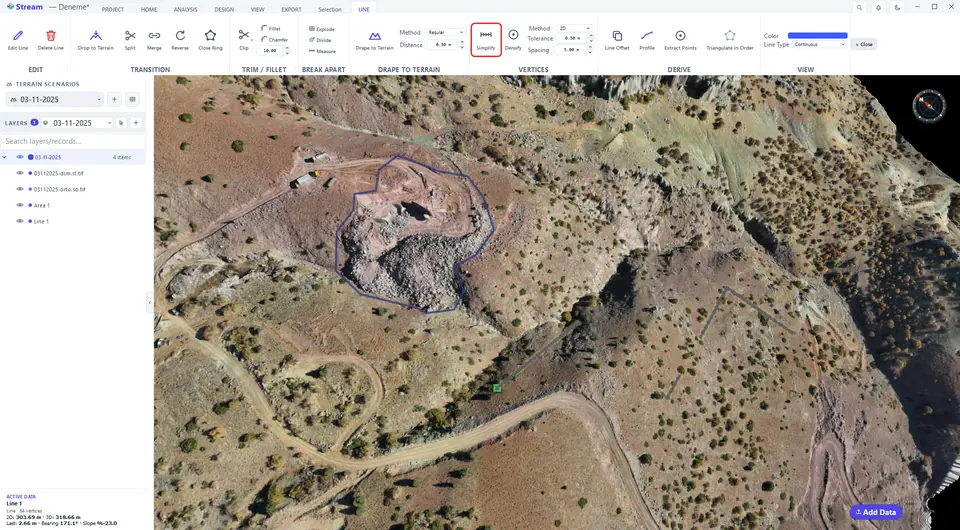
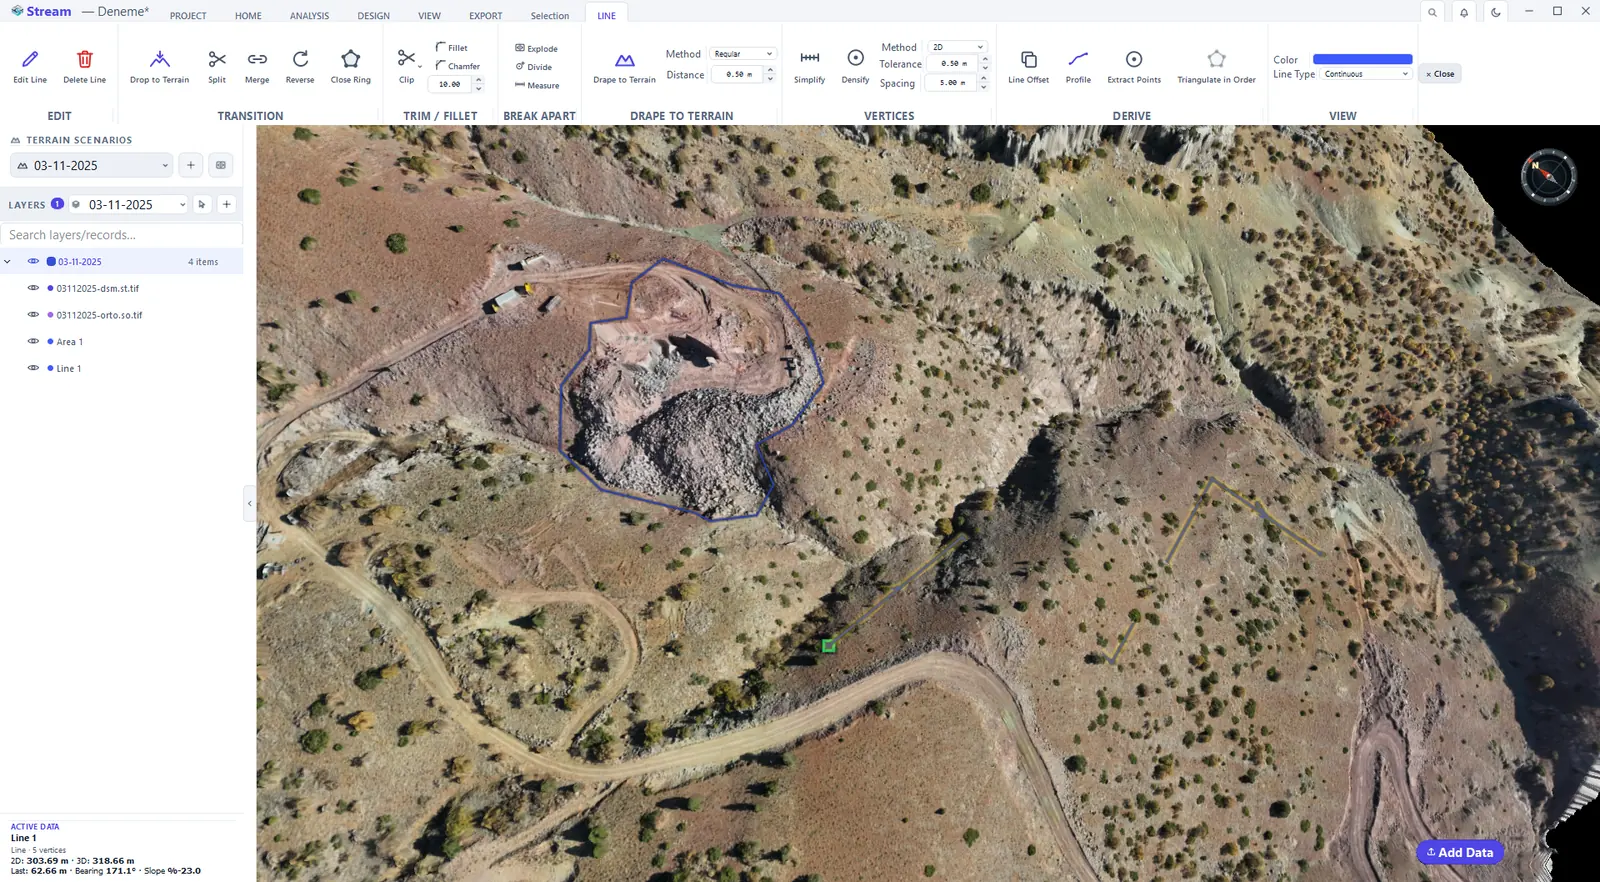
The simplified line, the card shows fewer vertices.
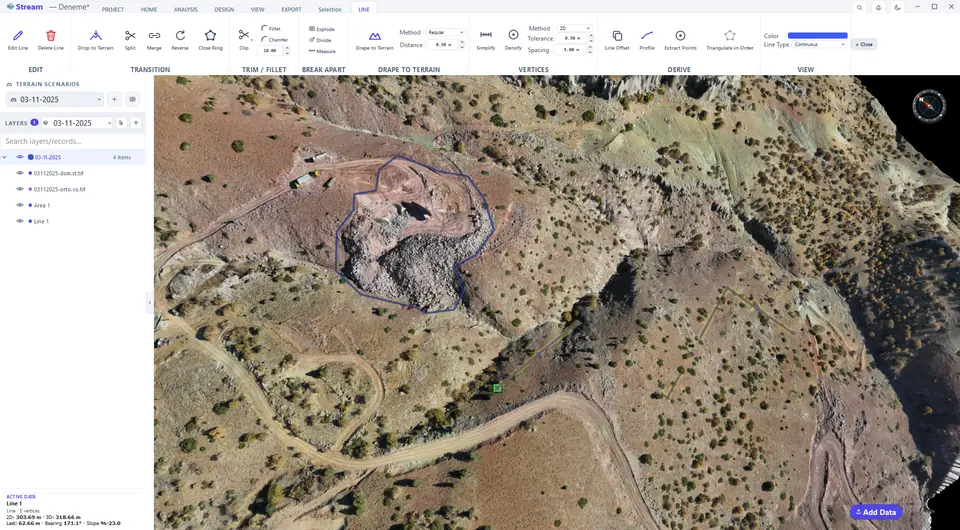
The line after clearing the selection.
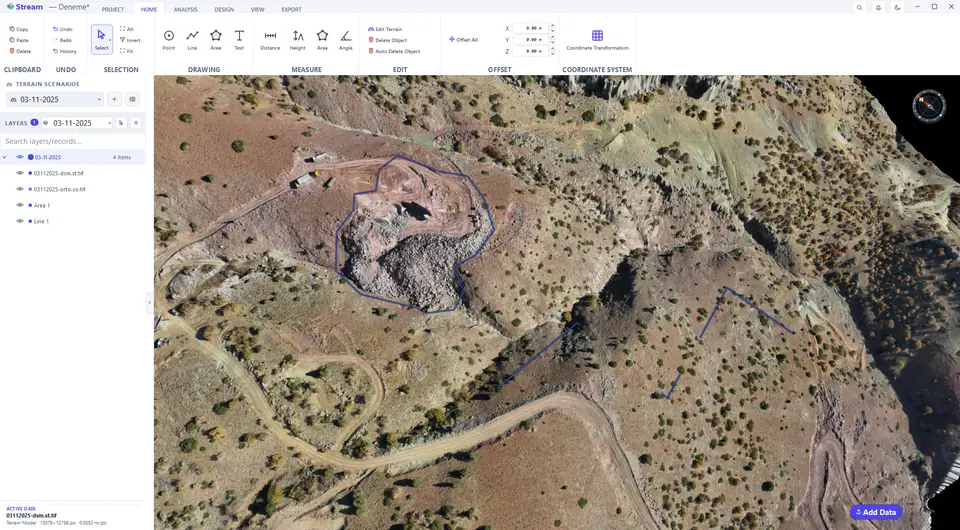
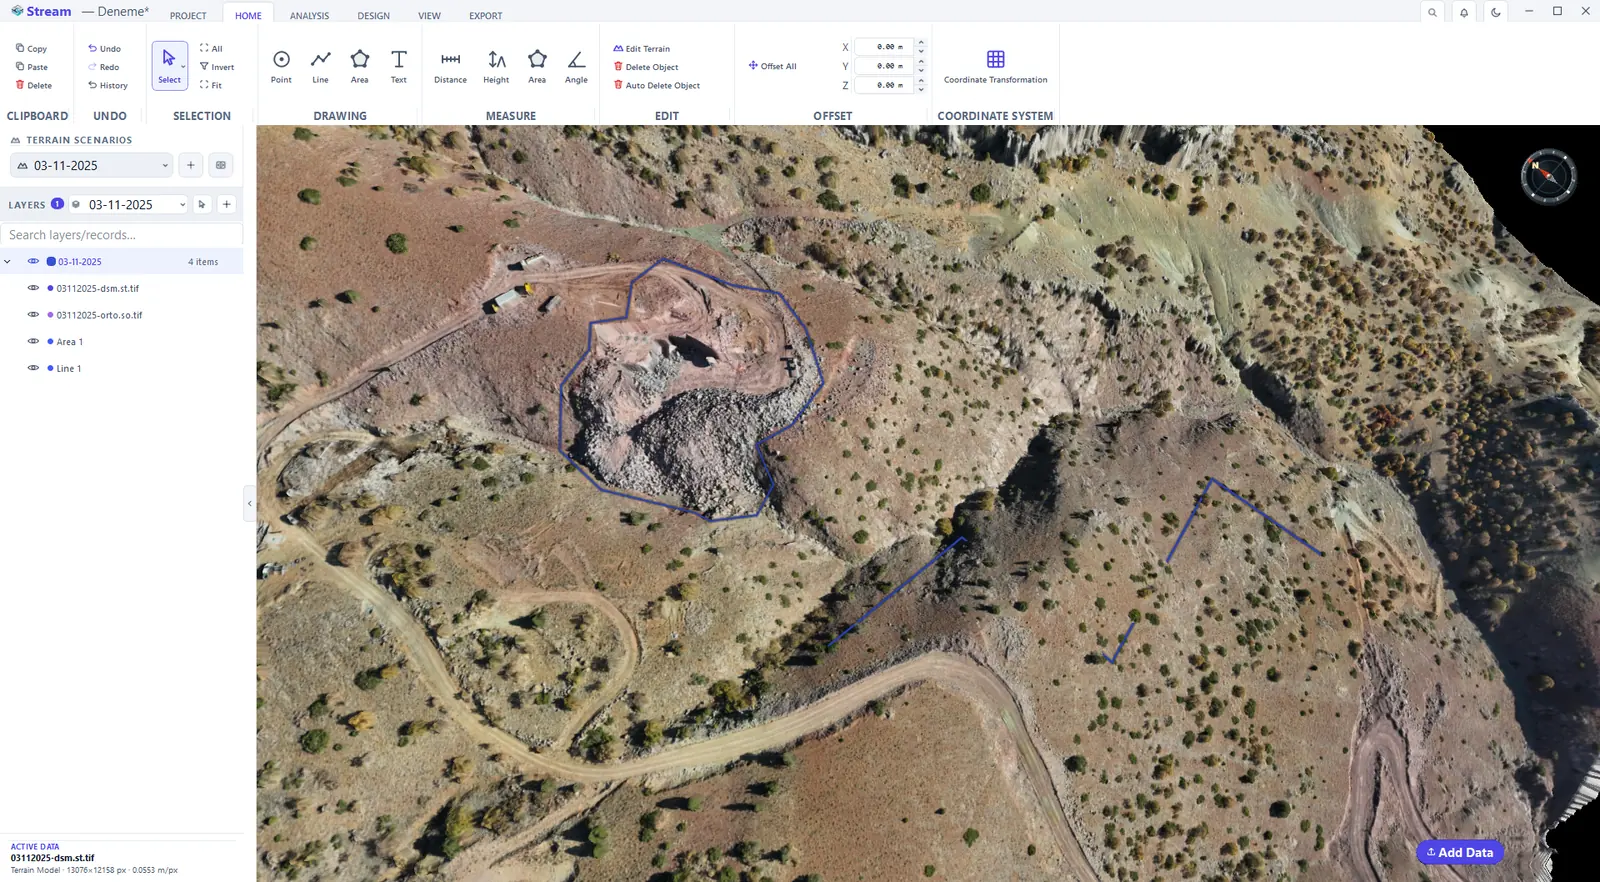
Offset a line
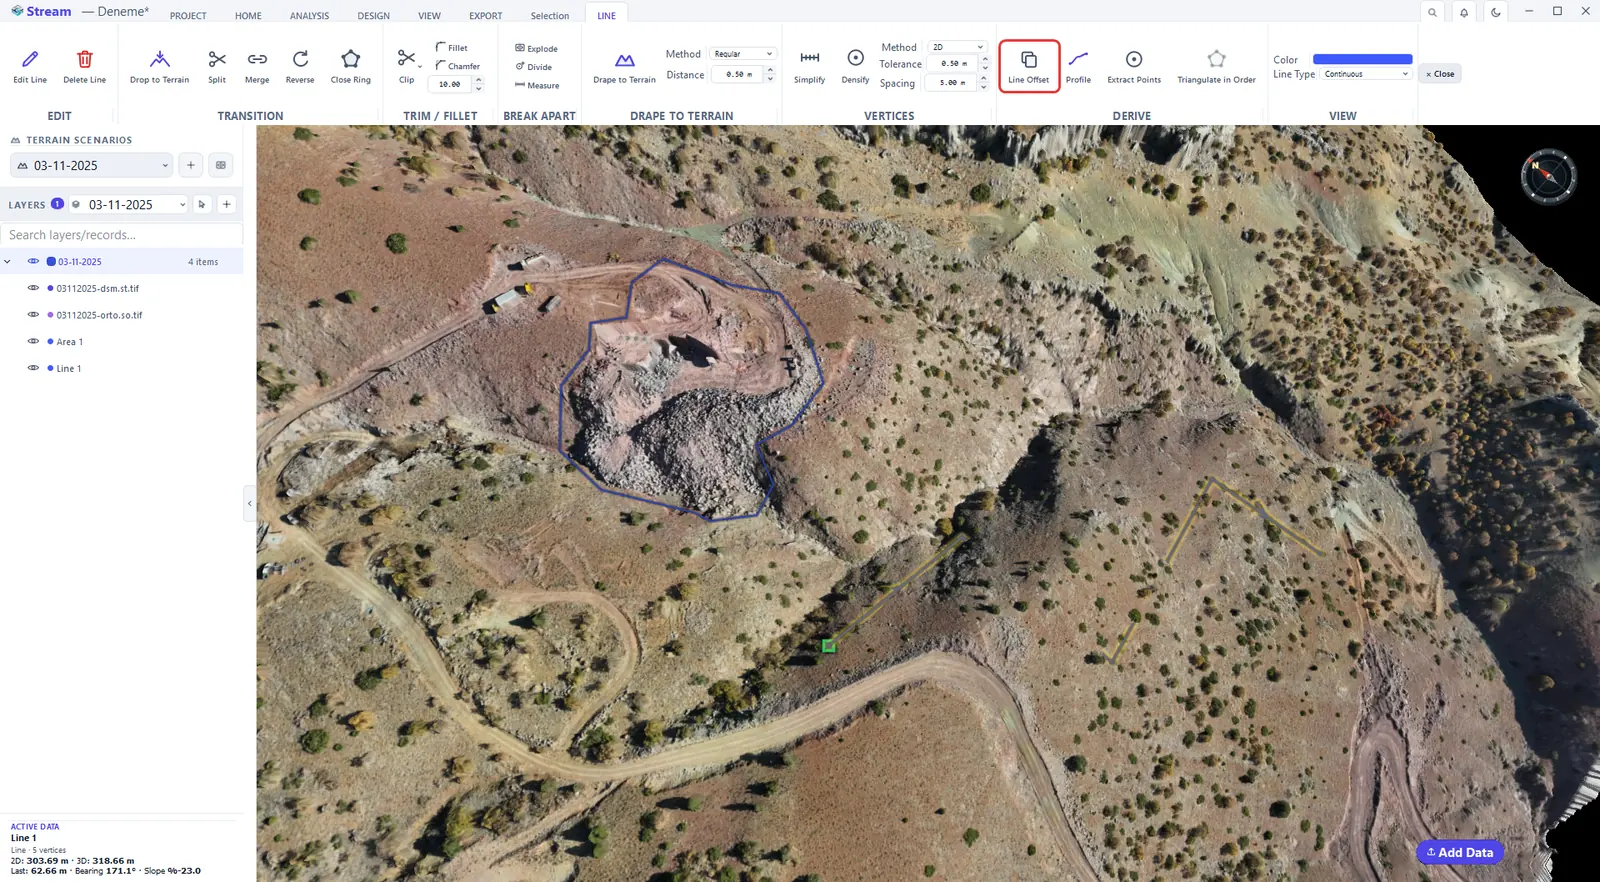
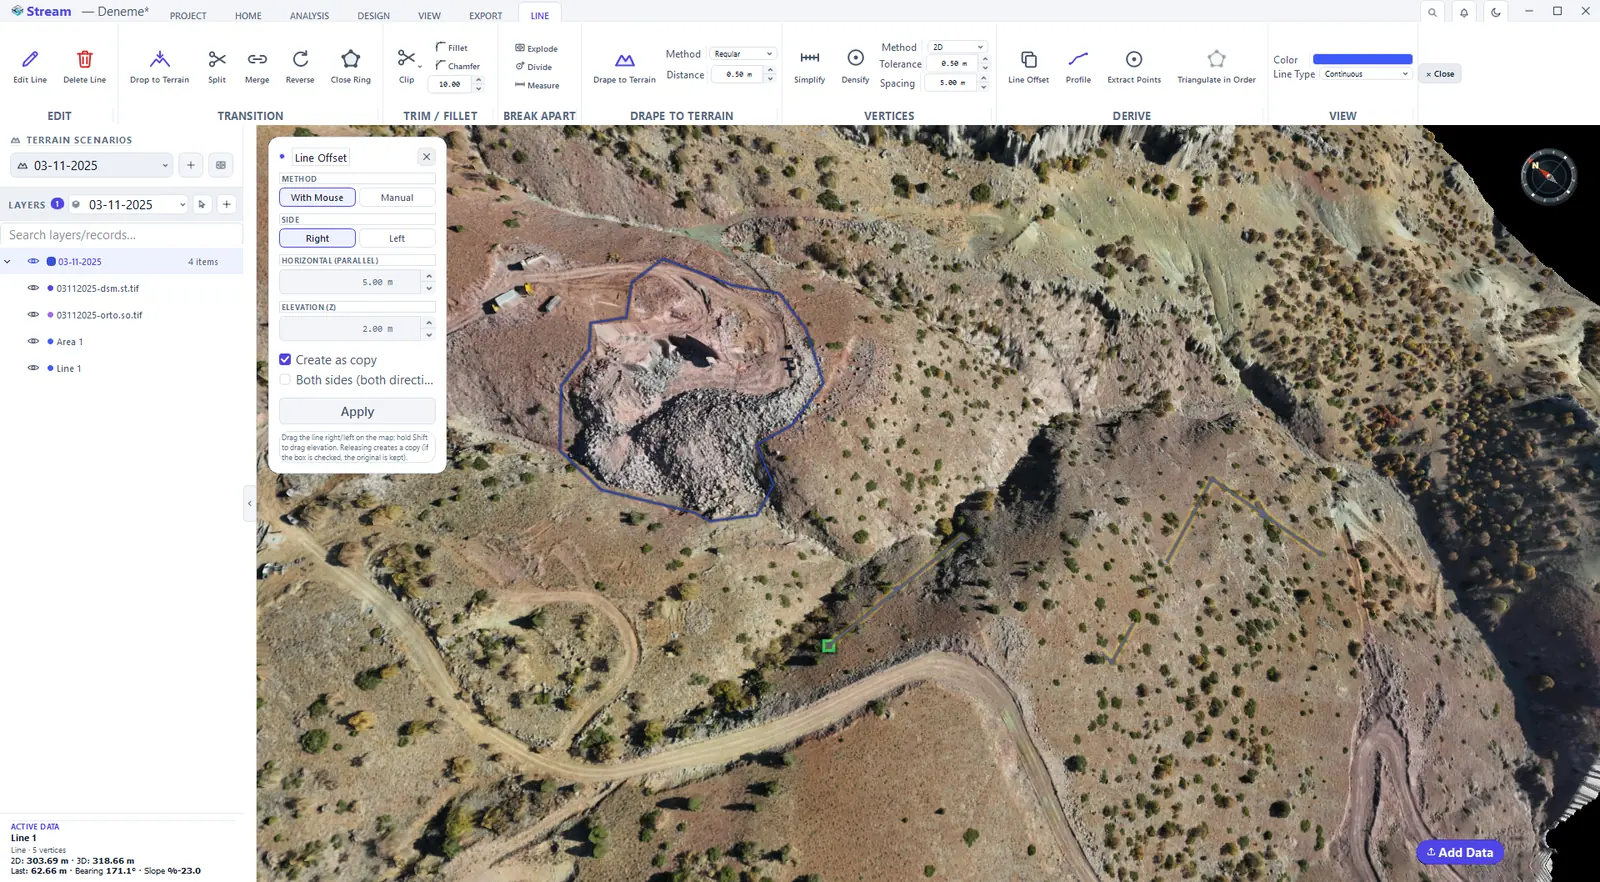
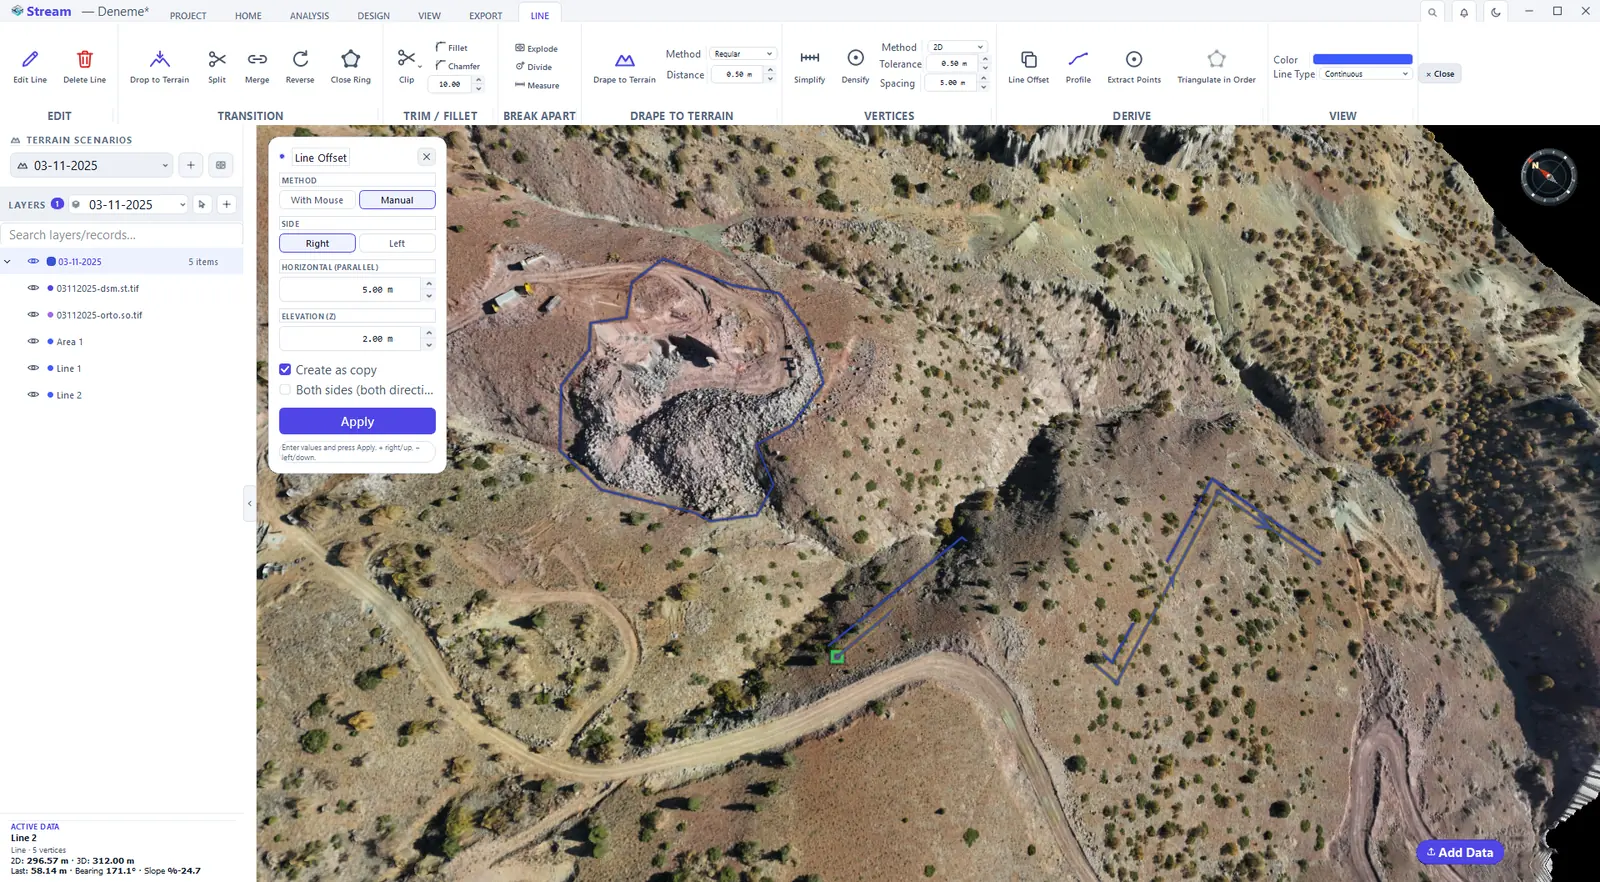
Line Offset copies the line parallel at a set distance. Choose With Mouse to drag the copy on the map, or Manual to type the side (right or left), the horizontal distance and the elevation (Z) offset; tick Create as copy to keep the original and Both sides to make two copies at once, then press Apply.
Press Line Offset.
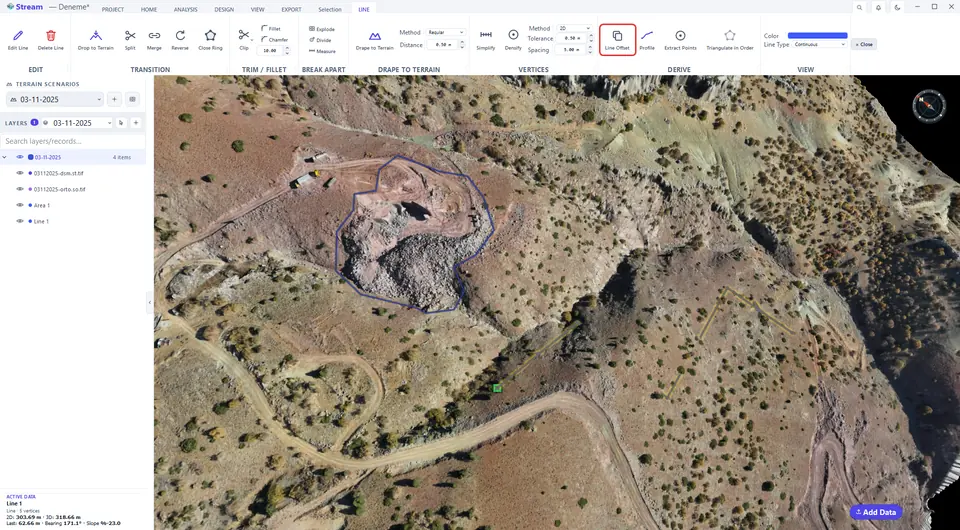
Choose side, horizontal and vertical offset.
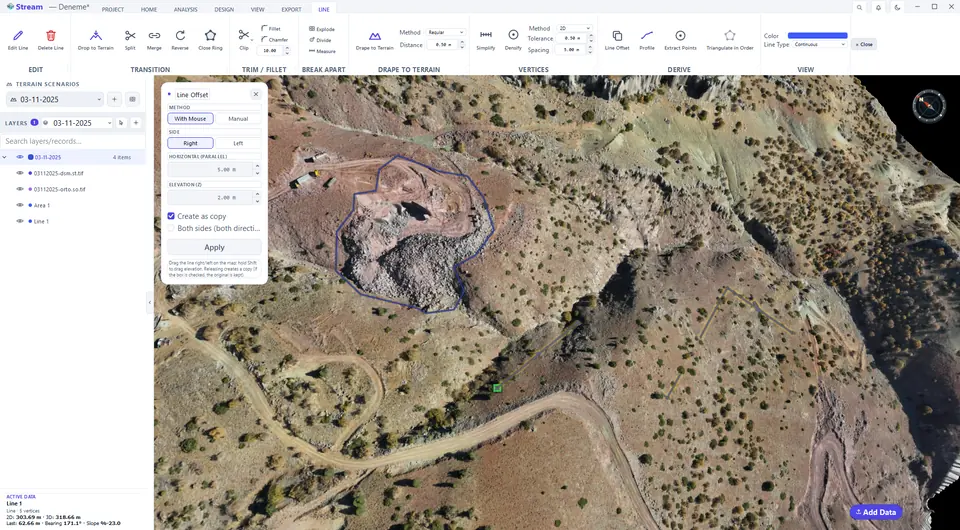
Parallel line created.
Split, merge and reverse
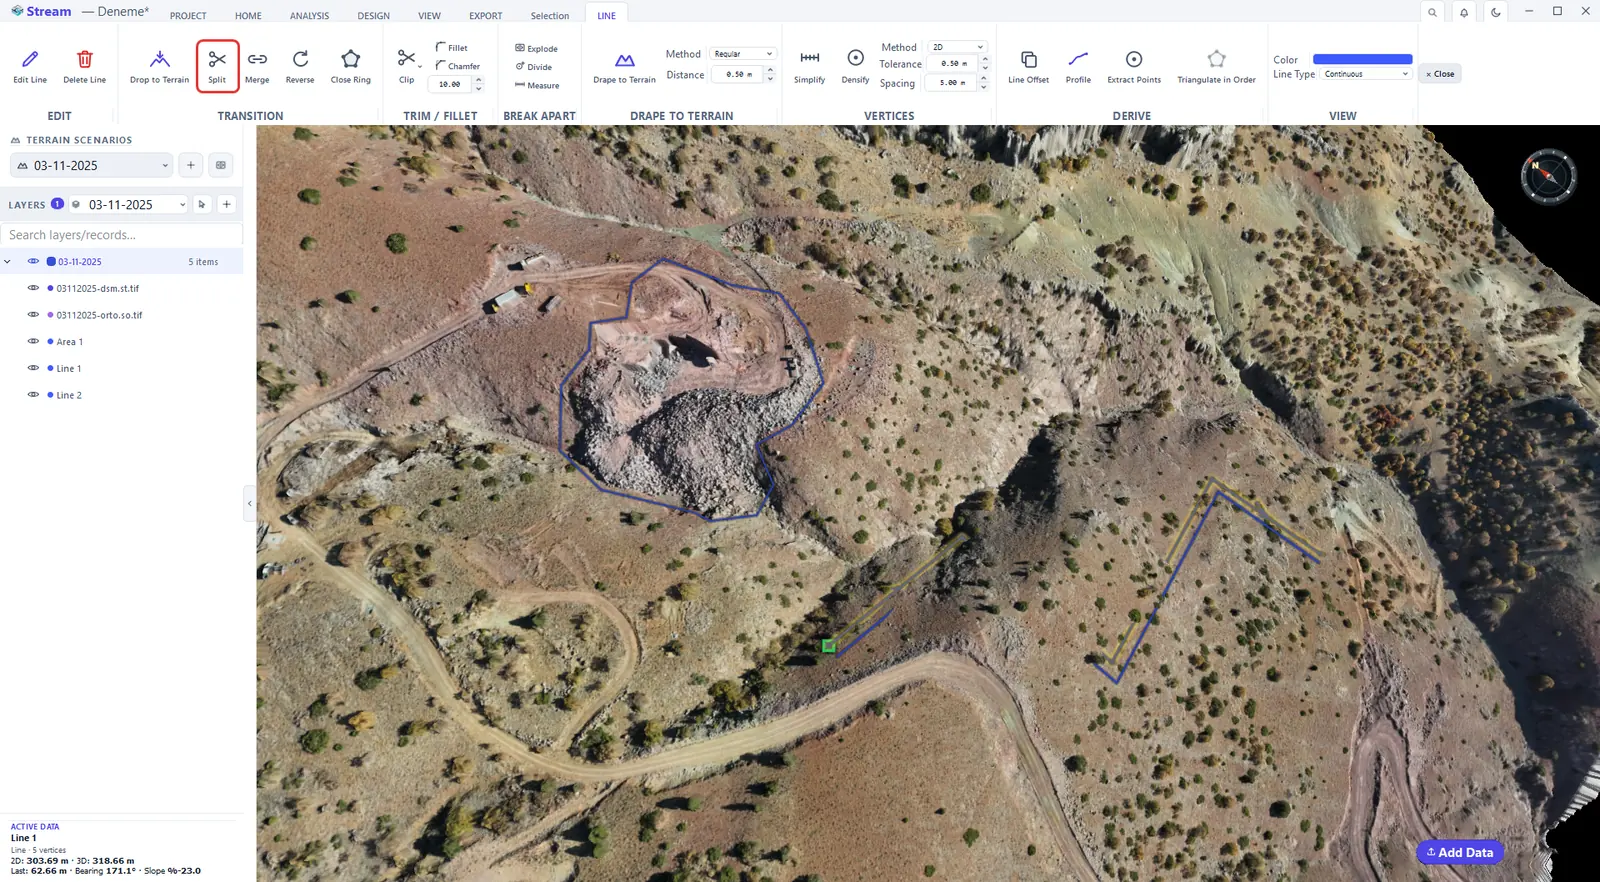
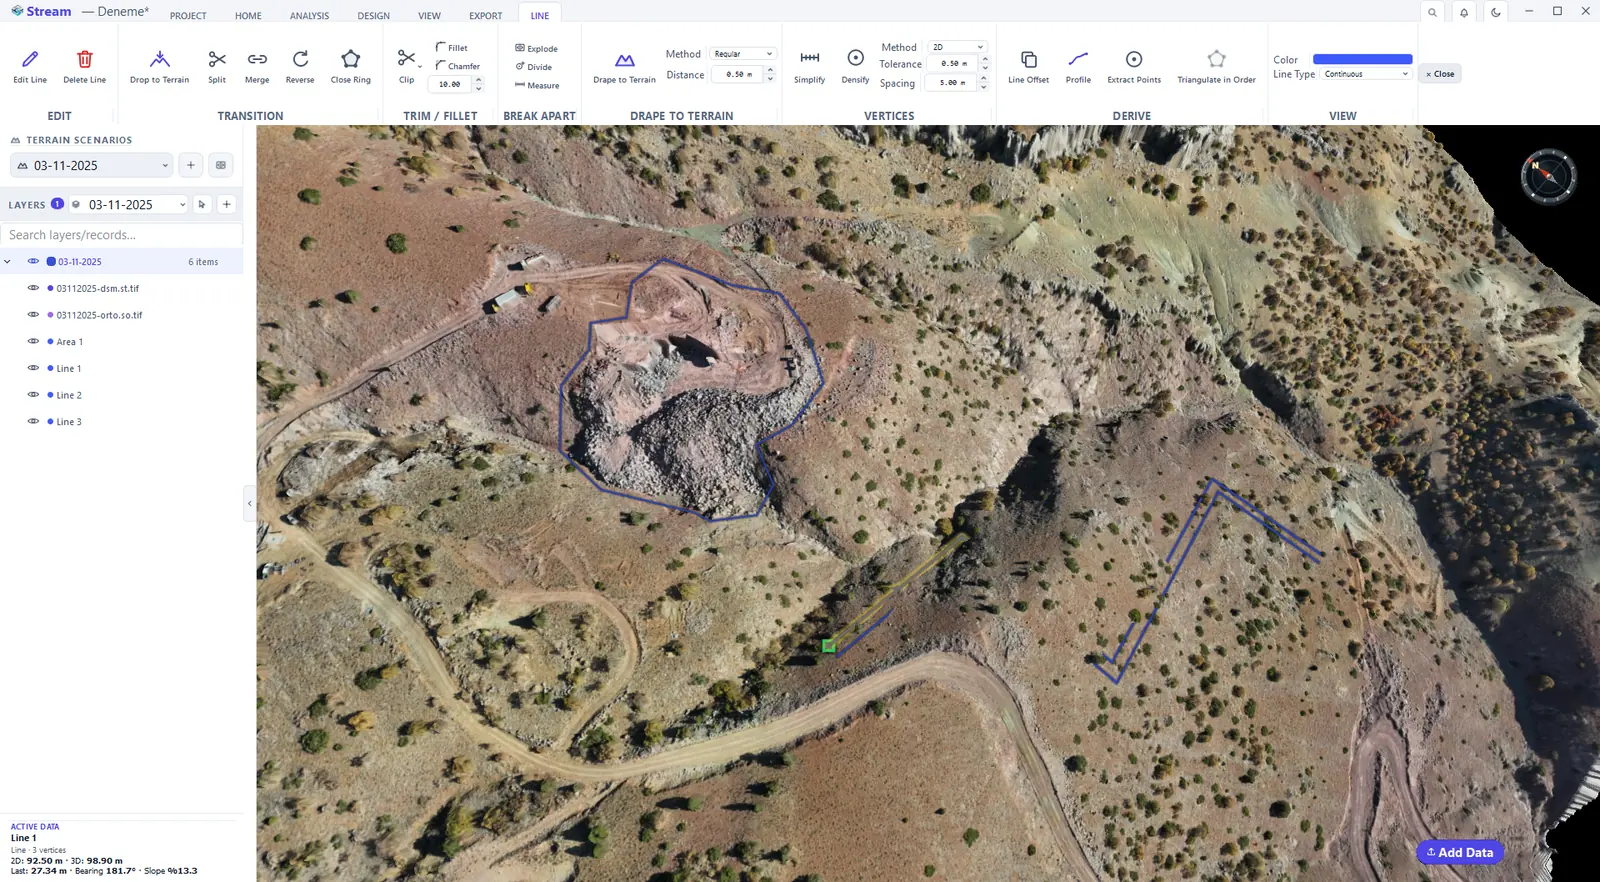
Split cuts the line in two where you click. Merge joins two lines into one, Reverse flips the direction, and Close Ring joins the last vertex to the first so the line becomes a closed ring.
Press Split, then click where to cut.
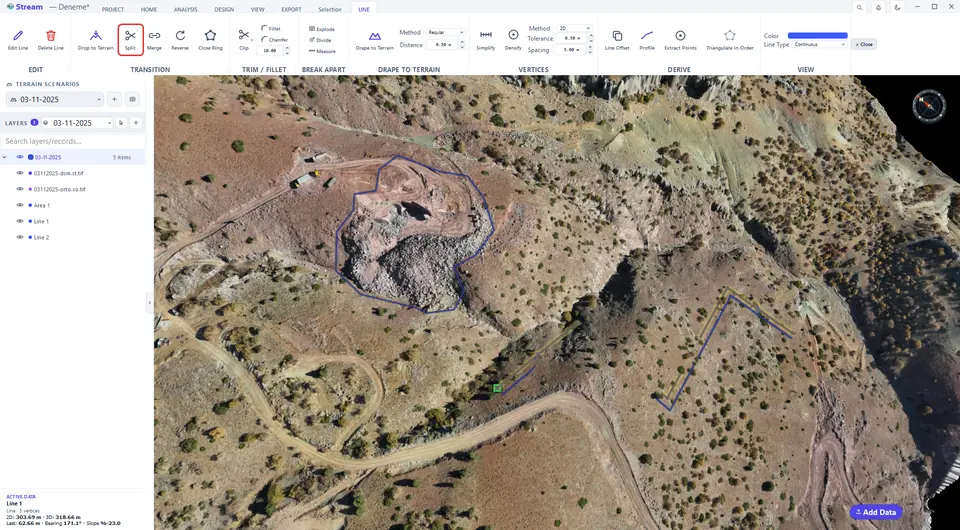
The line is now two lines.
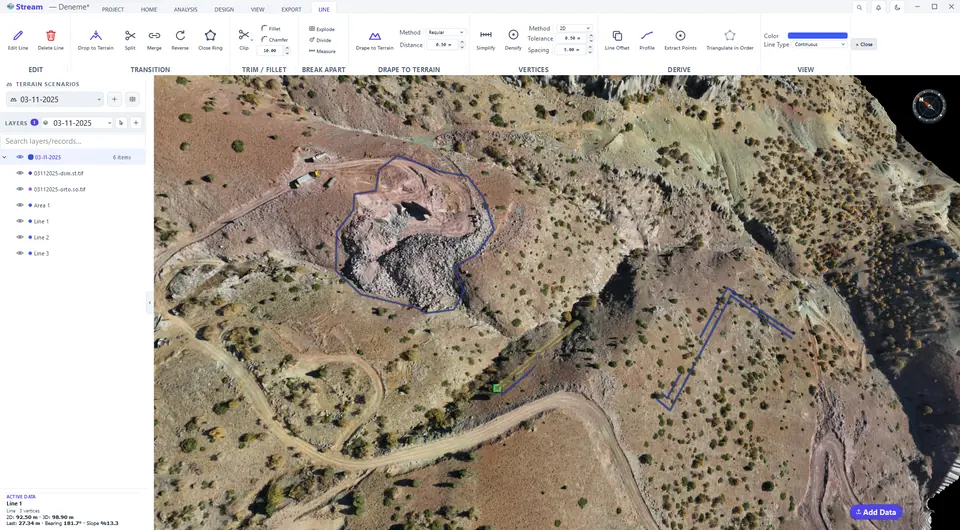
Merge and Reverse sit next to Split.
Clip, fillet and chamfer
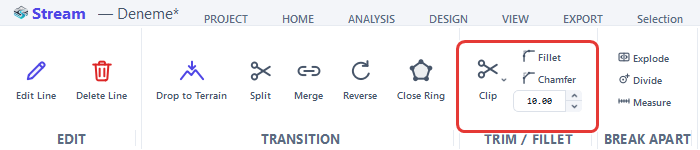
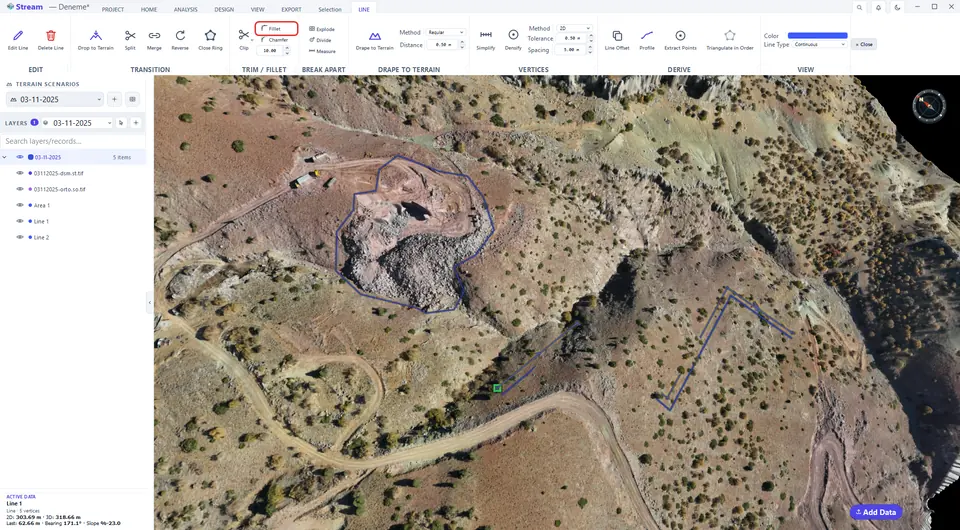
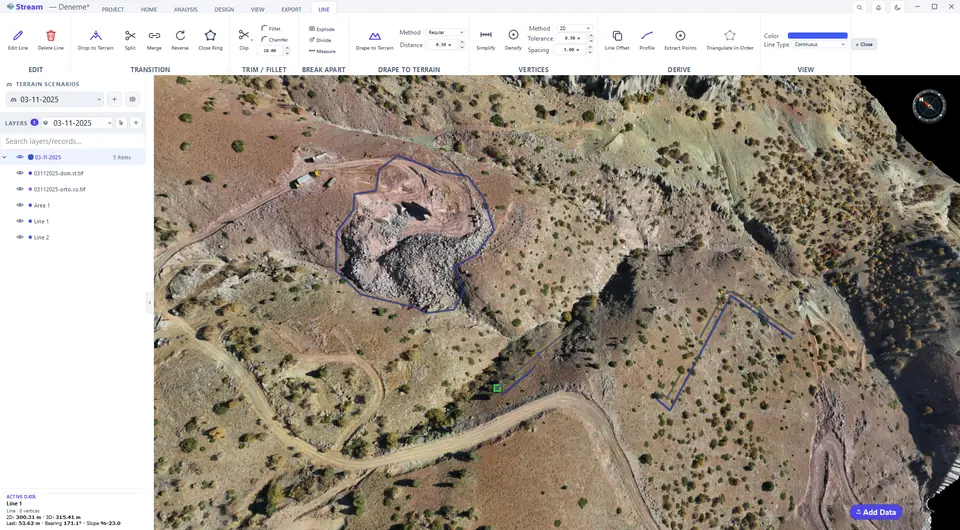
Clip trims a line at a crossing line. Fillet rounds a corner with the radius in the box next to it, Chamfer cuts the corner straight by the same distance on both sides. Press the tool, then click the corner.
Clip, Fillet and Chamfer with the radius box.
Press Fillet, then click a corner.
The corner is rounded with the given radius.
Extract points from a line
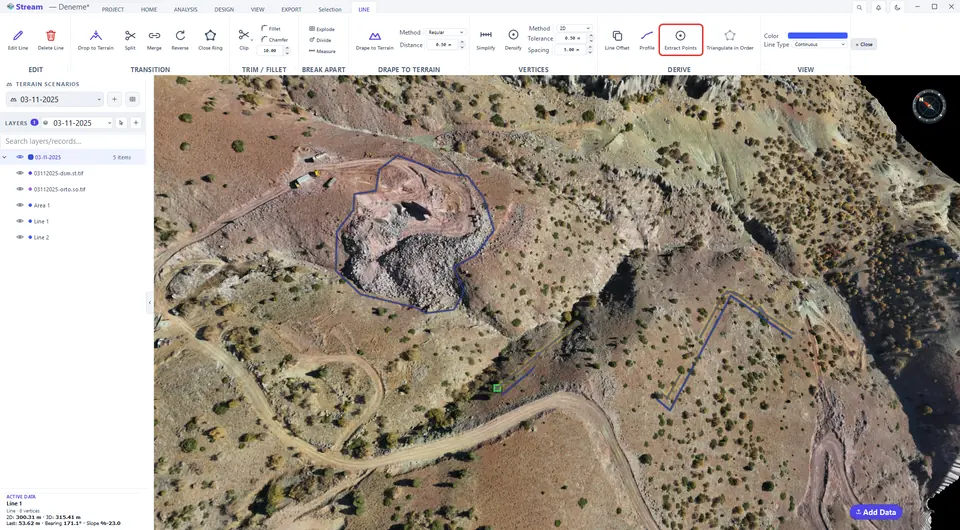
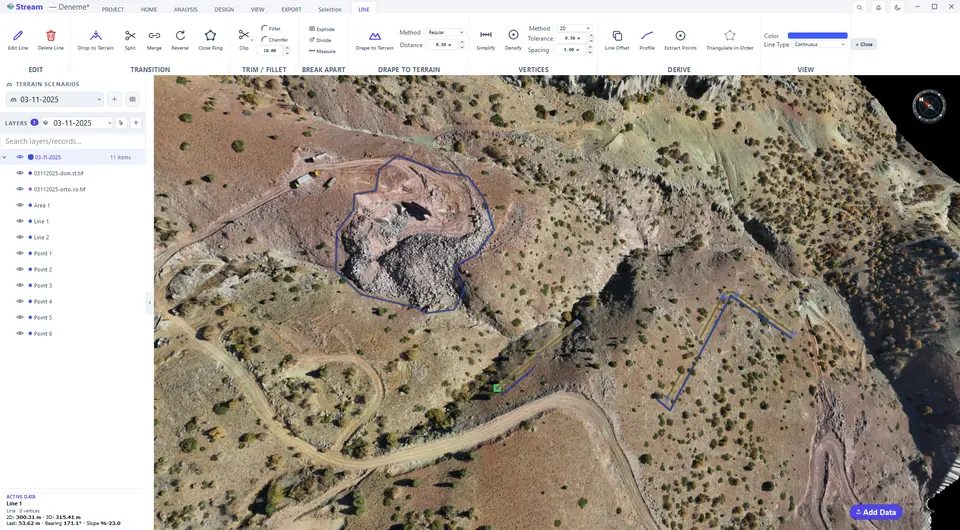
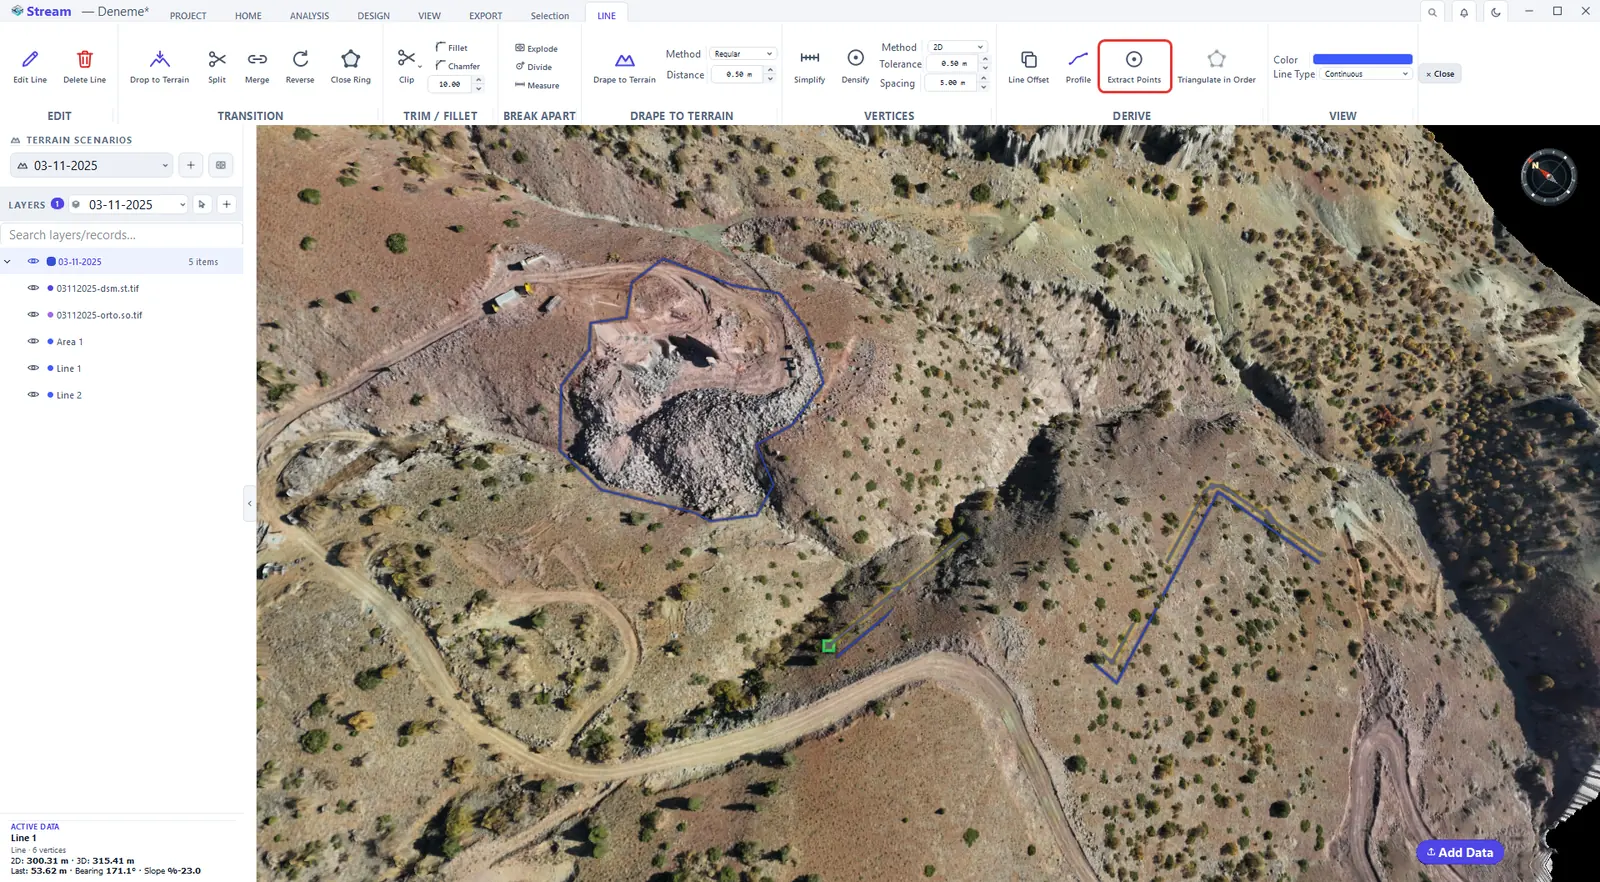
Extract Points turns the line's vertices into separate points in their own layer. It is the quickest way to get the coordinates of a traced crest or a surveyed axis into the point table.
Extract Points turns the line vertices into points.
Points on the line vertices.
Next: Areas.
Related features
What each capability does, which formats it reads and writes, and answers to common questions: